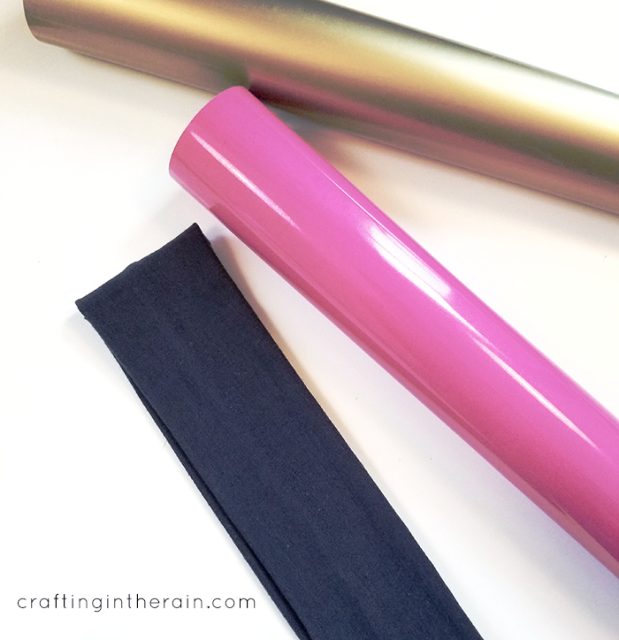
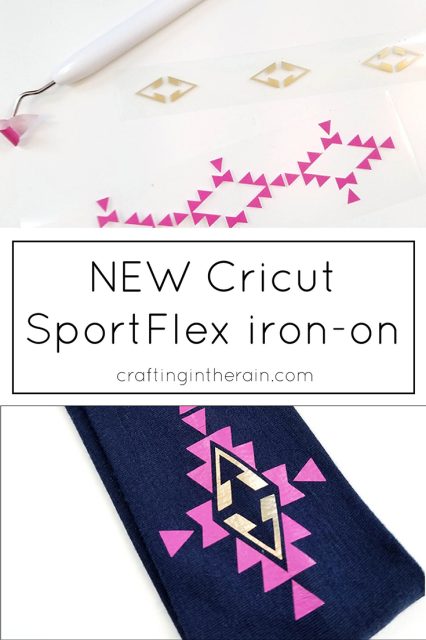
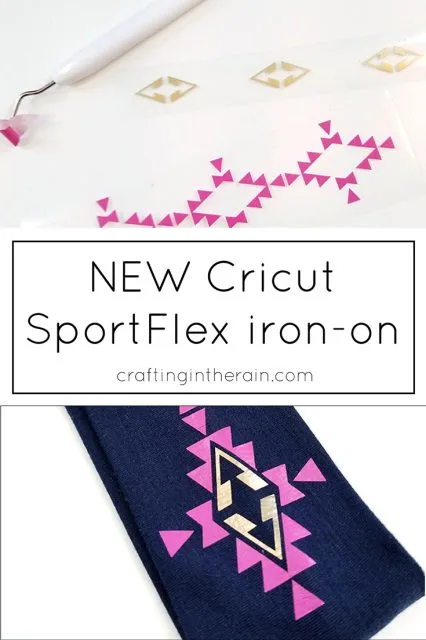
Have you seen the new Cricut products that have just been released?? I have a feeling you’re going to love them: Patterned iron on, and SportFlex Iron On™. Today I’m using the SportFlex Iron On to decorate a stretchy headband and take it from blah to wow! (some links are affiliate)

Here’s what you should know about the new Cricut SportFlex Iron On. This vinyl is thin and lightweight, and stretchier than regular iron-on. It is perfect for putting on tech fabrics like polyester and nylon – all kinds of activewear! If you’ve ever tried putting regular iron-on on an exercise shirt, you’ve probably noticed that it can peel up and crack sometimes because the vinyl doesn’t have the same stretch as the fabric does. If you are going to overlap, or layer, the SportFlex Iron On, it’s recommended to only do two layers, and just with more SportFlex – don’t mix vinyl types.
To try it out for myself, I bought a pack of fabric headbands and designed this pattern – open the Design Space file.
Choose your SportFlex Iron On colors (I used Metallic Gold and Fuchsia)
Cutting SportFlex Iron On
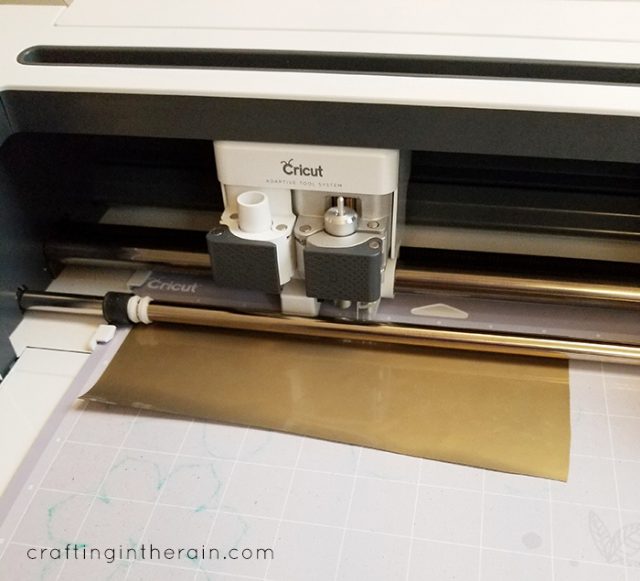

As with all iron-on, place it shiny side down on the mat. I had to use a purple mat because it was slipping off my green mat. Also, remember to edit each mat to MIRROR the image before cutting, since you’re cutting the backside of the iron-on and will flip it over to apply.

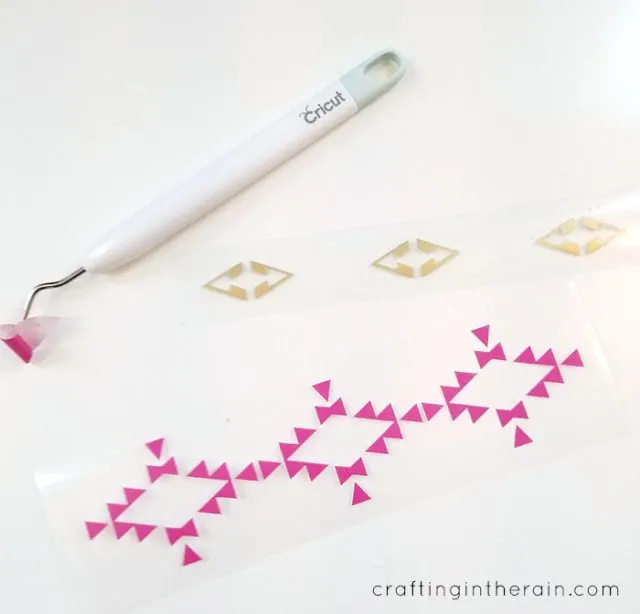
Weed out the extra iron-on with a weeding hook.
Follow these instructions for applying SportFlex Iron On.
With the EasyPress – Heat the EasyPress to 305. Preheat the material where you will apply the cut image for 5-10 seconds. Position the cut iron-on and press for 30 seconds on the front of the garment, then 15 seconds on back. Wait for the fabric and iron-on to cool, then peel off the plastic carrier sheet (Cold Peel.)
Regular iron – Heat iron to wool setting. Preheat material for 5-10 seconds. Position the cut iron-on and press for 50 seconds on front, then flip over and press 15 seconds on back. Cold peel.

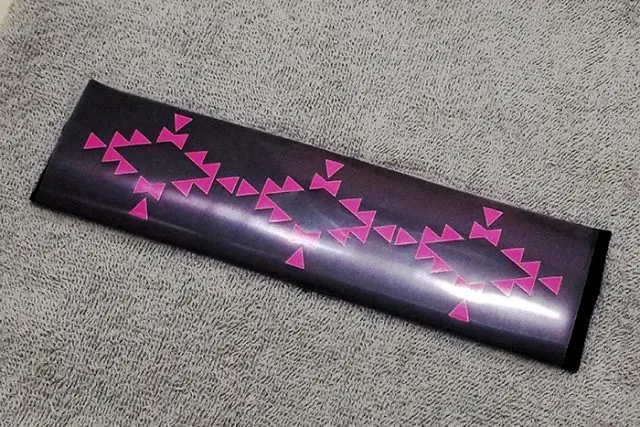
With this design, apply the outside pink part, cool, peel, and apply the inside gold part – but cover everything with the larger plastic piece so that all of the iron-on is covered and won’t be indirect contact with the iron.

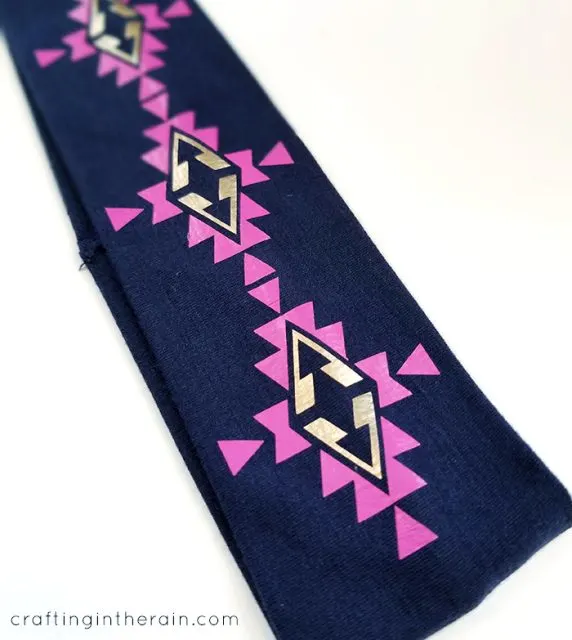
Now this headband is ready to wear! If you have applied this iron-on to a shirt, wait at least 24 hours before washing.
How to Use Cricut SportFlex Iron-on
Wednesday 6th of March 2024
[…] Headband […]
Jill
Thursday 16th of August 2018
Very cute and exactly the info I was looking for. Thank you!