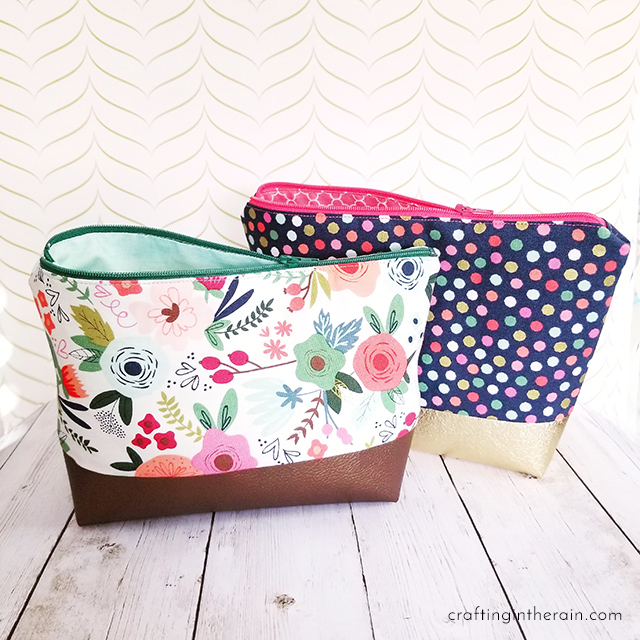
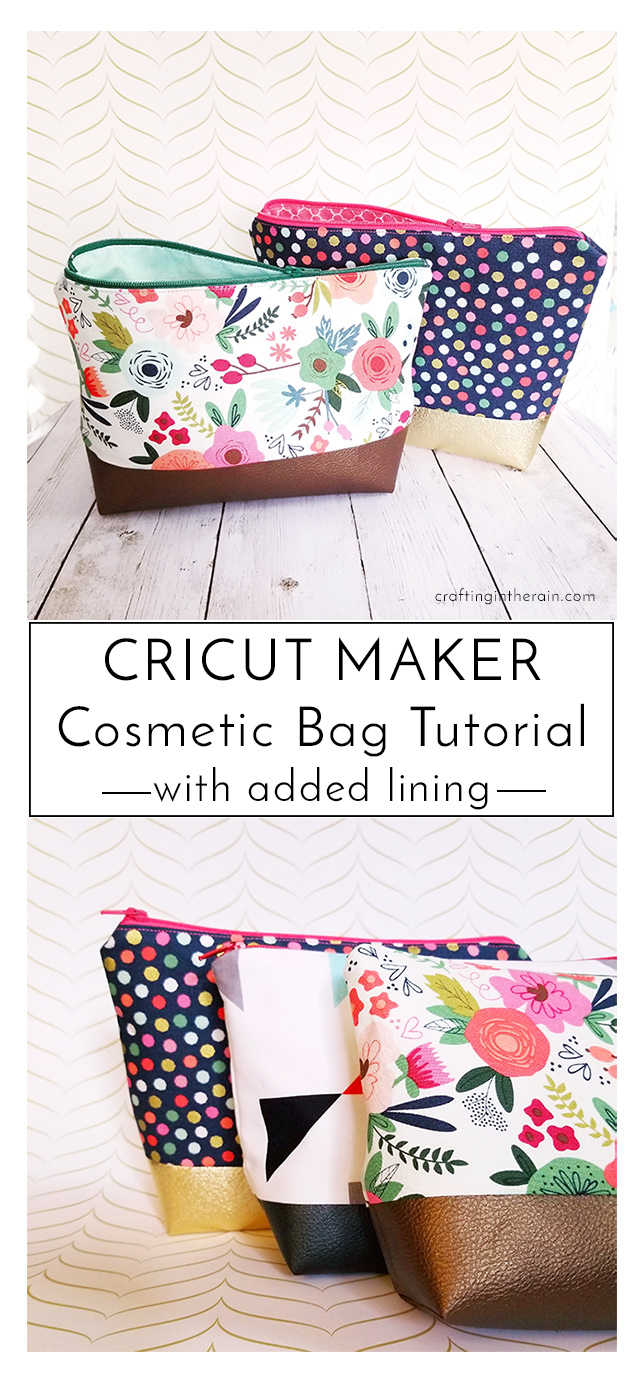
I love the Cricut cosmetic bag project, and I have found out how to tweak it a little so that it has a lining too. And since I can’t stop making them, I figured I’d show you this Cricut Cosmetic Bag Tutorial.
Unfortunately, the project was removed from Design Space, but I have recreated a file you can upload.
Plus, regular sewing patterns can be confusing to read. So I hope the pictures and instructions here can be helpful.
Supplies for Sewing a Cosmetic Bag
Choose your fabrics and coordinating thread and 9-inch zipper.
Lining: Just about anything works. Cotton, linen, silk. Nothing too bulky.
Bag Outside: Cotton, linen, canvas, upholstery fabric, things like that. I’ve been using a lot of thinner cotton, so I add interfacing to give it just a bit of structure.
Bag Bottom: You’ll want something a little sturdy for the bottom like canvas, or a couple of my favorites – I used Cricut Faux Leather and metallic felt.

Open the Cosmetic Bag pattern and cut one full pattern with your Lining fabric.
Cut the first mat (with the two rectangle pieces) once out of your bag Outside fabric, and once out of interfacing, if you’re using that. When I cut interfacing with the Cricut Maker I choose the cotton setting and set the pressure to “Less.”
Cut the Bag Bottom out of the stiffer material and choose the setting to match. Cricut Faux Leather with the Fine Point Blade, on the faux leather for example.

I have been leaving the fabric marker off, because there aren’t really any tricky markings, and then I don’t have to try to wash it out later.
Sewing Cricut Cosmetic Bag
With right sides together, sew one Outside panel to the Bottom piece with 3/8 inch seam allowance – use this measurement for all seams.

Repeat with the bottom of the Lining and one side of the Lining.
Lay the zipper face down on the right side of the Outside and top with a top edge of the Lining, face down. Line up all the edges and pin or clip together.
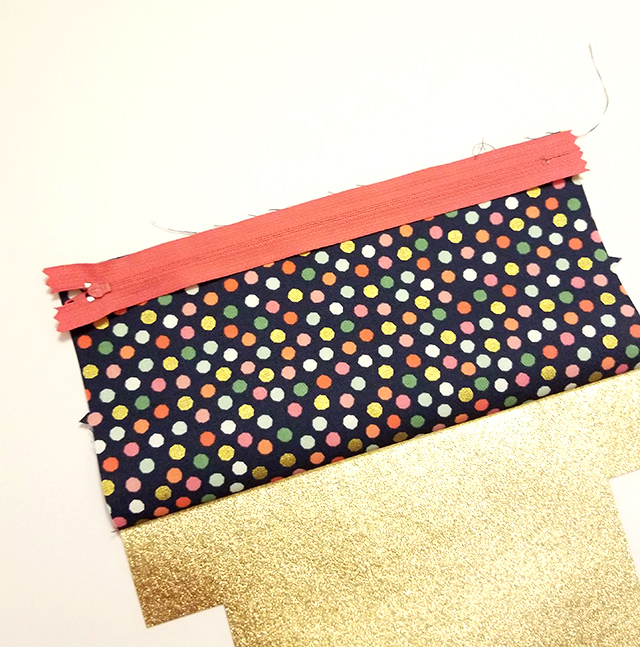
With a zipper foot, sew as close to the zipper teeth as you can. When you get to the zipper pull, stop the sewing machine, put the needle down and lift up the foot. Then pull the zipper up past where you already sewed. Put the foot back down and keep going.

Iron the fabric you just sewed and sew a top stitch along the edge of the fabric.
Repeat with the other side of the zipper. Outside fabric face up, zipper, Lining face down. Line up edges and pin or clip.
Sew with the zipper foot, moving the zipper pull out of the way when needed so you don’t get a bump in your sewing around it.
Iron and top stitch the other side of the zipper.
Sew the other side of the Outside to the Bottom. Sew together the other side of the Lining to the Lining Bottom, BUT leave an opening a few inches wide so you can turn the bag inside out later.

Make sure the zipper is open, not closed, and sew both edges of the bag. All the way from the Lining end to the Bag Bottom end.

Now the corners. Flatten out the opening and center the seam. Sew closed. Repeat on each corner of the Bag Bottom and the Lining.

Trim all threads and any part of the zipper that sticks out past the edge of the fabric. Using the hole left in the bottom of the lining, pull the whole bag inside out.
Sew the hole in the lining closed by folding the raw edges in just a little and sewing very close to the edge. Backstitch and the beginning and end and trim threads.

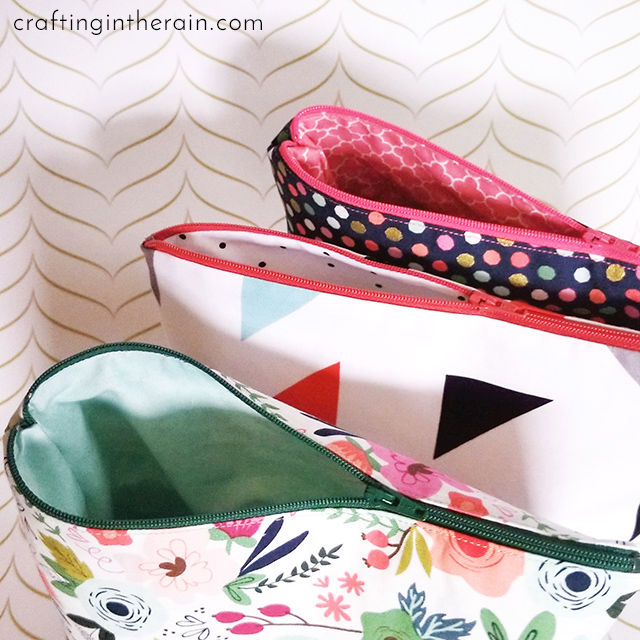
Push the lining down into the bag, pushing out the corners, and the bag is finished!
Love these and need to do some shopping so you can make your own? (The part of the post where I tell you that some links are affiliate)
Cricut Maker
Cute Fabric
Cricut Faux Leather
Metallic Felt
Interfacing
Zippers (25 in multiple colors for under $15!)
Fabric Clips
Want to learn more? Read these!
What Can I Make with Cricut?
Cricut BrightPad Review
Cricut Maker Review
8 Best Designer Sewing Patterns To Try Out For Yourself
Monday 12th of June 2023
[…] 3. Cath Kidston Inspired Makeup Bag […]
Over 100 of the Best Cricut Crafts to Make and Sell!
Wednesday 6th of July 2022
[…] Cosmetic bag […]
David
Friday 18th of March 2022
Is this pattern still in design space? I can’t seem to find it.
Kathryn
Wednesday 9th of March 2022
Thank you for recreating the cut file for Cricut. I've been waiting to make this for over a year. Finally made the first bag today. Love it! More bags to come.
20 Crafts To Make (And Sell!) With A Cricut Machine – MykList
Thursday 14th of October 2021
[…] Full Tutorial […]