Skip to Content

Copper Bud Vase and It’s Craft Month!

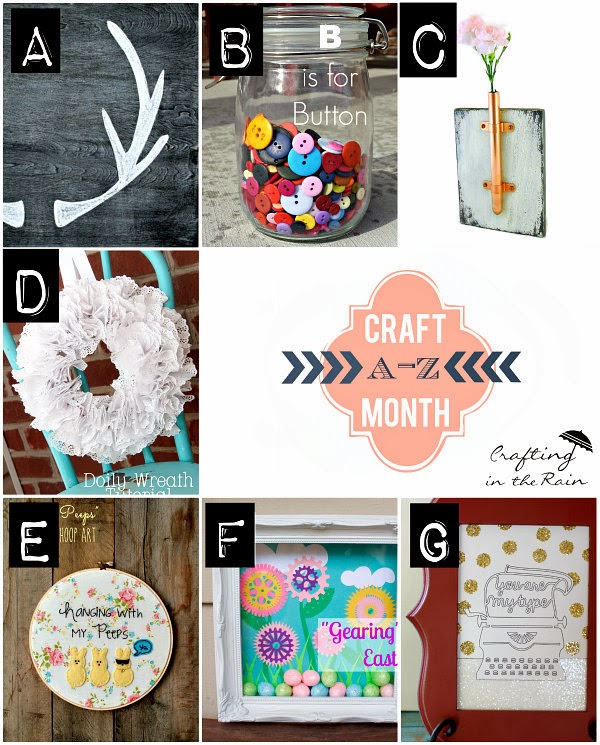
{Copper pipe flower vase}

How to Make a Vase from Copper Pipe | Crafting in the Rain #copper

March is National Craft month. Naturally I wanted to find a way to celebrate–so with the help of several blog friends we’re giving you a whole month of craft ideas! I present to you the A-Z of Craft Month series. 

Every Tuesday this month I’ll post a new list of talented bloggers who have each taken one letter of the alphabet with the assignment to create a project based on that letter. Please go visit them!

National Craft Month | Crafting in the Rain
A is for Antlers || Grey Luster Girl

B is for Button || Ameroonie Designs

C is for Copper pipe vase || Crafting in the Rain

D is for Doily wreath || The Creative Mom

E is for Embroidered hoop || Flamingo Toes

F is for Flower gears || Sowdering About in Seattle

G is for Glitter || Ginger Snap Crafts

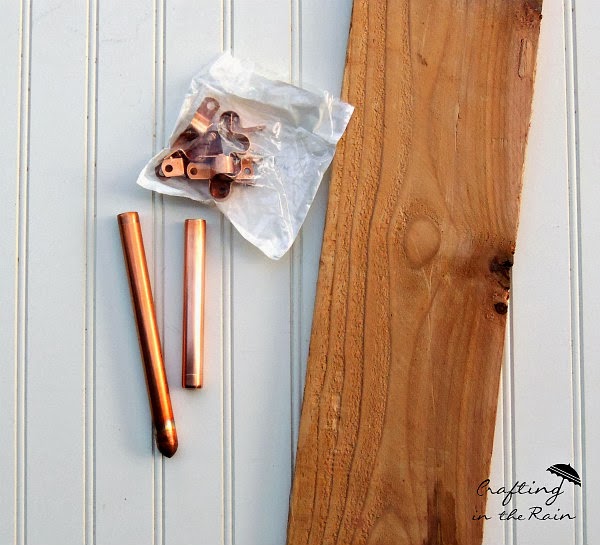
Since I had the letter C I headed to Home Depot and picked up the following items:

  • copper air chamber (12 x 1/2 inch) ~$2
  • package of tube clips (1/2 inch) ~$2
  • a piece of wood from their discount pile ~75c
  • some small screws ~$1
Copper Pipe Craft
I had them cut about 5 inches off the top of the copper tube for me.

Back at home I rubbed the copper tube with some steel wool to shine it up a bit at take off the discoloration at the bottom. 

I cut the wood to be 5 x 7 inches.

Gray Board with White Paint | Crafting in the Rain


I first painted it with a watered down gray.  When that was dry I smeared a bit of Vaseline on the corners and around the edges and then painted with white. After the white dried I used paper towels and a bit of steel wool to rub some of the white paint off. The final picture shows the little holes I drilled after marking each hole with a pencil (Lay the pipe down on the wood and press two clips down around it)

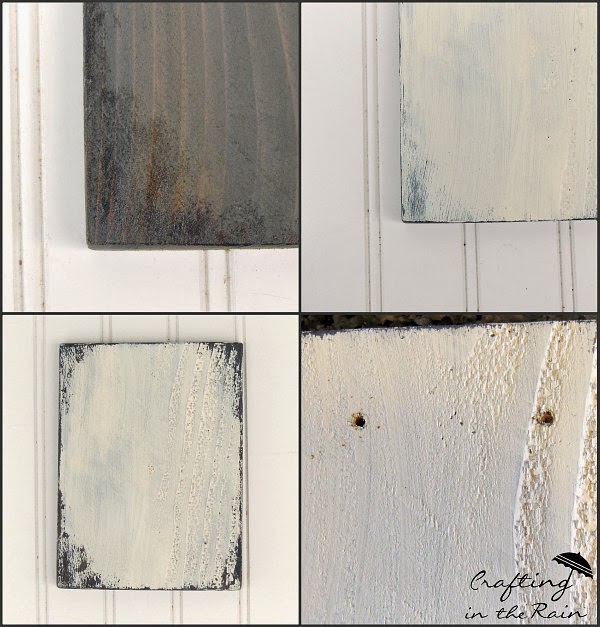
Position the tube and clips on the wood and attach with screws.

Copper Pipe Flower Vase | Crafting in the Rain


The last step is to make it stand up.  I cut a small block of wood, painted it gray, and glued it to the back about 1/8 inch above the bottom, so it will lean back just a tiny bit when it’s sitting.  I used E6000 adhesive and clamped it for 3 hours.


Add in a bit of water, a few blossoms, and your beautiful copper vase is ready to display.  

Do you like it?  What do you think I should do with the leftover 5 inch tube?


Copper Vase How To | Crafting in the Rain  Cute and easy!

Image Map

This site uses Akismet to reduce spam. Learn how your comment data is processed.

This site uses Akismet to reduce spam. Learn how your comment data is processed.