• About
  • Contact
  • Shop
    • Facebook
    • Instagram
    • Pinterest
    • YouTube
  • Crafts
    • Disney
    • Kids
    • Sewing
  • Holidays
    • New Year
    • Valentine’s
    • St Patrick’s
    • Easter
    • Mother’s and Father’s Day
    • July 4th
    • Halloween
    • Thanksgiving
    • Christmas
  • Cricut
  • DIY
    • Cleaning
    • Organization
    • Projects
    • Scroll Saw
  • Downloads
    • Printables
    • SVGs
  • Recipes
  • Life
    • Family
    • Fashion & Beauty

Crafting in the Rain

Cheater Vanity Makeover

Uncategorized

This post may contain affiliate links. As an Amazon affiliate, I earn from qualifying purchases. I receive a small commission at no cost to you when you make a purchase using my link.

4 Mar 2011
  • Share
  • Tweet

The kids’ bathroom: not the most glamorous room in any house, and nearly last on our list of remodel projects.  Just for fun, and because I had the paint already, I decided to paint over the old wood vanity bottom.  Unfortunately, no hope exists for this counter top until we tear the whole thing out some day.

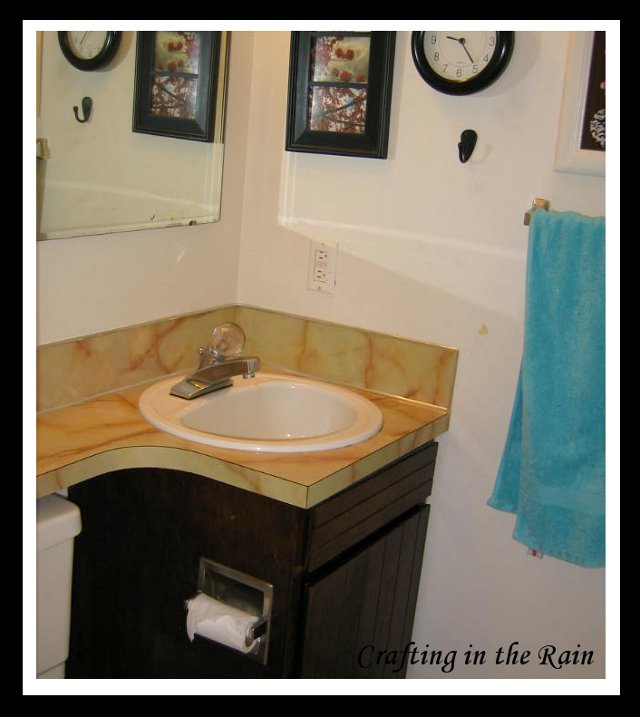
And, since I know it will actually happen some day, I wasn’t too careful about doing things exactly the right way *gasp*


Right way:  Remove door.
Cheater way:  Leave it on and only paint the parts that are going to be visible.

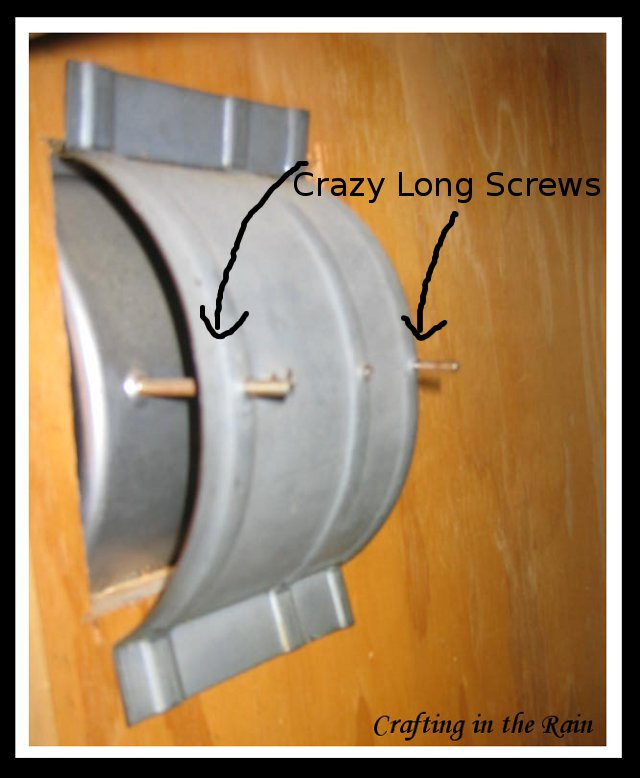
Right way: Remove toilet 
paper holder.
Cheater way: I tried, I really did, but the screws were rusted out and the screwdriver just couldn’t grab them
(and they’re about 3 inches long sticking into the inside of the cabinet!) so it wasn’t worth it.  So I taped around it, painted carefully around the corners, and scraped off the little bit of extra paint with my fingernails at the end.


Right way: Use a tack cloth to remove dust after sanding.
Cheater way:  All my tack cloths have lost their tack, so I used a damp microfiber cloth.

Right way:  Put a drop cloth down on the floor.
Cheater way:  We all know the vinyl won’t be staying either, so who’s to say that the little glob of white paint wasn’t there to begin with? (or just wipe it really fast with water and TP)


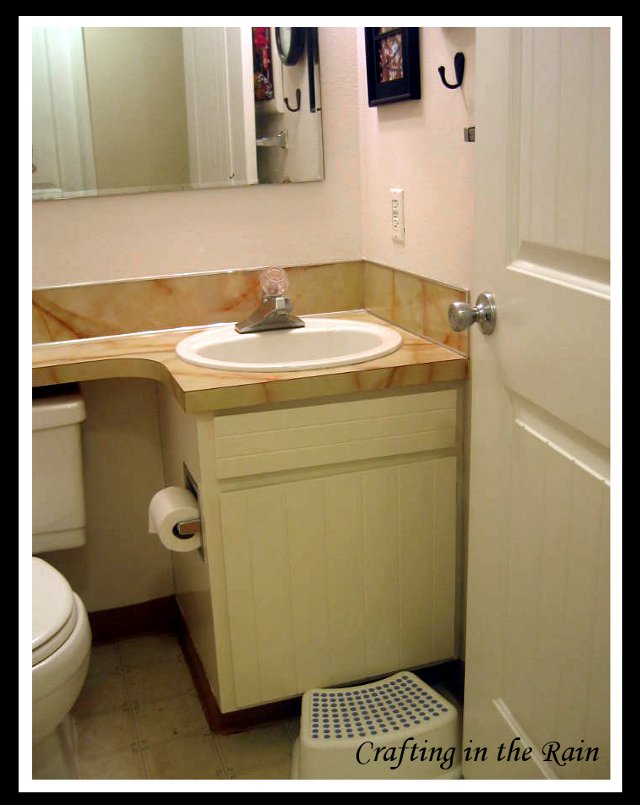
So, now that I’ve explained my “process”, here are some pictures.

Lightly sanded with a palm sander and taped.

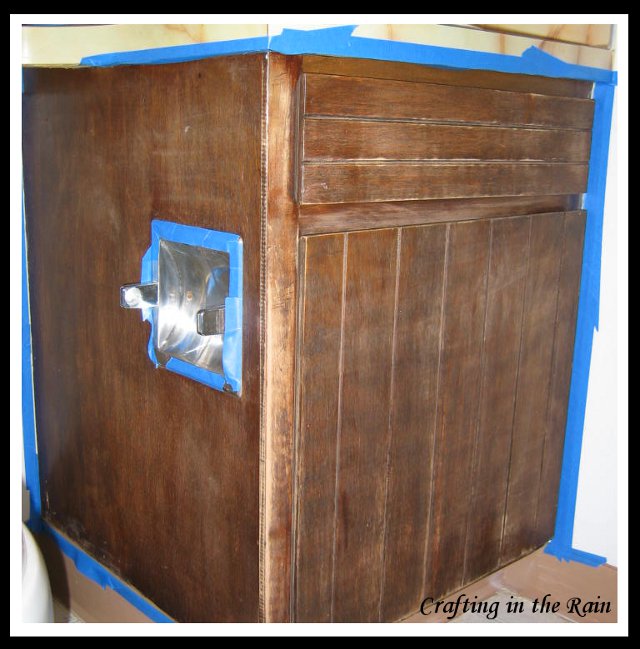
Primed (notice the package of toilet paper peeking through–that’s keeping the door from closing all the way)

And here it is all painted.  It took 2 coats, and I used Behr Parchment Paper in high gloss.  Like the change?                                     

Linked up to

Thrifty Decor Chick Before and After Party
Elements Interiors 
Between Naps on the Front Porch

monogram

Leave a Comment

« Shaped Lattice Card
Lollipop Card »

Leave a Reply Cancel reply

Your email address will not be published. Required fields are marked *

This site uses Akismet to reduce spam. Learn how your comment data is processed.

Hi, I'm Stephanie - Welcome to Crafting in the Rain where I've been blogging about the crafty life since 2011. Read More…

Archives

  • Home
  • About
  • Contact
  • Disclosure
  • Index
  • Privacy Policy

Stephanie Paxman is a participant in the Amazon Services LLC Associates Program, an affiliate advertising program designed to provide a means for sites to earn advertising fees by advertising and linking to amazon.com.

Copyright © 2011-2023 Crafting in the Rain