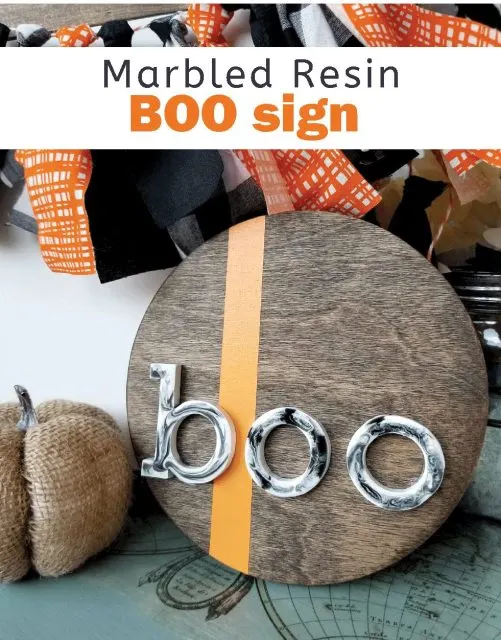
I have loved trying different styles of sign making this Halloween season. And yes, September is Halloween season because you’ve got to use this time to make all the things – then use October to decorate with all the things! So I made a marbled resin boo sign.
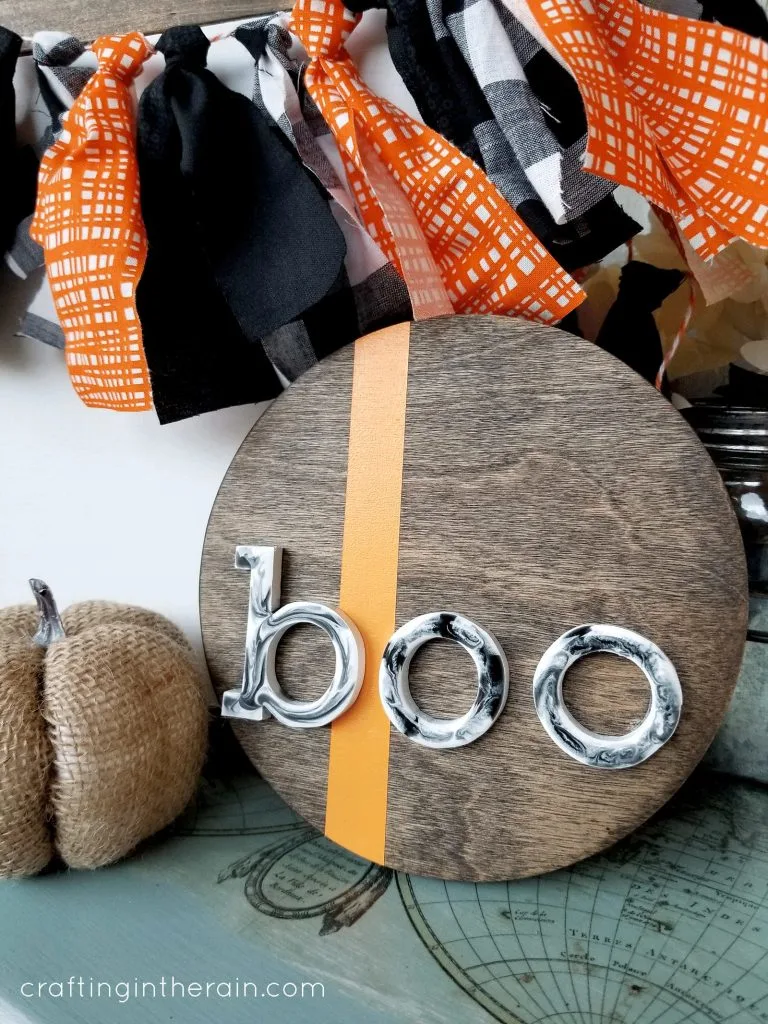
Start by purchasing or making a sign base and wood letters. I used my scroll saw to make the letters and router with circle jig to make the backer. But you should be able to find similar items at a craft store (or even cut balsa wood letters with your Cricut and make two or three layers.) Some links are affiliate.
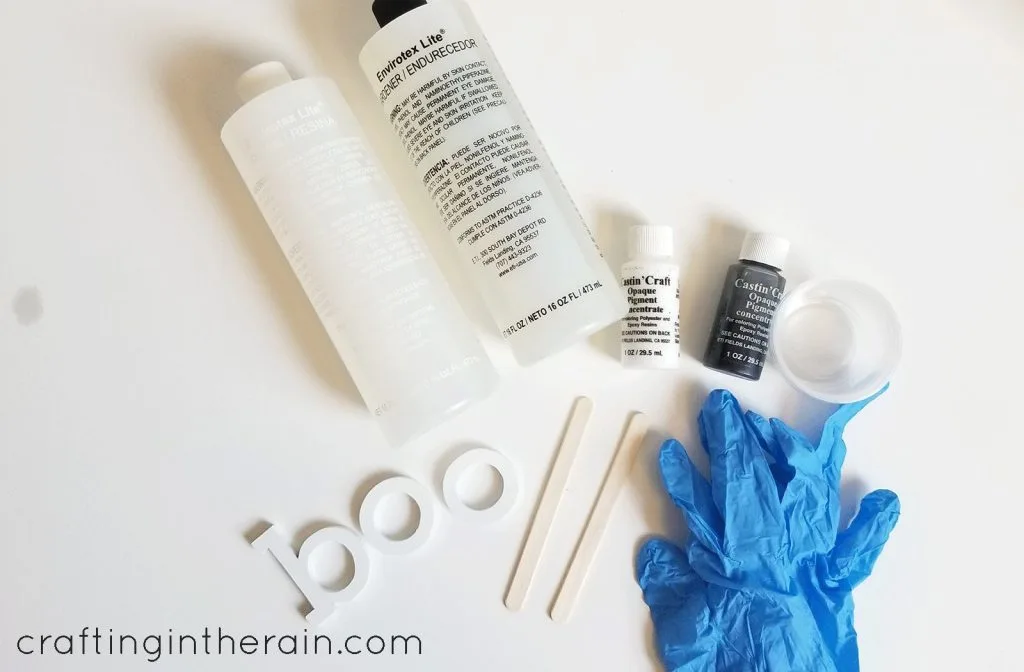
Preparing letters for resin
Paint the letters white with spray paint or craft paint. Make sure to cover the edges well.
Trace the letters backward on a piece of cardboard and press thumbtacks through in the letter outlines.
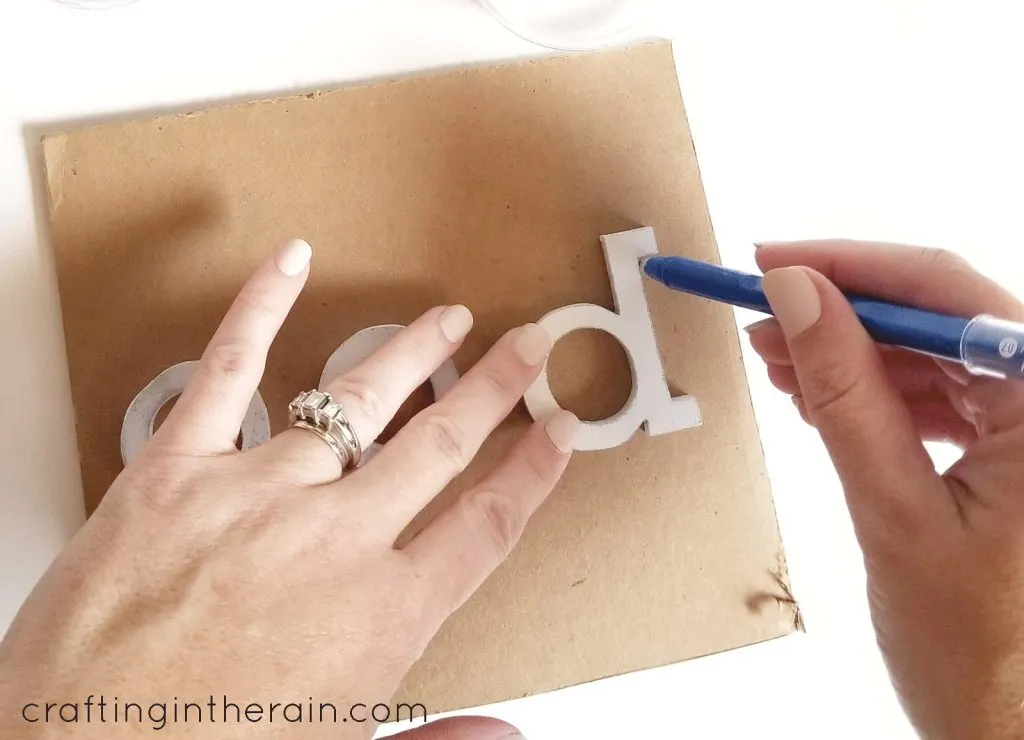
Turn cardboard over and place the letters on the points. This lifts them off the surface in case any resin drips down.
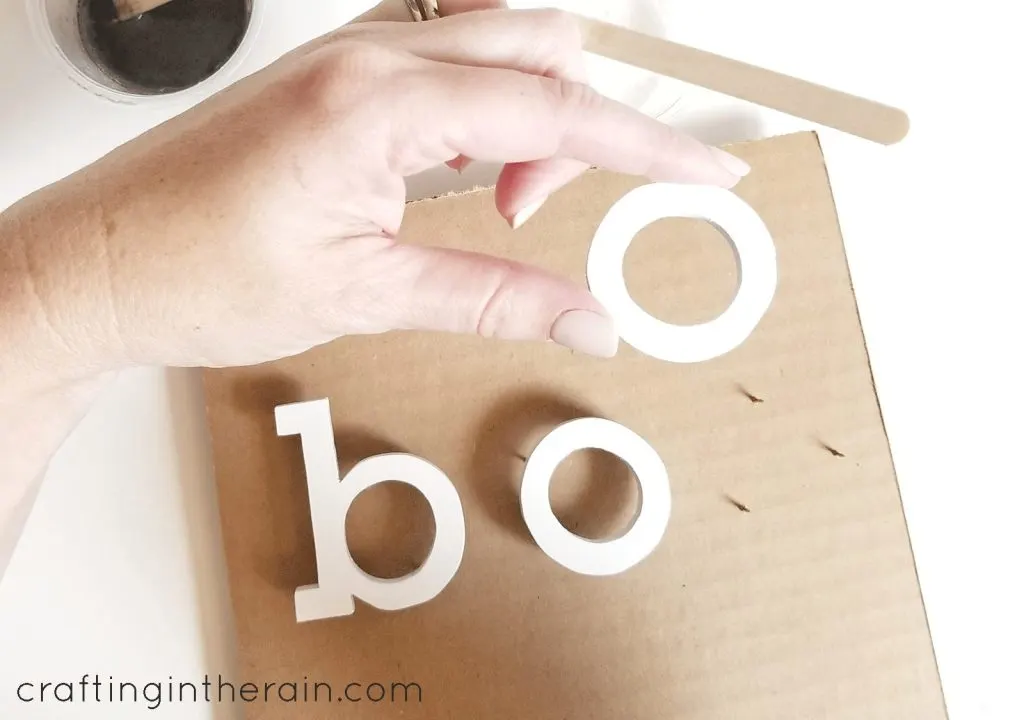
Mixing resin for pouring
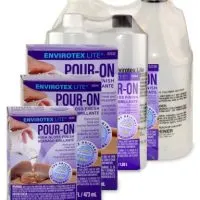
Mix the Envirotex Lite according to instructions in the box. Wear gloves and eye protection. You’ll need equal parts resin and hardener.
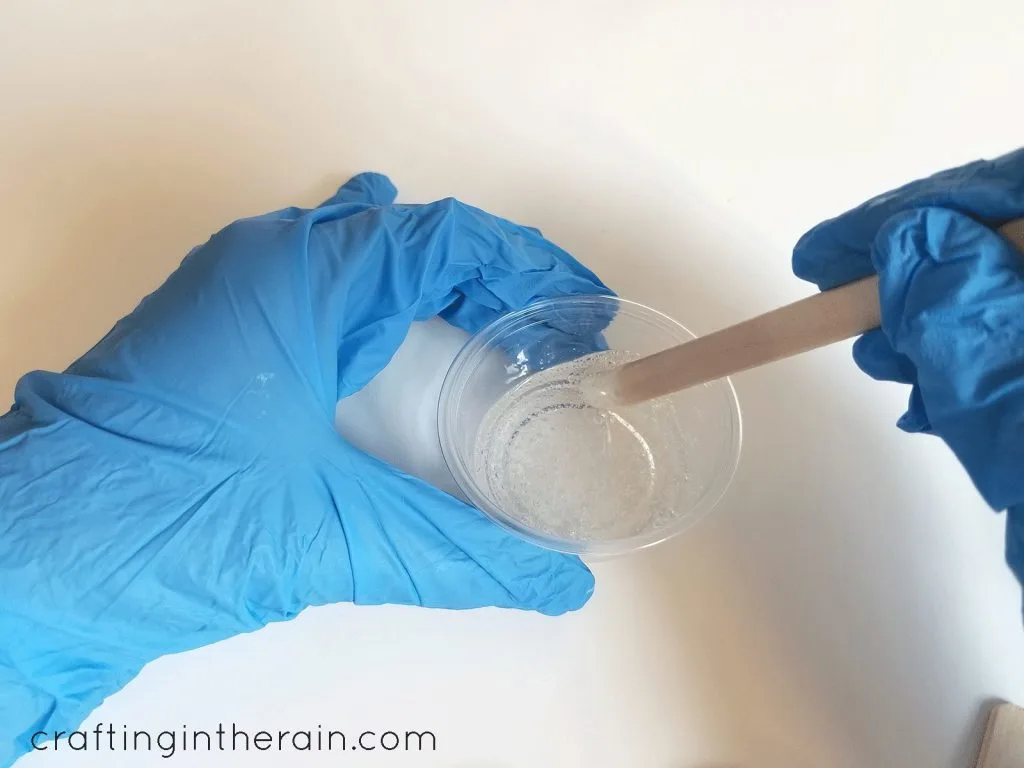
Mix for 2 minutes with a craft stick then transfer to a new clean container to mix for another minute.
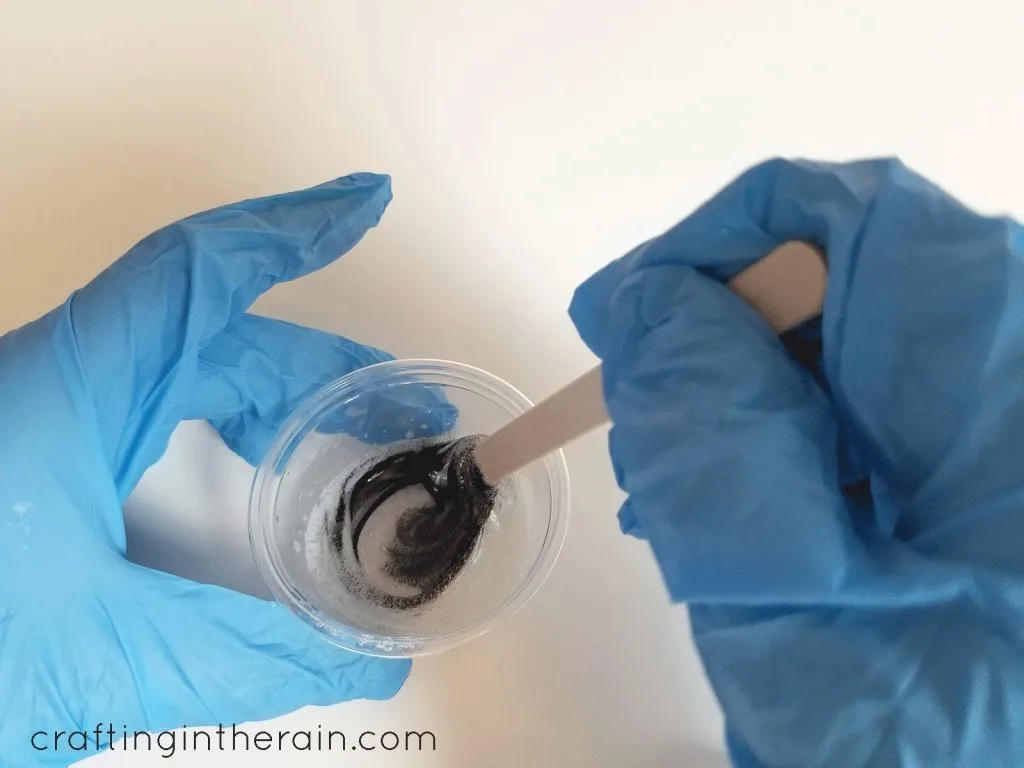
Pour half into another container and dye each part with a couple drops black and white opaque pigment. Stir to thoroughly mix.
Drop small amounts of black and white resin on the letters. Try to not let it run down the sides.
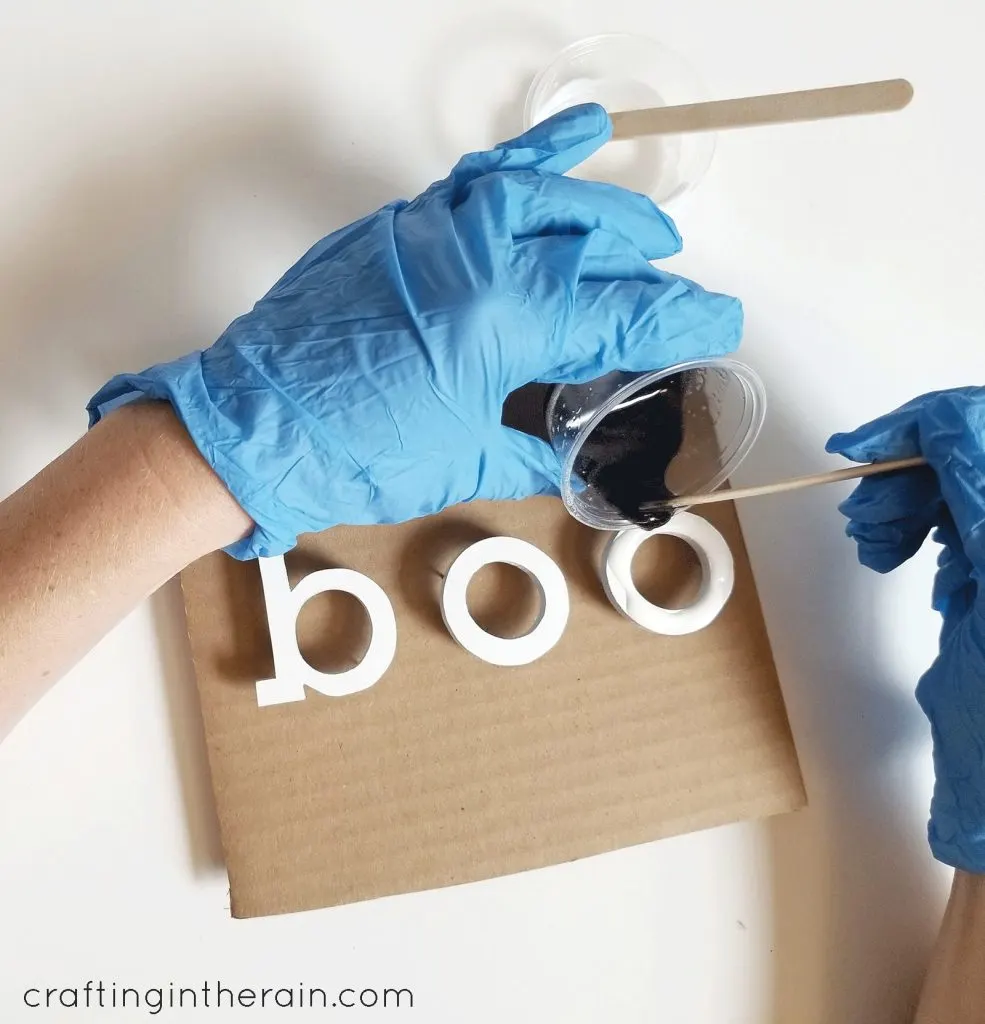
Swirl the two colors lightly with a skewer. The swirl pattern will change slightly as the resin settles and then hardens. But the lack of control is something you get to love when trying to marble resin!
After 10 minutes, exhale on the resin to pop any air bubbles. (Watch your hair, and don’t touch it!) Let cure for 24 hours away from breezes.
Stained wood sign
While the resin is setting, stain the sign base. I used Minwax Jacobean.
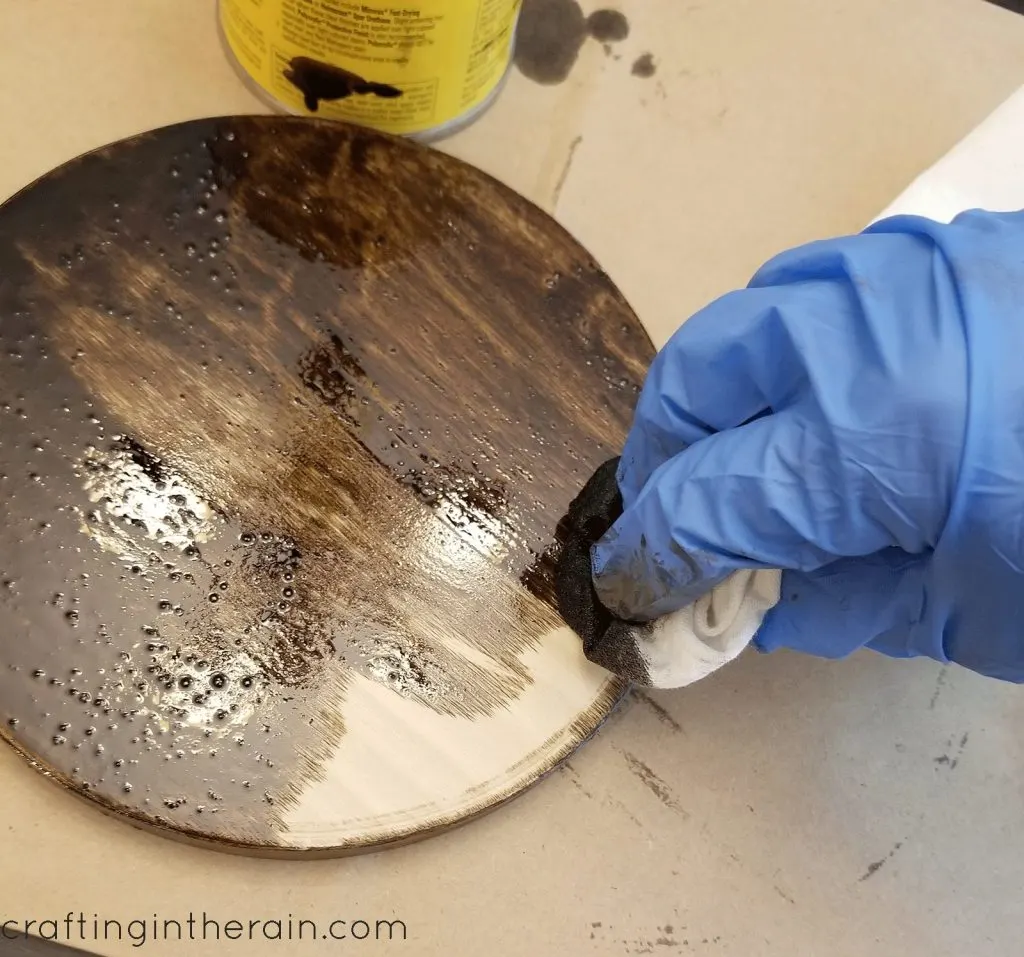
When the stain is dry, tape off a line with painters tape or washi tape and paint with orange craft paint. It will likely take two or more coats, especially if you used a dark stain. Peel away the tape.
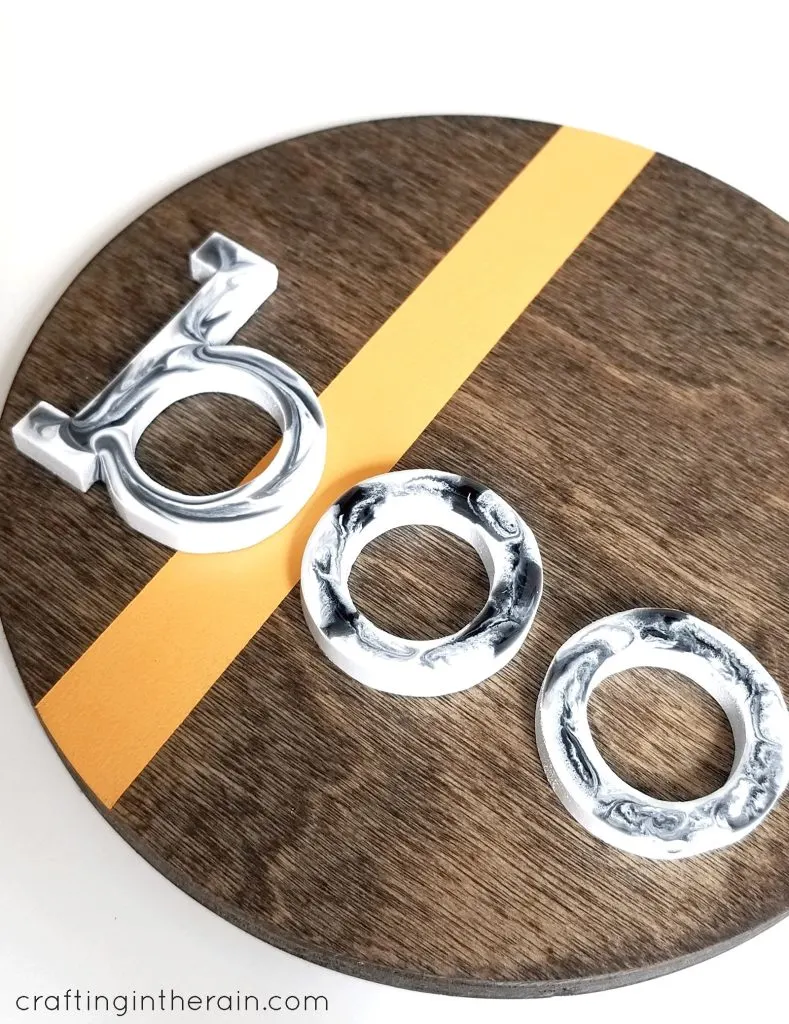
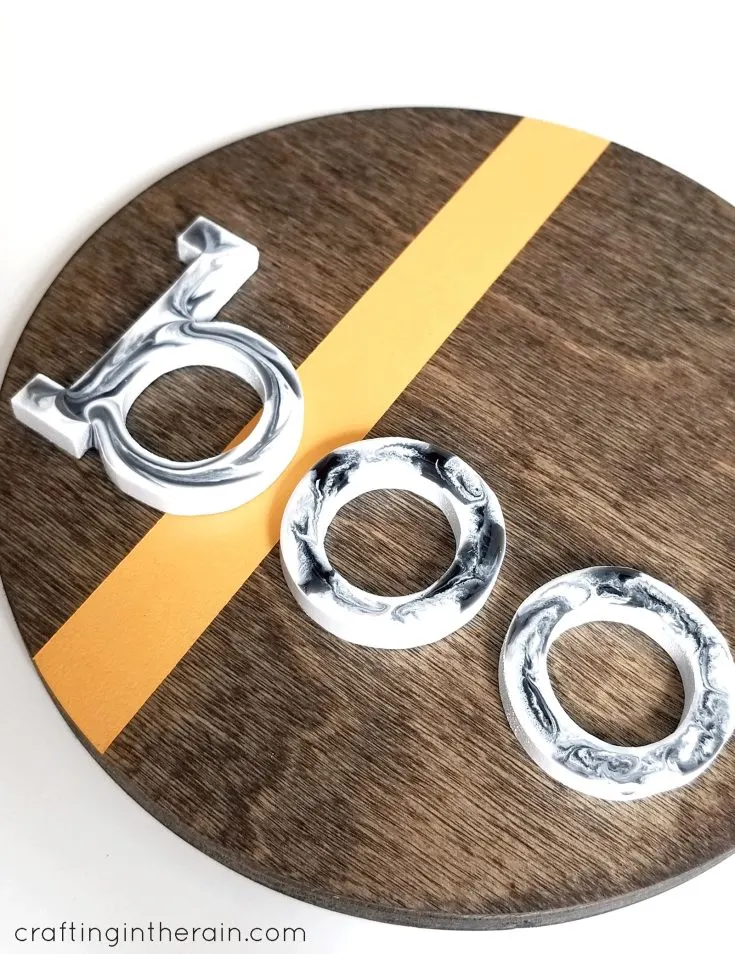
Glue the letters down with super glue. (A glue container with a brush is really useful for small pieces like this.)
Have you done any marble resin projects? Did this marble resin boo sign make you want to try? I hope so! And let me know if you have any questions 🙂
Marbling gives these letter just the right spooky touch for a Halloween sign. 1. Buy or make sign base and wood letters. 2. Trace letters backwards on a piece of cardboard and press thumbtacks through in the letter space. 3. Turn cardboard over and place the letters on the points. 4. Mix the resin according to instructions in the box. 5. Make half of the mixture black and the other half white. 6. Drop small amounts of black and white resin on the letters. 7. Swirl the two colors lightly with a skewer. 8. After 10 minutes, exhale on the resin to pop any air bubbles. 9. Stain the sign base. 10. Tape off a line with painters tape or washi tape and paint with orange craft paint. Peel away the tape. 11. Glue the letters down with super glue. (this Gorilla glue with a brush is really useful for small pieces like this.) Try this same technique with larger letters or more colors. As an Amazon Associate and member of other affiliate programs, I earn from qualifying purchases.Marbled Resin Letters
Materials
Instructions
Let cure for 24 hours.Notes
Recommended Products

Lisa
Monday 11th of January 2021
You have made a really beautiful design. I would definitely try this on next Halloween.
Michelle
Sunday 17th of November 2019
This is too cute! Little late for me to make a BOO sign now though 😂 maybe I could make something like this but Christmas themed instead