
Printed Wood Halloween Potion Bottles
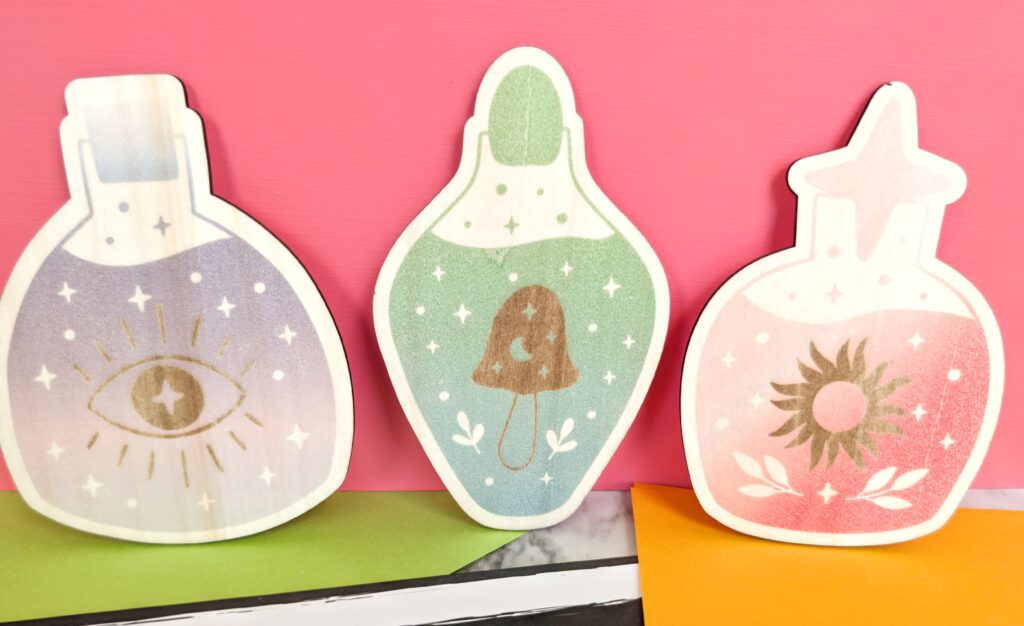
One of the best things about the xTool M2 is the color printing capability. I used the print-and-cut feature on wood to make these Halloween potion bottle decorations.
I mean, how cool is it to have a machine that can both print and cut right in your home craft space?
xTool provided this machine to me for review. All opinions are my own.
Supplies needed for printing with M2
- xTool M2
- Printing cartridge
- 3mm birch plywood
- Images to print
- Polycrylic spray or Wood Printing Fixative Spray
- OR shop the xTool store on Amazon
Prepare the Wood for Printing
For the best results, don’t print on totally bare wood.
Why seal the wood first?
Wood is naturally porous and wants to soak up the wet ink jet ink. Printing on untreaded wood will produce images that are a little less vibrant and crisp.
Polycrylic vs. xTool Wood Printing Spray
Spray the wood with two light coats of Polycrylic (or xTool Wood Printing Spray), allowing each coat to dry according to the manufacturer’s directions before printing.
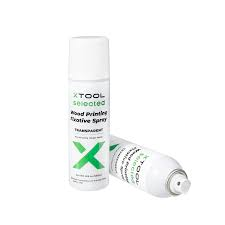
The benefits of using the xTool spray is that it is specifically formulated to work with the ink. If you’ll be doing a lot of wood printing, definitely get some.
Design Your Project in xTool Studio
In xTool Studio, add the images you will print and cut. Click the + button to add items to the work canvas.
My project will have printed color, engraving, and cutting.
Arrange the images on the canvas. Create an offset around each printed image so the laser has a cut line that leaves a small border around the printed design.
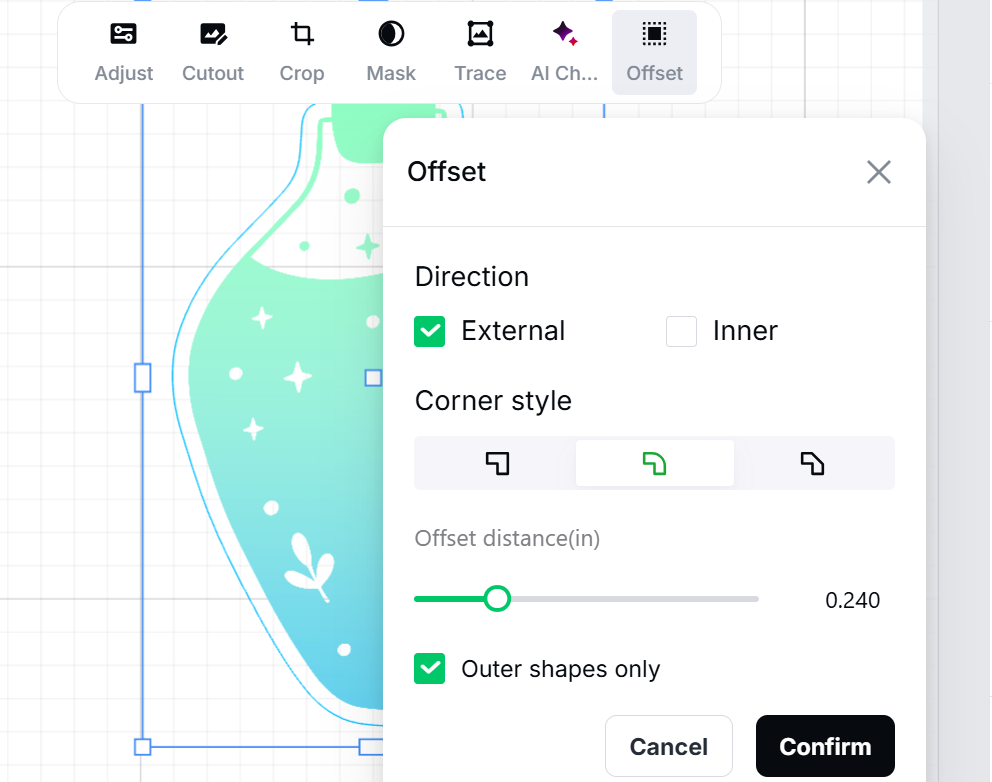
You can see in the image above the settings I used for creating the offset.
- Rounded corners
- Offset distance .24 inches (use the sider or the input box for an exact number
- Check the box for outer shapes only – this way you only get a single outside cut instead of accidental inside cuts
Can you engrave wood after printing with xTool M2?
Yes, the printed areas can be engraved, which can give a cool look to the finished piece.
The bottle images are PNG, so they can be printed. Then the Center design and outline are vectors so I will have them engrave and cut.
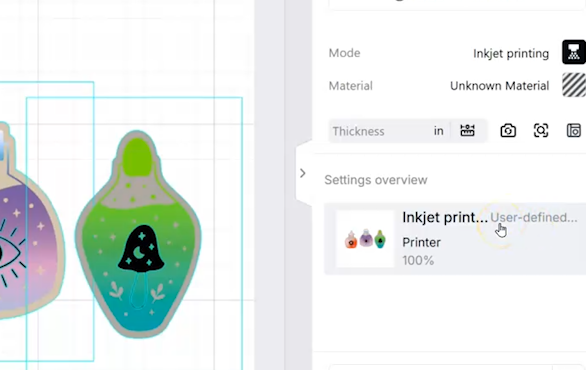
Install the ink cartridge.
- If this is your first time printing, make sure to follow all the xTool steps for removing the ink from the packaging, adding drops of the moisturizing liquid to the cap sponge, and adding the bottom cap retainer bracket.
- You will also be prompted to do a printing calibration with some paper.
Send the images to print.
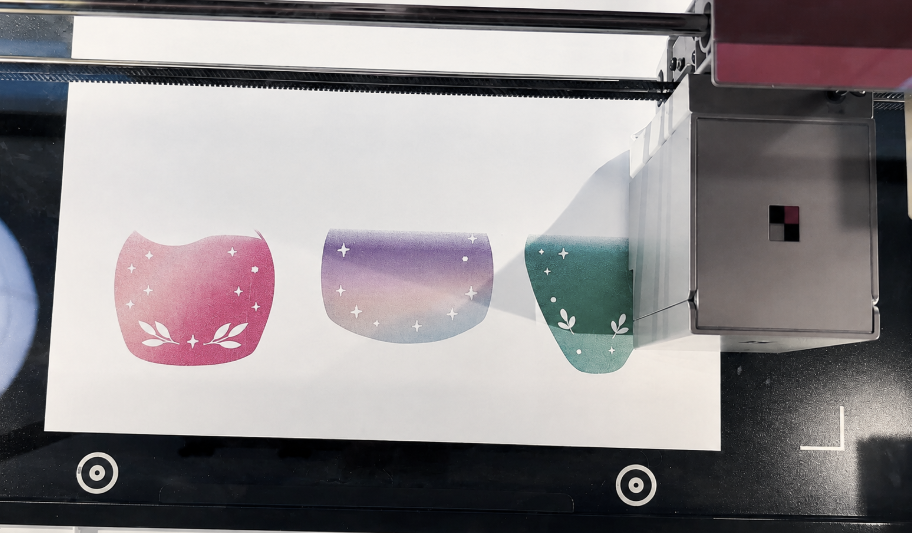
Can you cut after printing wood with xTool M2?
Yes, cutting and printing can be combined in the same project, but you have to change the ink cartridge out and put the laser module back in.
I originally planned to print and cut in one workflow, but I ran into one issue. The plywood was too high for the print head when it was elevated with the riser and held by the magnetic clamps.
Instead, I printed with the plywood resting directly on the machine bed. After printing finished, I raised the material using the risers so there was enough clearance for the laser module to cut.
Not a deal breaker, but it would be nice to not have to do the next step of re-aligning so I will be exploring if I missed a step to make that easier.
After printing, swap the laser module back in.
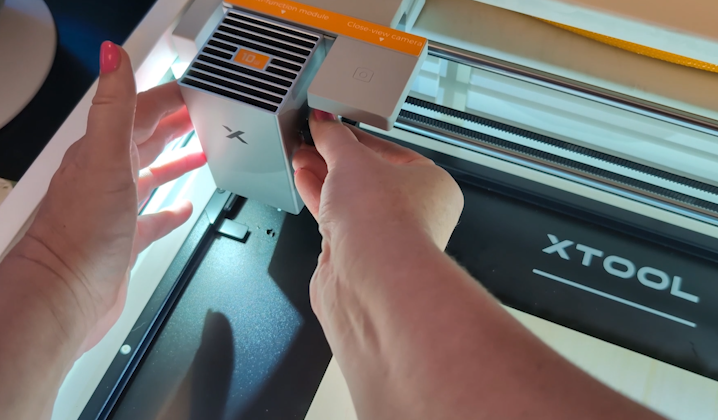
Close the lid and take an up close picture to make sure the outline cuts and engraving sections will line up with your prints properly.
Place wood into the M2 using the riser clips and close the lid.
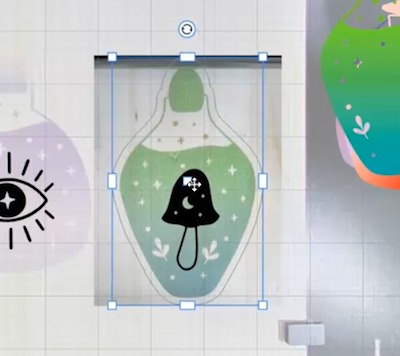
As long as you don’t shift the position of anything on the canvas, if you just make sure one of the designs is lined up correctly, the rest will be too.
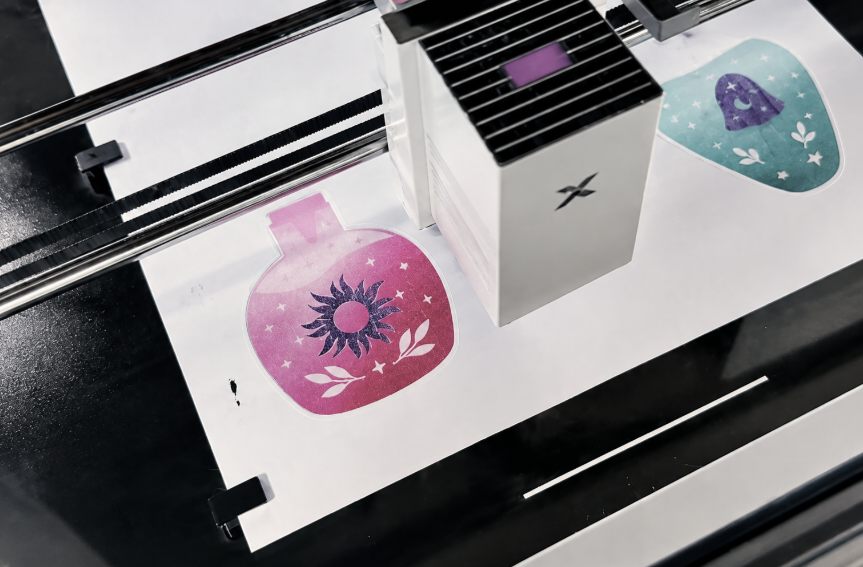
Send the laser to engrave and cut and you’ll end up with these colorful potion bottles to add to a sign, a wreath or hang from a wall just like this.
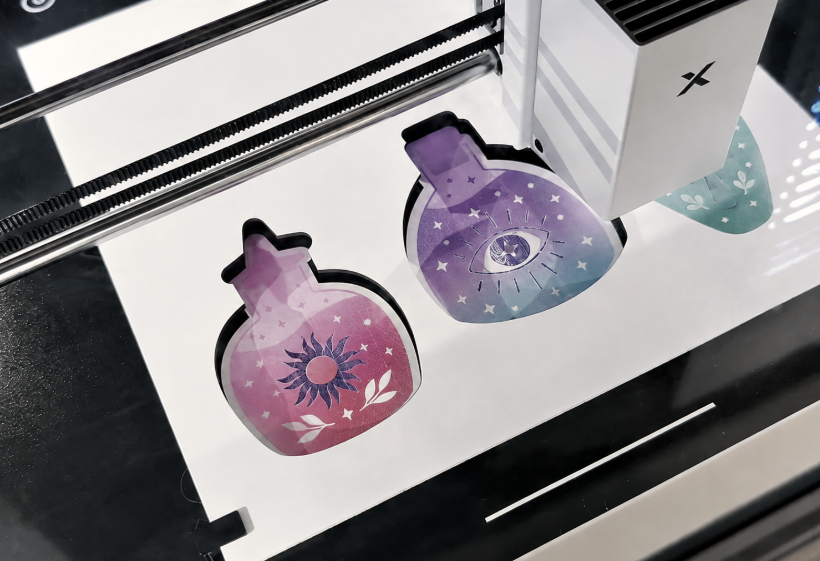
This is definitely a cool and fun way to use the printing and cutting features of the M2. What would you like to know how to print next?
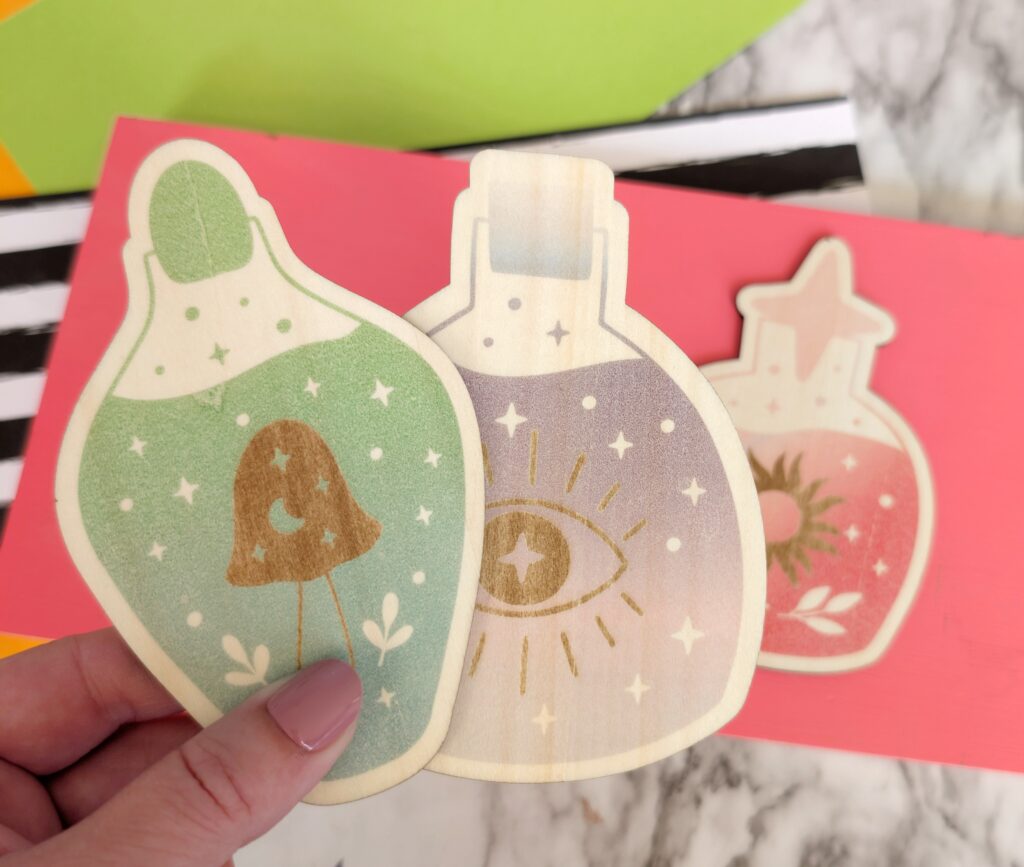
I know I’d like to try stickers and a detailed greeting card soon, so be sure to watch for those posts! And if you’re looking for your own color craft laser, the xTool M2 is a perfect option.