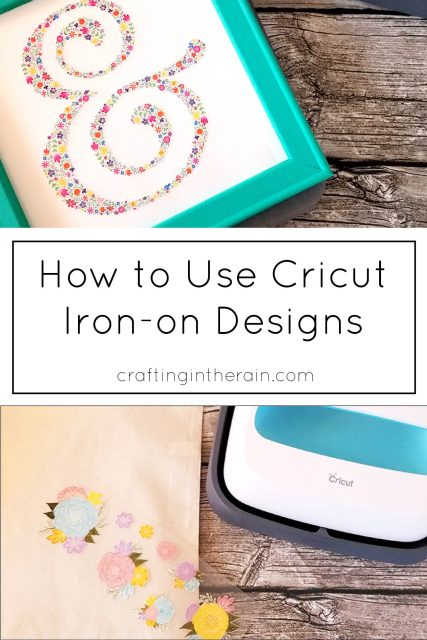
Cricut has new Iron-on Designs and you don’t even need a Cricut machine to use them! Each premade design is ready to use and can be applied using the EasyPress or a household iron. There are over 50 available, and more are coming soon. I got to try out a few of these designs so I made a reverse canvas and a tote bag. Let me show you how I did it! I used Flowers and Floral Ampersand. (some links are affiliate)


How to make a reverse canvas
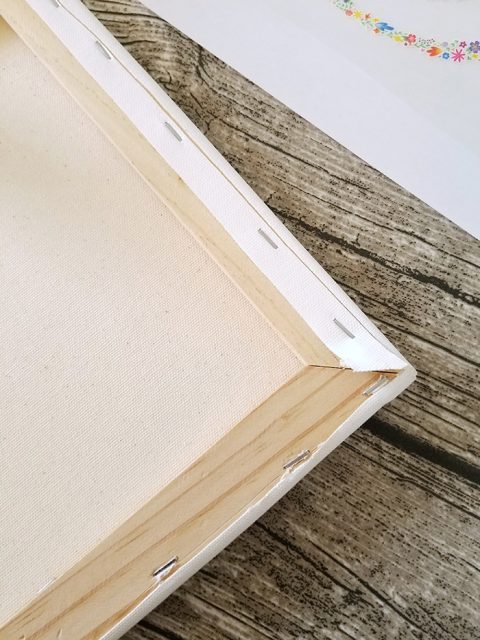
I love how reverse canvases look, and they’re really not all that hard to make! Start with a regular stretched canvas from the craft store and flip it over to the back side. With a razor blade, carefully slice the canvas close to the staples. Remove the large canvas piece and set aside. Pull out the strips of canvas scrap, and then you’ll have enough room to work out the staples with a pair of pliers.

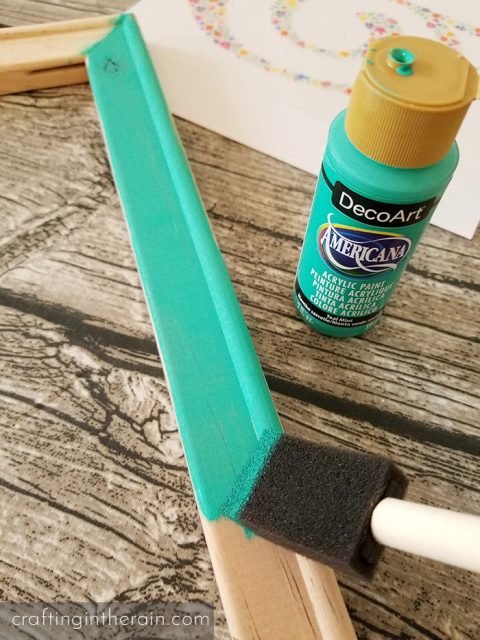
Paint or stain the frame – (I used DecoArt Teal Mint) It took two coats to get even coverage, and I painted down into the corners grooves also.

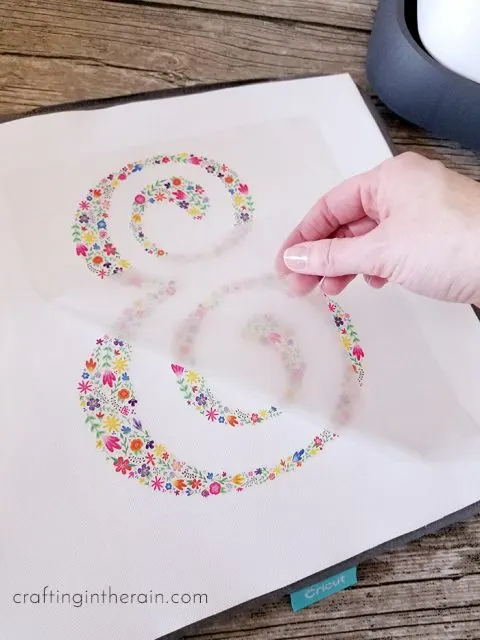
Cut off the folded edges of the canvas and place face up on the EasyPress Mat. Position the iron-on design (I also checked spacing by laying the dry frame on the canvas as well.) Then follow these instructions for application:

How to use Cricut Iron-on Designs
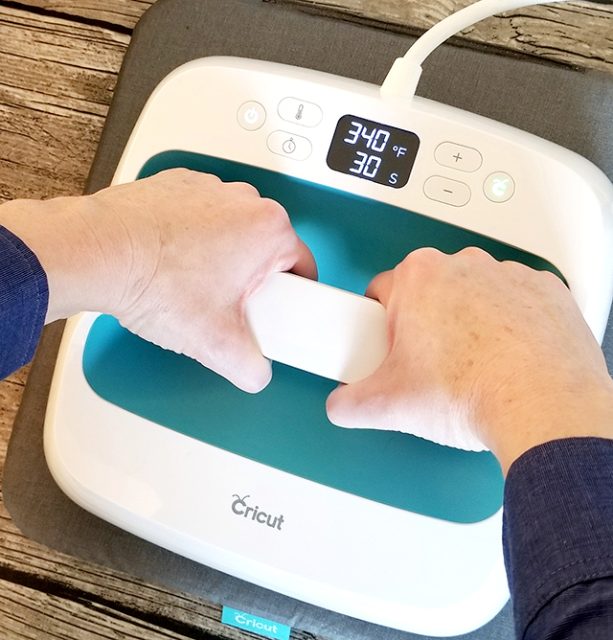
EasyPress instructions (with the EasyPress mat): Heat to 340. Warm the material for 10-15 seconds and place the iron-on design. Set the timer for 30 seconds and use medium pressure to adhere the design to the canvas. Flip the canvas over and heat from the back side for 10 more seconds. Let it cool for 1-2 minutes before removing the plastic carrier (otherwise, the design might start to peel up.)

If you have made a piece of clothing, wait 24 hours before washing. Turn garment inside out. Wash and tumble dry low or medium. Do not bleach or dry clean, and if it ever needs to be ironed, turned it inside out so the iron doesn’t touch the iron-on design.
Visit this link for complete setting instructions.
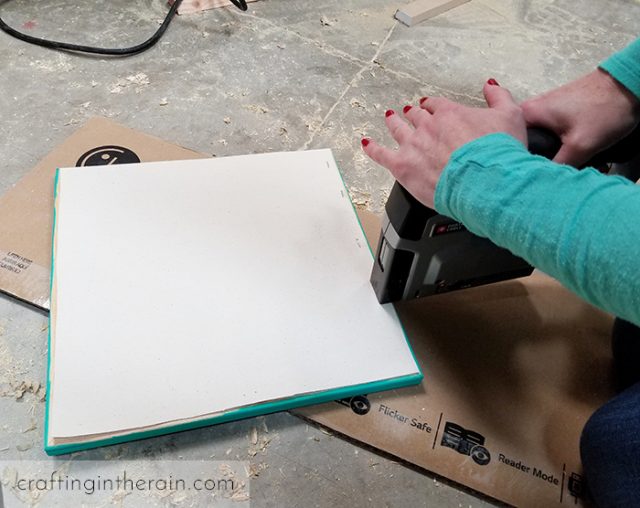
Use a staple gun to attach the canvas to the frame. Be sure to pull the edges tight while stapling so you don’t get wrinkles in the canvas. Since I used our pneumatic staple gun, I worked out on the garage and set a piece of cardboard under the frame to protect it.

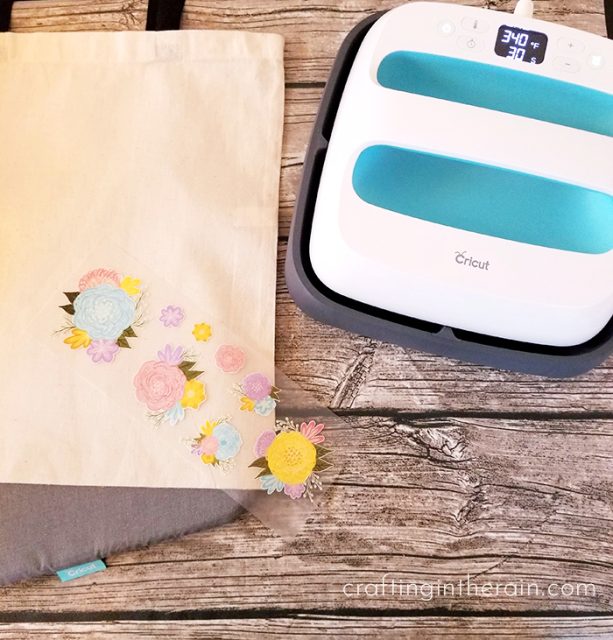
Iron-on Designs Tote Bag
In addition to larger premade designs, Cricut also has smaller designs that are great for baby clothes, napkins, hats, fabric pouches, etc. I took this set of flowers and cut them up to arrange on a simple tote bag. Use the same application instructions listed above.

Be careful to not overlap the designs on top of the plastic sheet of other designs or it will transfer to the plastic and not to the bag where you want it. Again, remember to apply heat on the back side and do a cold peel of the plastic sheet.

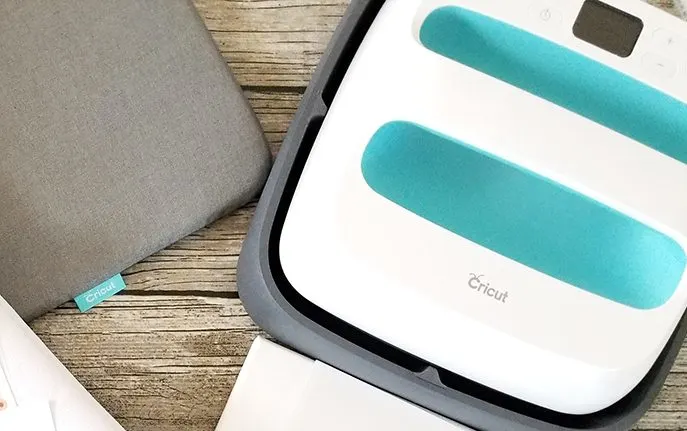
I love using the EasyPress and the EasyPress Mat together. The EasyPress heats up evenly and quickly, and the temperature and timer are easily adjusted. The EasyPress Mat gives just the right amount of cushion under my projects, protects my work surface, and directs the heat back into the iron-on design for flawless and durable results.
For more personalization, combine these ready to use designs with each other, or with iron-on vinyl cuts from your Cricut. See all the iron-on designs here. What are your favorites? What designs would you like to see come out next? I’d love to see some science and space-related designs. They’d be great for backpacks and school supplies like notebooks and pencil bags, right?
Learn more about the EasyPress in these posts:
Iron-on Vinyl on Wood
Cricut Patterned Iron-on
Cricut SportFlex Iron-on

This is a sponsored conversation written by me on behalf of Cricut. The opinions and text are all mine.