If you’ve ever wondered if you can upload your own images in Cricut (for print then cut, or just cut), the answer is YES!
And it’s not hard like you might think either. Plus, I’m going to walk you through the whole process, and even have a video linked up below, so by the end of the post, you’ll totally have the power.
This is a sponsored conversation written by me on behalf of Cricut. The opinions and text are all mine.
I purchased some Christmas images, and one of them was a cute Santa head. I wanted to attach it to a tag. Here’s the step by step how to upload your own images in Cricut Design Space.
You can find lots of free and paid options by clicking this banner:
Using Cricut Print then Cut
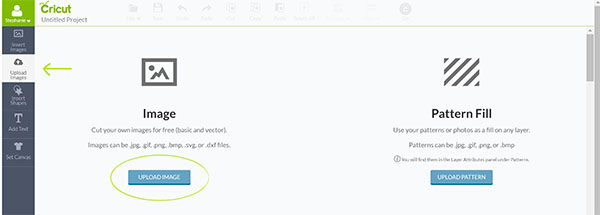
1) On a current or new project, click the “Upload Images” menu item on the left. Then click the “Upload Image” button.
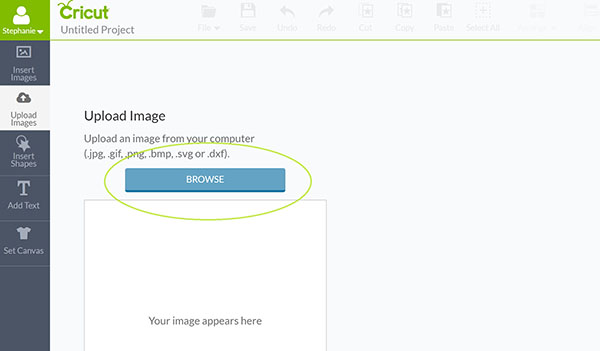
2) Click the Browse button
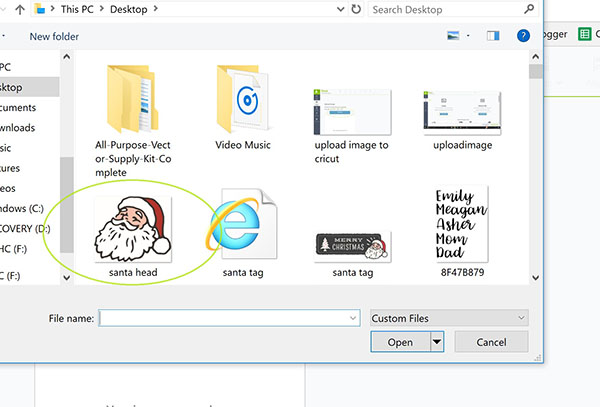
3) Open the right folder on your computer where you have the image you want to upload and double click on it.
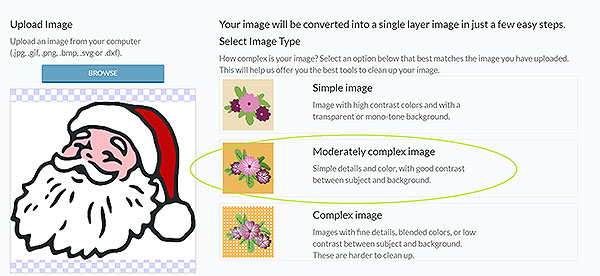
4) Now you need to remove the background. Unless I have just a black and white image, I usually like to choose the Moderate option.
5) Click on the background pieces that you’d like to erase. The background will turn to checkerboard, indicating it has been erased. Then click “Continue.”
6) Click on the uploaded image (or images) that you want to use in your project and hit the “Insert Images” button on the bottom right.
Video Tutorial for Cricut Print then Cut
If any of that doesn’t seem clear, watch this video where I walk through all these same steps.
I added my Santa image to a tag I’d already created in Design Space. To make the whole thing a Print and Cut image, position everything where you want it, then select all layers and click “Flatten”
When you click “Go” you see the screen where you can see placement on the mat and edit the number of copies if needed.
If you want to Print and Cut on cardstock, or sticker paper, or something other than your regular printer paper, make sure you put that in the printer BEFORE you print 🙂 Click “Go” again and then click “Print Page.”
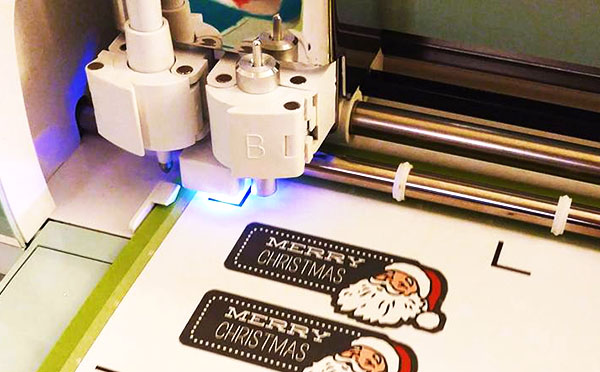
Stick the page down on the mat and then proceed like you would with any cut. Roll the mat in the Cricut and click the Cut button on the machine. The light in the machine will locate each of those 3 registration marks and then start cutting.
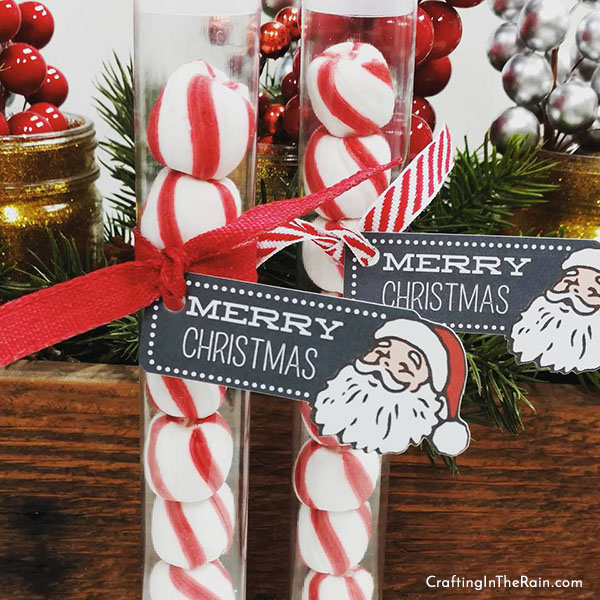
Look how great they turned out! Now they’re ready to attach to treats, gifts, whatever. I filled some clear gumball tubes with soft peppermints.
Are you ready to go print and cut your own images in Cricut now? I told you it was easy! Make something, then tag me on Instagram (@steph_crafting_rain) so I can see it!
Want to see more Cricut tutorials? Try these posts:
Cricut Explore Air 2 Review
How to layer glitter iron on
How to cut an apply vinyl
How to cut balsa wood with a Cricut
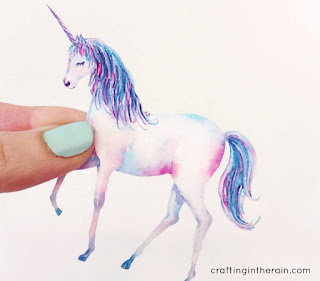
Click here for another tutorial on how print and cut your own images in Cricut, I just made these Unicorn Stickers too – check out the post!




Gigi
Tuesday 12th of February 2019
Hi there I do a ton of waterslide for epoxy cups and I recently bought a bunch of svgs and uploaded them as a “cut” image . How can I convert a cut image back to a “print” image so I can use it as both if needed.? Help!! I’m stressing. I have hundreds of svgs.
Stephanie
Saturday 16th of February 2019
Hmm, I don't think that's possible once it's been uploaded. Are you uploading svgs or jpgs or pngs?
Kara
Saturday 20th of October 2018
So do you print the image on your printer, then use the cricut to cut them out? Because the cricuit is not capable of printing colors like that right?
Maria
Sunday 2nd of September 2018
Hello ! I was wondering what kind of printer do you use ?
Stephanie
Sunday 23rd of September 2018
Hi Maria, I use the HP Envy 7640
Kathy
Sunday 18th of February 2018
I have a IPad Pro and you are showing how to do this on a desktop computer or laptop. I don’t have a mouse on my iPad so how am I going to click on something when I don’t have a mouse? This is something that a lot of women don’t understand that not all of us have laptops or desktops. Could you please explain this with an iPad screen???
Stephanie
Tuesday 20th of February 2018
Hi Kathy, Yes, I was using my laptop here, so there will be differences when using an iPad. I haven't done it myself yet, but I should try it out! You will first need an app called AnyFont. There should be some tutorials out there on how to use it, so I hope that helps a little!
Stephanie Paxman
Friday 6th of January 2017
Yeah, you can skip the printing. Watch the video above - and see where I select "save as Print Then Cut image" instead pick the one next to it that says "save as Cut file" This way it will only cut the outlines of the shape / stencil, and you won't have to print anything. Hope that helps!