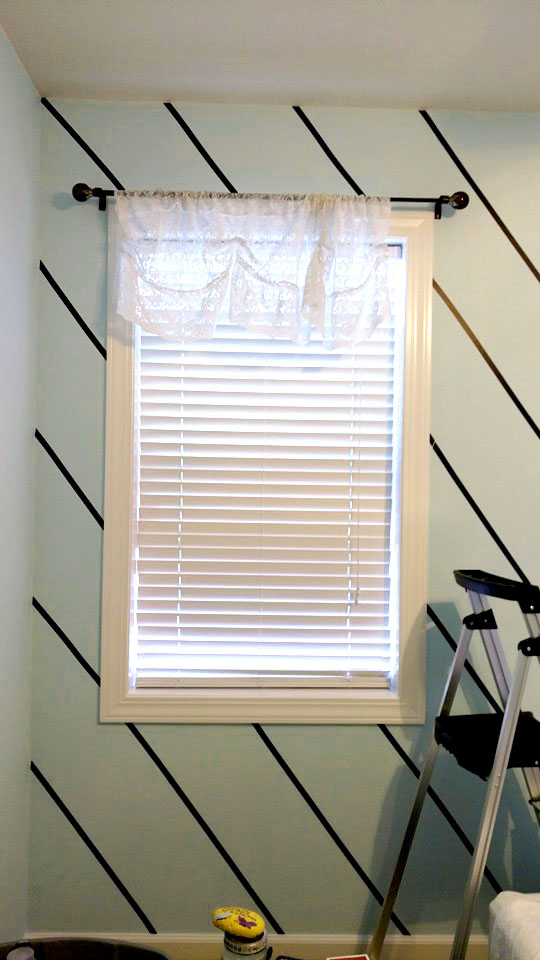
I’m working on decorating the kids’ rooms! I’ve been focusing on the girls’ rooms. In one room we tried an electrical tape stripe wall.
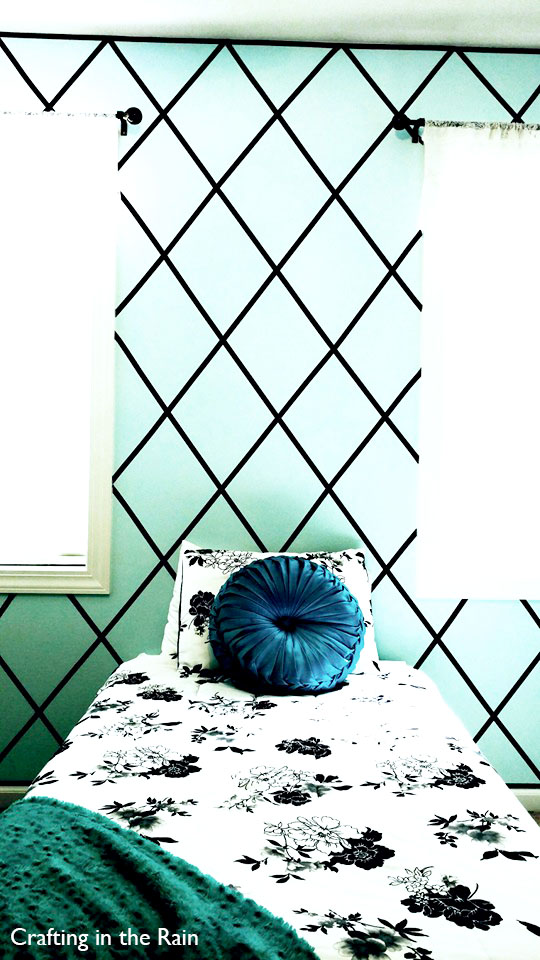
The rooms have some new bedding, new painted dressers, and in the last week I painted all the walls! This is the lattice striped wall I did in Meagan’s room.
UPDATE: So…this tape all started peeling off after about a month! I think there were a few issues. One being that the tape has a bit of stretch to it, and as it started to contract back up it released itself from the wall.
Also, the tape is a bit thick and heavy, so as it started to fall off of one place, it started to pull the rest down with it.
So we peeled off all of the tape and went with this vinyl triangle treatment instead, and we included a lot of tips on how to apply vinyl to a textured wall.
But feel free to still read through this post to see how we did it!
Supplies: (affiliate links)
Black electrical tape
Scissors
Measuring tape
Pencil

Meagan and I talked about a few different ideas on how to make her wall pretty and we decided on a fun lattice pattern. As I thought about how to do it though, using paint seemed like it would just have too many steps.
I could either tape off all the lines and paint in between them (which meant taping twice as many lines. Or, putting down one set of tape lines and painting over the whole wall with a second color.
Then I’d have to deal with trying to get clean tape edges either way. I realized the best way to create the look was just leave the tape right up on the wall! (Remember several years ago I did this small wall in our old house with white electrical tape.)
I bought a 10-pack of electrical tape at the hardware store, using 5 of them. Each roll ended up costing only about 50c, so way better than buying single rolls at a few bucks a piece.
I measured the height and width of the wall. I got 105 inches tall and 160 inches across. I made pencil marks across the ceiling and baseboard at every 16 inches. Up the sides of the walls I did marks at 21 inches apart.
Then I started connecting the marks with the tape. It was tricky because the windows got in the way. And I did some other measuring now and then (like how far up from the baseboard should these two lines cross to match the last one I just did.)
I admit to doing a bit of eyeballing as well (that line seems to curve a little, better try to straighten it out.)
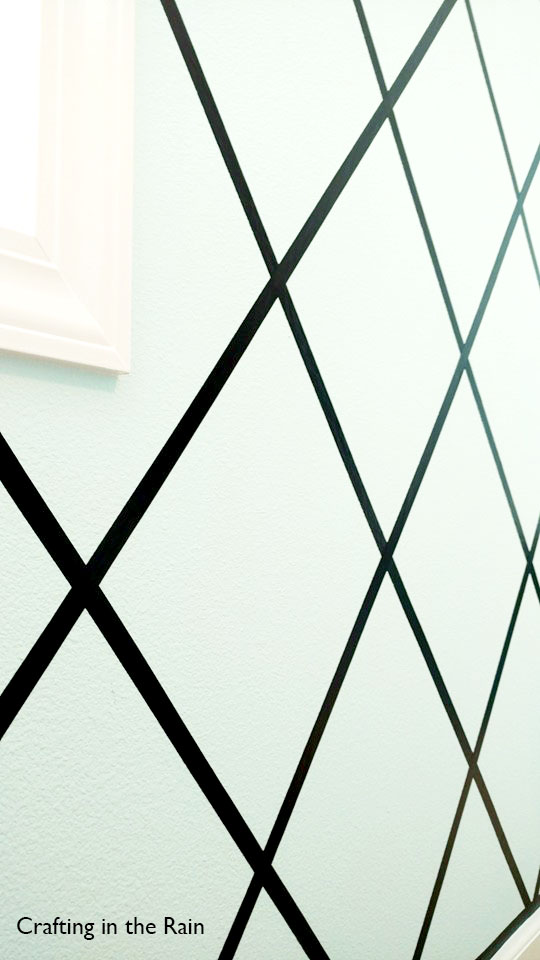
I trimmed off the end of each strip of tape at an angle to try to get it to line up with the wall or window trim as best as possible. Sometimes I cut too much and had to cut another small piece to overlap it.
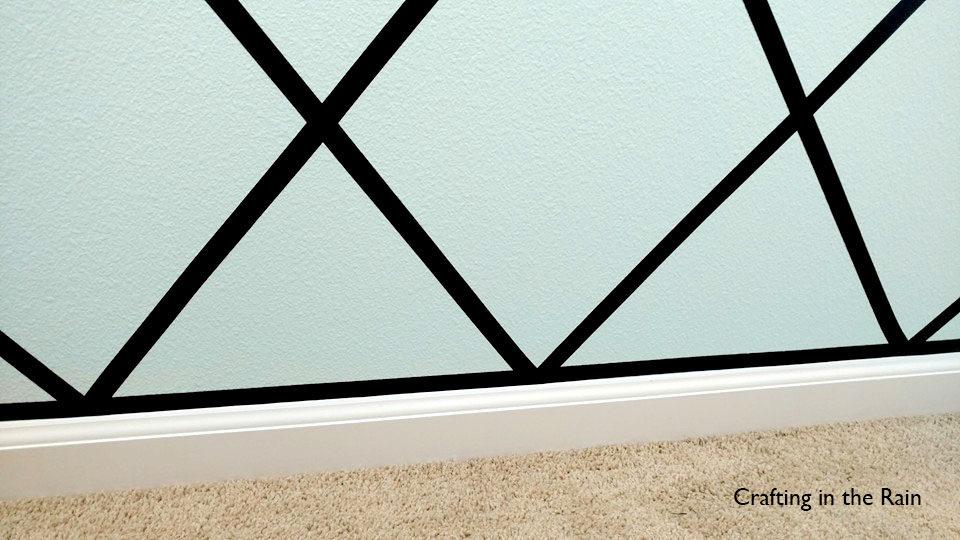
To keep all the edges from coming away from the wall (and to cover up where the intersections didn’t meet up exactly right) I added a border of tape all around the edges of the room.
Some things I learned:
- Since the tape is flexible, it is sometimes hard to keep it exactly straight. I just did my best and re-adjusted a bit if I needed. But it’s not exactly perfect. You could probably do more measuring if you wanted- like marking where the tape should all intersect.
- The tape is pretty sticky and can peel up fresh paint. My paint had only dried a day, and just a bit of it stuck to the tape when I was trying to move a piece. Luckily, the paint color is so light I didn’t care 🙂 You should probably wait at least 2 days after painting or be prepared to do a bit of touch up if needed.
- I still think this was way easier than trying to get this look with paint.
