A few days ago I wrote about how I had removed all the baseboards on our main floor while we replaced the flooring everywhere. Now I’m showing you how we put them back in! If you are installing new baseboards, a lot of this will be the same too, but you will need to cut each piece to fit along the walls of your room.

When we left off the last post, How to Remove Baseboards, I had scraped off any paint or caulking still stuck to the baseboards and walls. Here are the tools you’ll need, and the steps to take.
 |
| (affiliate links) |
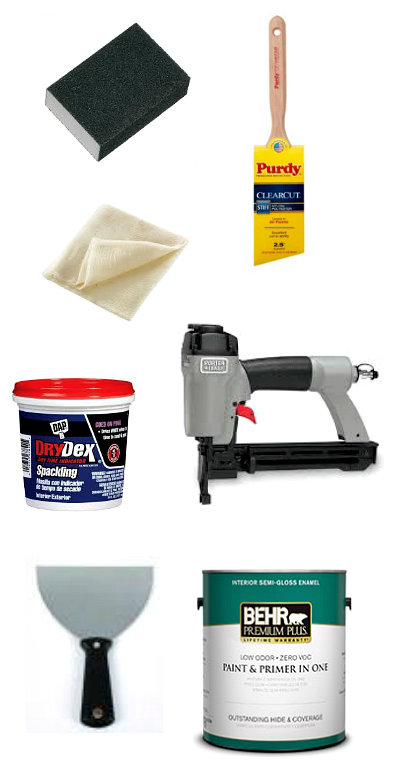
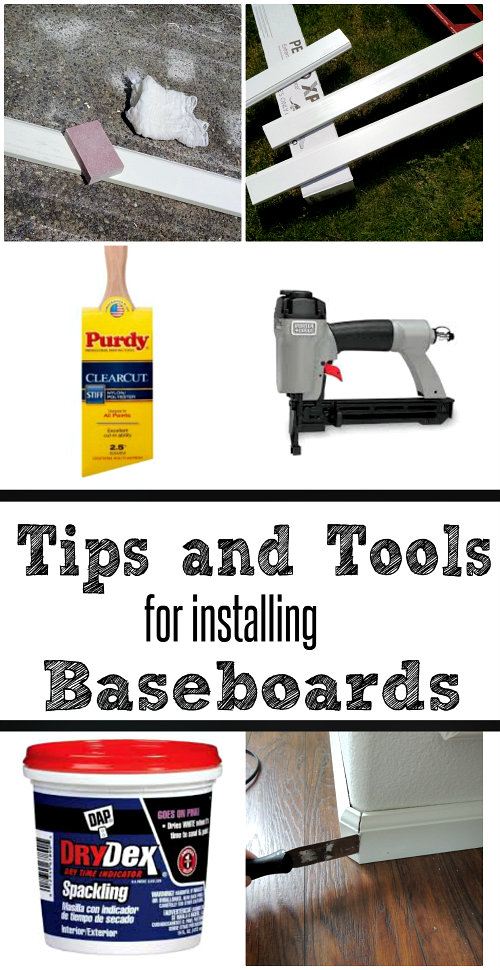
Tools and Supplies:
Sanding block
Cloth (tack cloth, cheese cloth, damp towel)
Purdy Angled Brush![]()
Paint
Nail Gun![]()
Putty knife
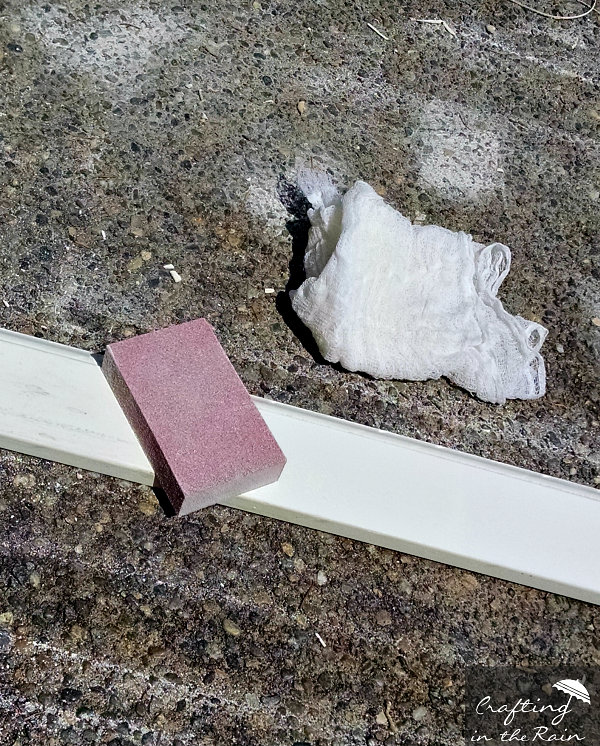
Step 1: (skip if using new baseboards) Lightly sand the surface of the baseboards. A sanding block works perfectly for this job. Wipe all dust away with a cloth.
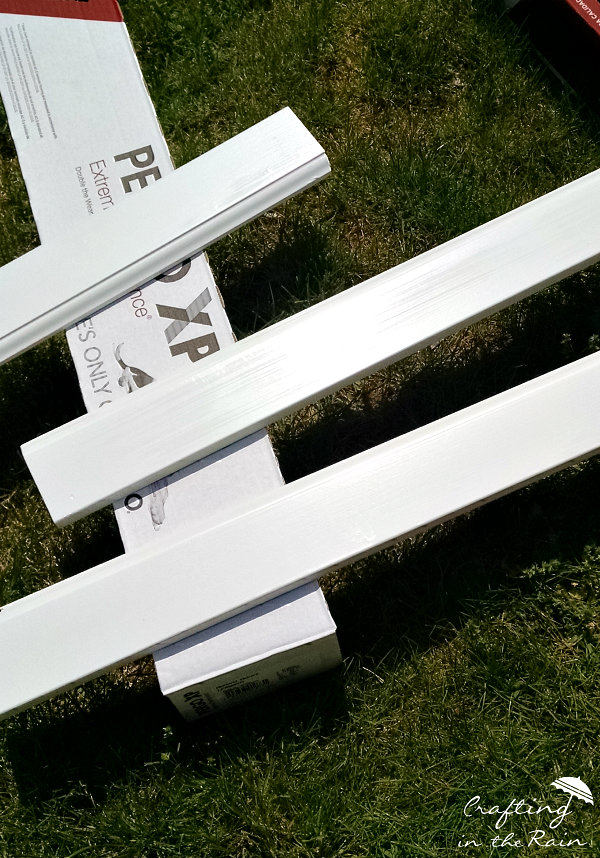
Step 2: Paint, making sure to get the top edge as well. I love my Purdy angled brush. Paint can be a specific trim paint or a regular paint in semi-gloss. Our color is Behr Frost.
Step 3: Dry fit each baseboard piece in its correct location. This is when you’ll be so glad you numbered the walls and the backs! If you are using new baseboards, you’ll of course need to measure and cut each piece now. Having done this before as well, I recommend dry fitting these too. You will make sure everything fits nicely before attaching any of them.
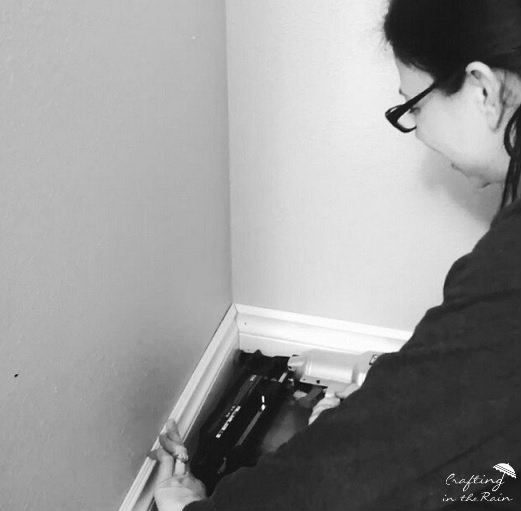
Step 4: Nail baseboards into the wall–wear safety glasses. Set up your nail gun (we have one that connects to an air compressor.) We used 2 1/2 inch nails. It’s great to have help when nailing these in so one person can hold the baseboard in place so it stays tight in the corners and is pressed firmly against the floor and the wall, and the other can fire nails in going with about a 10-12 inch space between each nail. **Pay attention to the number of nails you have in your gun! We’ve learned the hard way that even if the gun is empty it will make holes.
Step 5: Patch and paint holes. Now you’ve gone and made holes in all your beautiful baseboards, but don’t worry, we’ll fix those right up. Some people recommend wood putty. I much prefer spackling…I find it easier to work with. Simply put a little bit into the hole and scrape it flat with a putty knife. You can also fix any corners where the baseboards have a little gap. Let dry and sand smooth.
If your paint has primer in it, go ahead and just paint now. Otherwise you should do a layer of primer so your patches blend in better. A very small brush works great here because you have less of a chance of getting paint on your floor.
**Note that some of the nails may still stick out a bit and should be tapped in with a hammer and nail set.
Let all that paint dry and we’ll get to the final finishing touch next. Since I’ve learned a few tips, it’s basically a tutorial by itself. I’m putting it in another post: How to get a perfect caulk line. Stay tuned!
Jillian @ Hi! It's Jilly
Tuesday 26th of May 2015
Great post! We painted and replaced all the baseboards in our first house and it made a *huge* difference!
Christine Graves
Tuesday 26th of May 2015
Great tips Steph! I am loving how you dealt with the rounded corner too, it looks great! I used that same exact trim in my house and I love how it really updates the rooms! I hope you love yours as much as I have loved mine.