The Cricut Minute #5
Have you made many projects with Print then Cut? Or have you kind of avoided it?
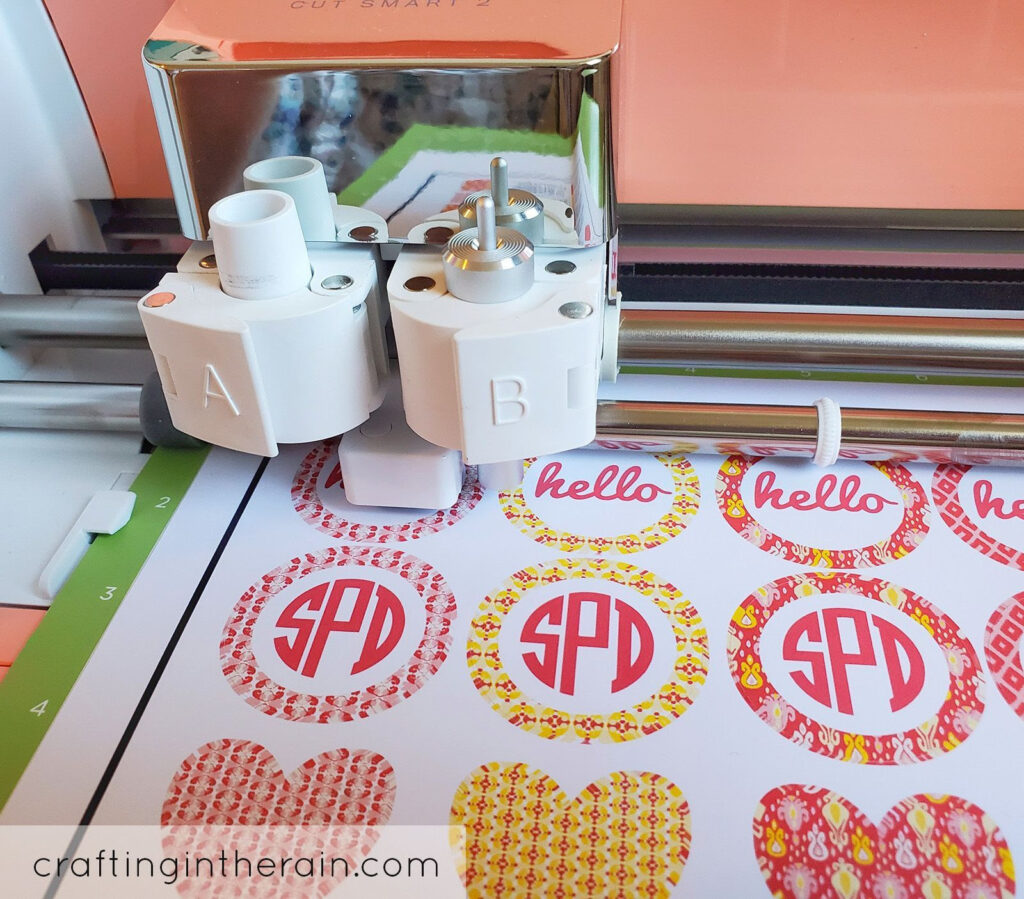

I had my fair share of problems when I first tackled it a few years ago. But the most frustrating was when I was trying to print out a simple circle label, and my Cricut kept trying to cut out the individual letters I had in the middle!
Today’s Tip: Print then Cut needs a Bottom Layer
Here’s what I mean – if you choose a circle frame, and put some text inside, and you even make sure to flatten the pieces, the frame is stil hollow and Cricut will cut the printed letters, not just around the circle.
Fixes for Cricut Print then Cut
First off, an easy way to tell if your image is ready is to change the color of the canvas – remember that tip from a few weeks ago? If you can see any of the canvas color in your Print then Cut image, it’s not ready yet.
Create an offset of the image, change it to white (or even another color if you want) and flatten it with the whole design.
If you don’t want any border to show at all, make the offset “0”
Remember to actually “Flatten” the whole design before printing – even if your image and text are both Print then Cut layers – so that Cricut will cut only the outline of the whole thing.
I’ve got more Print then Cut tips coming, but let me know if you have specific questions about it – and if this tip about having a background or “bottom” layer was helpful!
If you’re ready for a post with more information, watch how I made some Adulting Success stickers here 🙂