Learn how to sublimate a mug with Creative Fabrica designs. I’m showing you how to make one for Christmas!

If you ever get stumped in the craft room or need some extra inspiration, make sure you visit Creative Fabrica! You’ve probably heard of the site, either from me or from friends doing craft tutorials.
Check out the free SVG section for files to add to your collection. You’ll also find free fonts, which you can use to easily personalize your own projects.
The design I’m using today is the colorful trees from the Hand Drawn Christmas PNG Bundle.
Supplies for sublimation printer mug
- Sublimation Printer – I’m using an Epson EcoTank that I converted to use sublimation ink
- Sublimation Paper – I’m using Hiipoo paper – use the code CRAFTINGRAIN for 10% off your order
- PNG or Sublimation design from Creative Fabrica
- Mug Press – I’m using the Cricut Mug Press
- 12 oz Cricut mug or other similar sublimation mug
- Lint roller
- Heat resistant tape
- Butcher paper
- Heat safe gloves
- For the tag- cardstock, adhesive, and string.
Start by downloading the Hand Drawn Christmas PNGs. You can buy this as an individual purchase, or if you have a Creative Fabrica subscription, you can download it for free.
You can also start by browsing their Free section and see if anything jumps out at you there.
Let’s move on to working with the image. There are a few programs you can use including Photoshop, Illustrator, gimp, and even Google Docs.
If you are doing your own sublimation printing you’ll have to play around with programs and settings you like best. Lots of YouTube videos can teach you strategies to help.
I cropped the image to remove the phrase at the bottom. I just wanted the trees. You can also use an eraser tool to remove unwanted parts of a design. Then I duplicated the trees so they could wrap all the way around the mug.
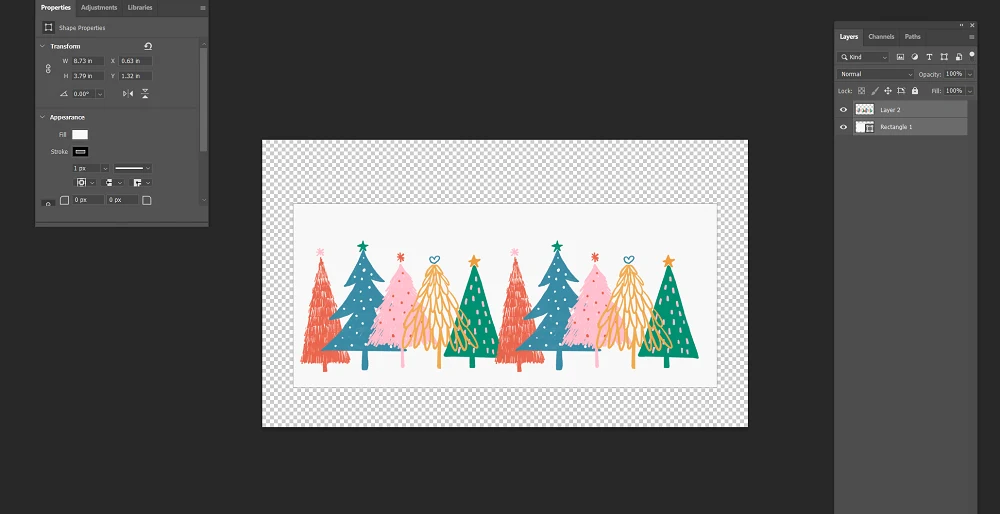
Make sure that your design fits inside a rectangle area of 3.79 x 8.73 inches.
Print the design on a sublimation printer.
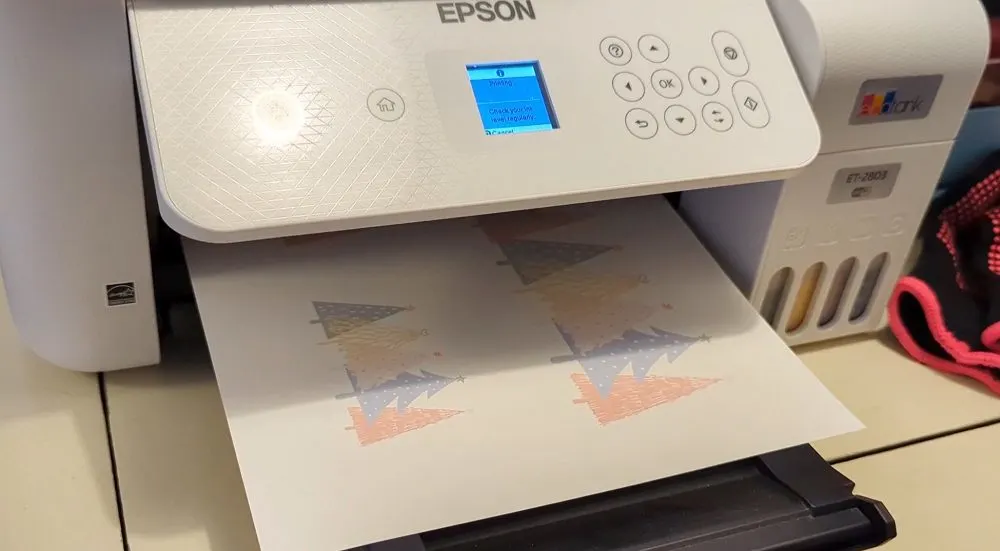
Turn on the heat press you’ll be using and clean the mug with a lint roller.
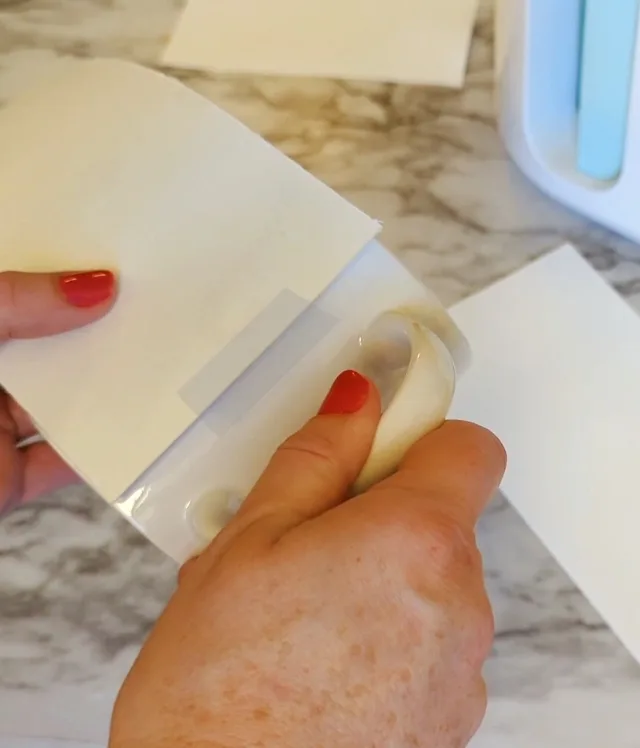
Use heat-resistant tape to secure the design, centered and level, around the mug. To prevent ink bleed through to the mug press, cut a piece of butcher paper that’s about 4 inches by 9 inches and tape that over the sublimation paper.
When the press is heated, add the mug and heat for the recommended time for your machine. For the Cricut Mug Press, I’ll just press down the lever, keeping the mug handle centered in the opening, and wait for the machine to beep.
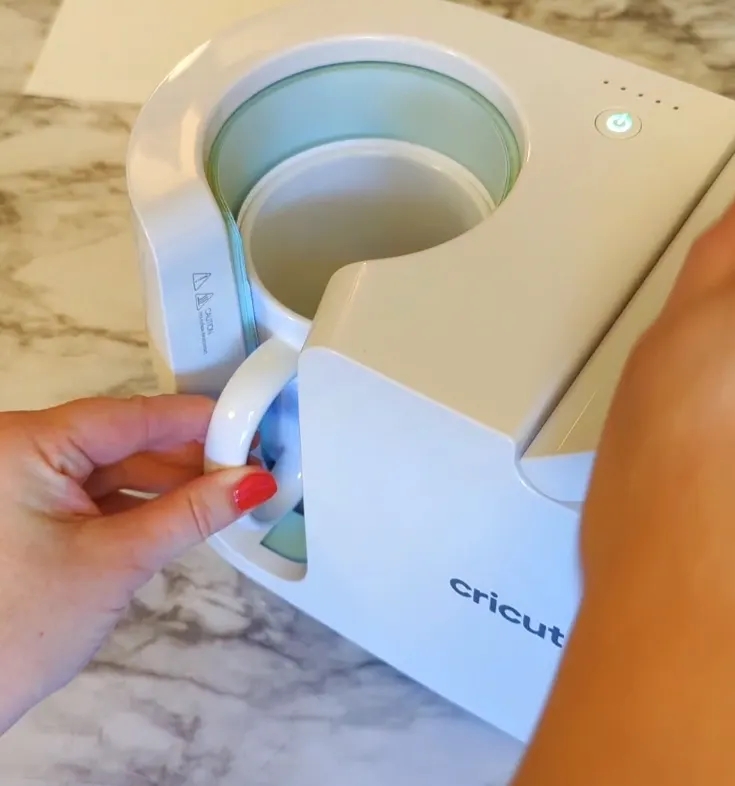
When the press beeps, lift the lever and carefully remove the mug. The mug handle is cool but the rest is very hot. I like to set mine on an EasyPress Mat while it cools.
Even when I’m wearing my heat safe gloves, I like to let it cool at least a couple of minutes so I don’t risk ghosting the design at all.
Remove the tape and papers and reveal the beautiful mug!
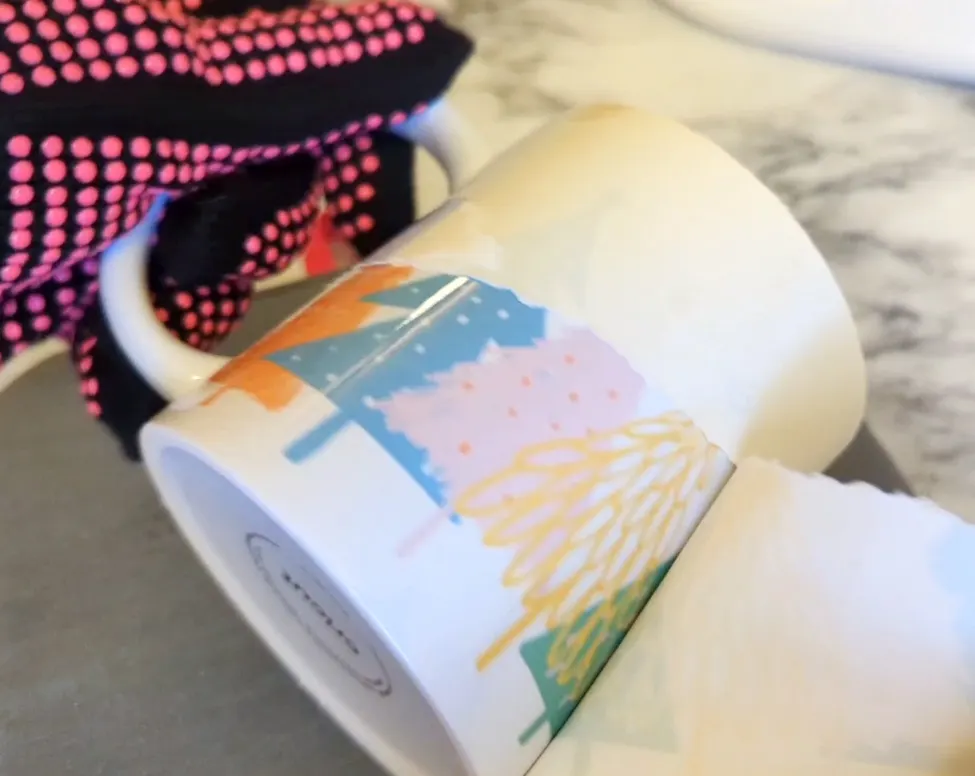
Now, it’s a beautiful gift the way it is, but let’s bring it up a notch by cutting our gift tag for it.

The gift tag is another design I found on Creative Fabrica – an SVG for a tree tag.
Download the file from Creative Fabrica and upload into Design Space.
I’m using pink, teal and green cardstock. Send the project to cut and load in each mat with the correct color on it.
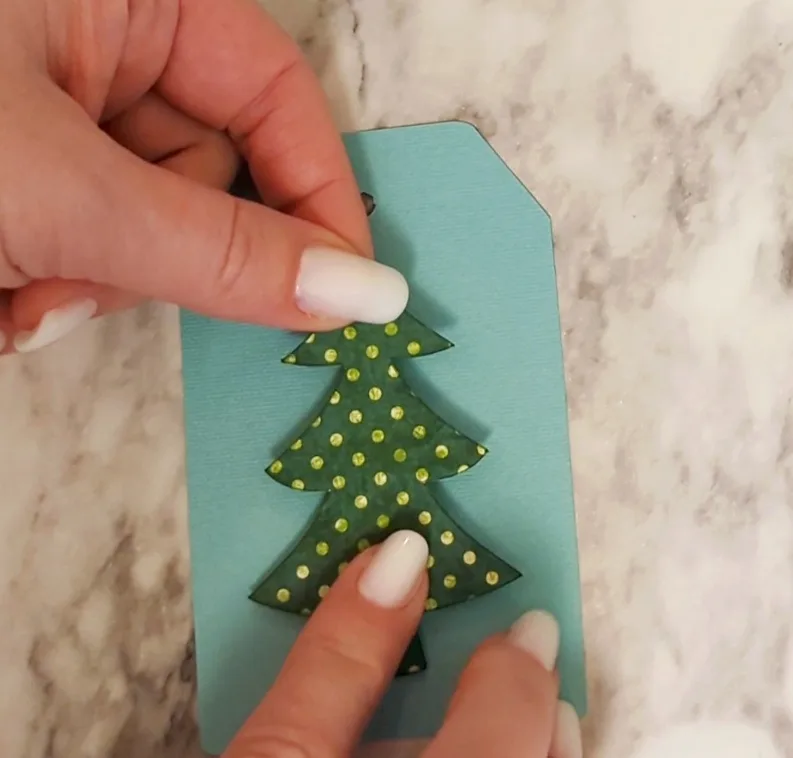
Dress the tag up a little bit by running an ink pad around the edges, and curl up the ends of the bow. Glue on the tree and add the bow to the top of the tree and roll the small piece of pink to be the bow center.
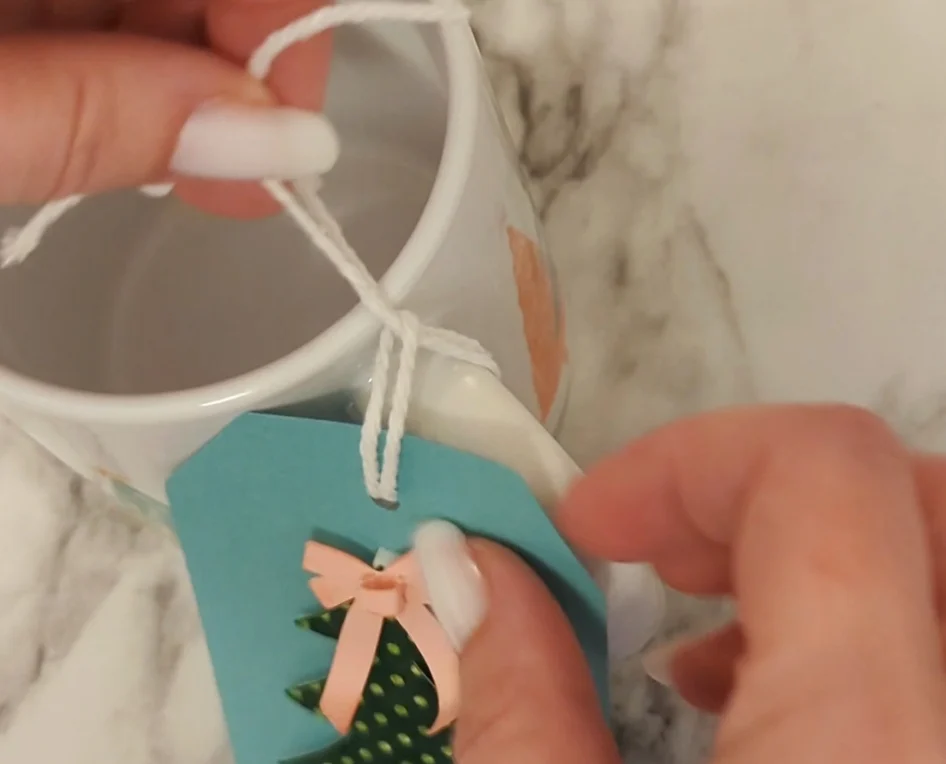
Use some ribbon or string to tie the tag onto the mug.
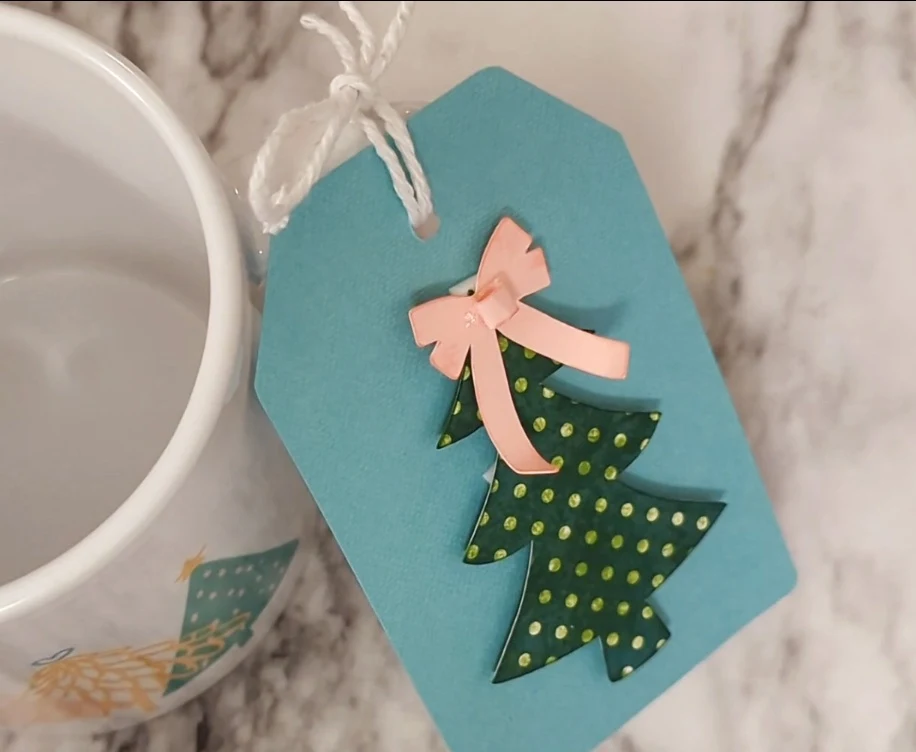
What do you think you could find on Creative Fabrica to make your holiday crafting and giving even easier?
If you have any questions about the mug or about Creative Fabrica, please let me know – I’m happy to help!
