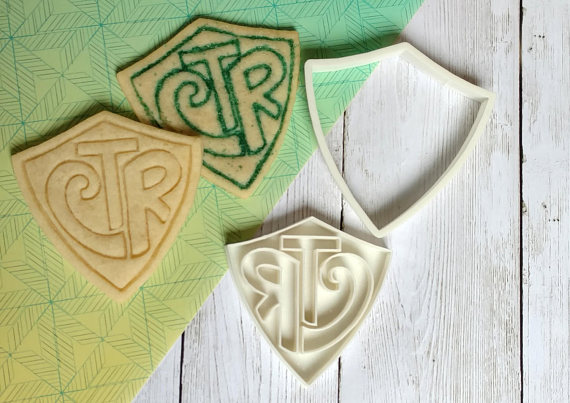
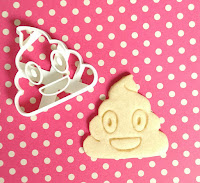
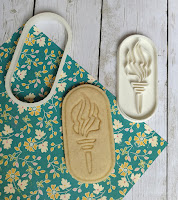
For the last few months my husband has been playing with and learning about 3D printers. They’re really pretty cool, and he’s made some fun things for the kids, this bunny for my Easter decor, and lots of cookie cutters., including LDS cookie cutters.

This means we’ve been making a lot of cookies too, to try out recipes, and to practice making the cookies. (The kids kind of love it.)

If you’ve used cookie cutters with a pattern on top, you probably know they can be hard to use sometimes. The dough has to be just the right thickness, it often gets stuck up inside the pattern-ruining that cookie, and then when it bakes, the cookie spreads out and you lose the detail of the design.
To fix the first part of that problem, we’ve been making 2 piece cookie cutters. One piece has the design to stamp into the dough, and the second piece is just the outline, which actually cuts through the dough to make the cookie shape.
The second fix is to use the right cookie dough recipe.
This one is slightly adapted from Sweetopia
Sugar Cookie Recipe that won’t spread
1 cup butter, room temperature
1 cup sugar
1 egg
1 1/2 tsp vanila (or OTHER flavor like Orange, Lemon or Almond. It’s on my list to try Coconut next)
2 1/2 cups flour
dash salt
In a stand mixer, blend butter and sugar, but don’t beat it to fluffy and airy. Denser is better here. Add egg and flavoring mix. Add flour and salt and mix until combined.
Split dough into two sections and flatten between sheets of plastic. Place in fridge for 30 minutes.
Preheat oven to 350. Lay a piece of wax paper on the counter and sprinkle with flour. Roll out dough to about 4-5 mm (less than a quarter inch). Press the stamped part into the dough. You might need to practice a few times to get it deep enough, but not too deep. Position the oustide cutter piece around the stamped design and press all the way to the counter.
Transfer all cookies to a cookie sheet lined with parchment paper and chill in the fridge for about 10 minutes before baking.
Bake for 10-12 minutes.
**A fun way to decorate them is to brush colored sprinkles/sugar into the design before baking.
Watch this video tutorial for help too!
Check out the cookie cutters for sale here
*Don’t see the cookie cutter you need? Ask about custom orders!*


