Are your kids out of school for the summer yet? We have a few days left, but we’ve had some unusually warm June weather and we’re itching to just be done with school already! Even though we aren’t completely routine-free yet, I decided it would still be fun to have them work on a craft project and enjoy a tasty treat too.
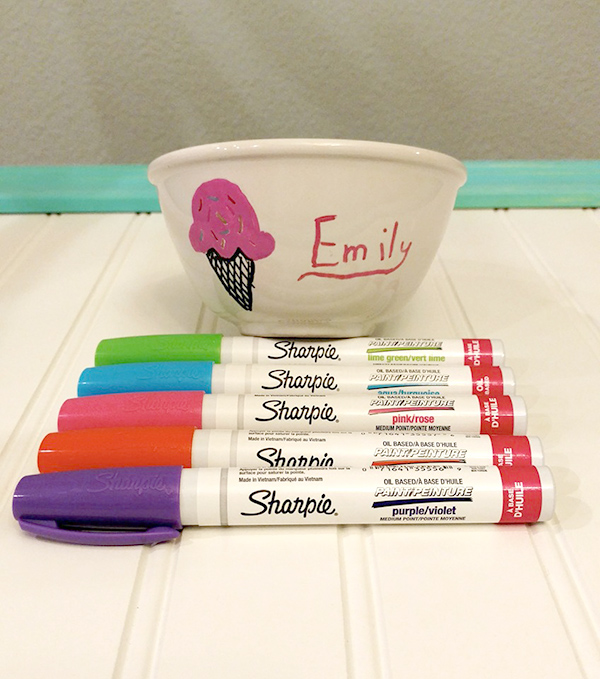
To get us even more in the mood for summer we decorated ice cream bowls with Sharpie Paint Markers.
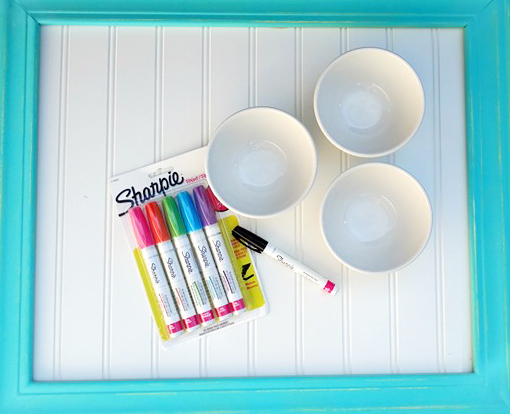
Here’s what you’ll need:
Simple white bowls (I got these from IKEA)
Sharpie Paint Markers (found at Michaels–at my store they were on an end-cap near the paint.)
Pencil
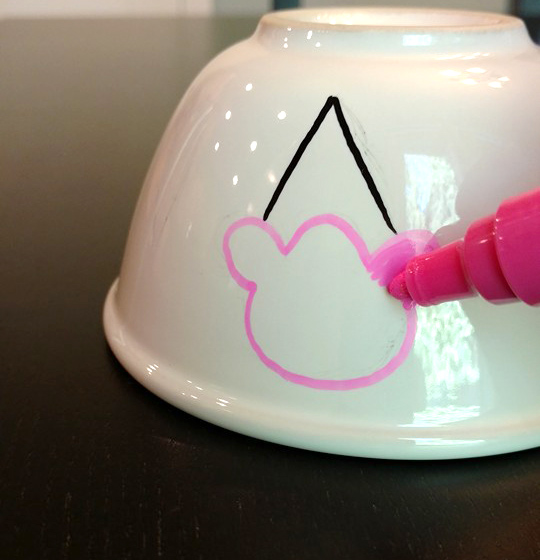
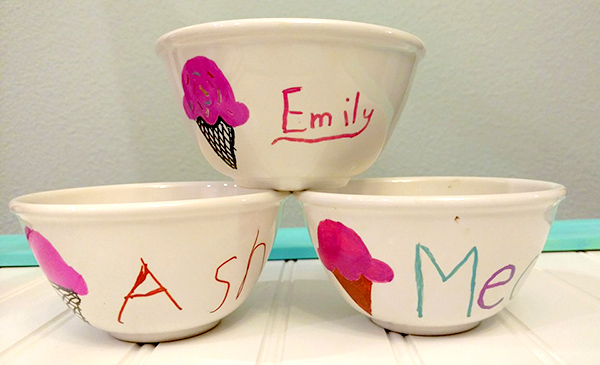
Sketch out a design lightly on the bowl with a pencil. Or live wild and free and just start with the marker. But I drew an ice cream cone on each one for my kids to color, and then they added their names (using the pencil first.)

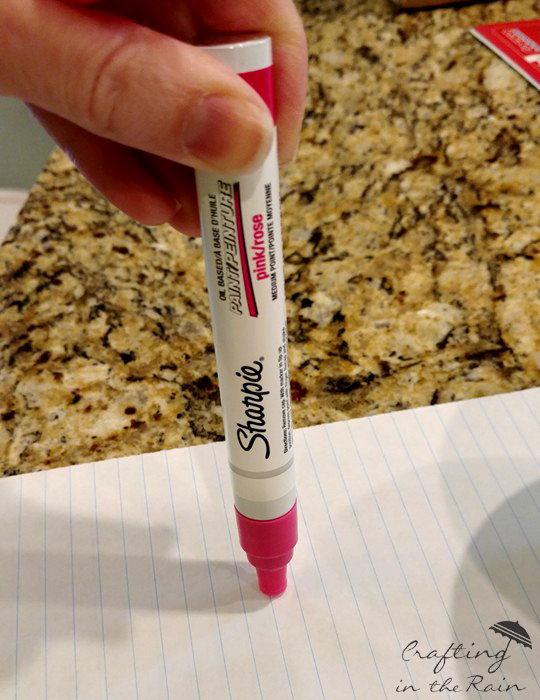
To first use the Sharpie Paint Marker, remove the cap and press the tip down onto a piece of scrap paper for 5 seconds. Then shake the pen. Then press tip down for another 5 seconds. Repeat pressing the tip down until paint fills the tip and makes a mark on the paper.
Fill in the designs with the markers.

Let the designs air dry first, which doesn’t take too long. Arrange them on a cookie sheet and set in a cool oven. Turn it on to 350 degrees, and when it reaches temperature, set a timer for 30 minutes. At the end of the timer, turn off the heat but leave the bowls in the oven to cool.
When they are completely cool, remove from the oven and the designs will be permanent. The orange turned a teeny bit brown (which was perfect for some of the ice cream cones!) but that may be because I accidentally left mine in past the 30 minute timer.
Now what good is an ice cream bowl with no ice cream to put in it? My kids would say “Nothing!” and I agree with them.
We made Fudgecicle Ice Cream, and it just takes 2 ingredients!
1 small package sugar free instant pudding mix (chocolate)
1 3/4 cup half-and-half
(and we added a third ingredient–cookie pieces–so feel free to experiment)

Whisk together until well combined and pour into an ice cream maker. Run the machine until the mixture is thick, about 15 minutes, then remove from the bowl. Serve immediately or put in a plastic container and freeze for a couple of hours to harden. If you don’t have an ice cream maker, pour it into popcicle molds and turn them into fudge pops!

Go find my picture on Instagram, give it a like, and then follow the hashtag #SharpiePaintCreate for more great things you can make with your Sharpie Paint Markers. You’ll find projects on wood, glass, plastic, stone and more.
What would you make with Sharpie Paint Markers?
This post is part of a social shopper marketing insight campaign with Pollinate Media Group® and Sharpie Paint Marker, but all my opinions are my own. #pmedia #SharpiePaintCreate https://my-disclosur.es/OBsstV

Crystal Nell
Saturday 11th of June 2016
These are cute and a fun project for the kiddos to do :)