• About
  • Contact
  • Shop
    • Facebook
    • Instagram
    • Pinterest
    • YouTube
  • Crafts
    • Disney
    • Kids
    • Sewing
  • Holidays
    • New Year
    • Valentine’s
    • St Patrick’s
    • Easter
    • Mother’s and Father’s Day
    • July 4th
    • Halloween
    • Thanksgiving
    • Christmas
  • Cricut
  • DIY
    • Cleaning
    • Organization
    • Projects
    • Scroll Saw
  • Downloads
    • Printables
    • SVGs
  • Recipes
  • Life
    • Family
    • Fashion & Beauty

Crafting in the Rain

More Useful Tips

Uncategorized

This post may contain affiliate links. As an Amazon affiliate, I earn from qualifying purchases. I receive a small commission at no cost to you when you make a purchase using my link.

11 Jan 2012
  • Share
  • Tweet

Here’s a collection of “Yay–It worked!” simple projects.

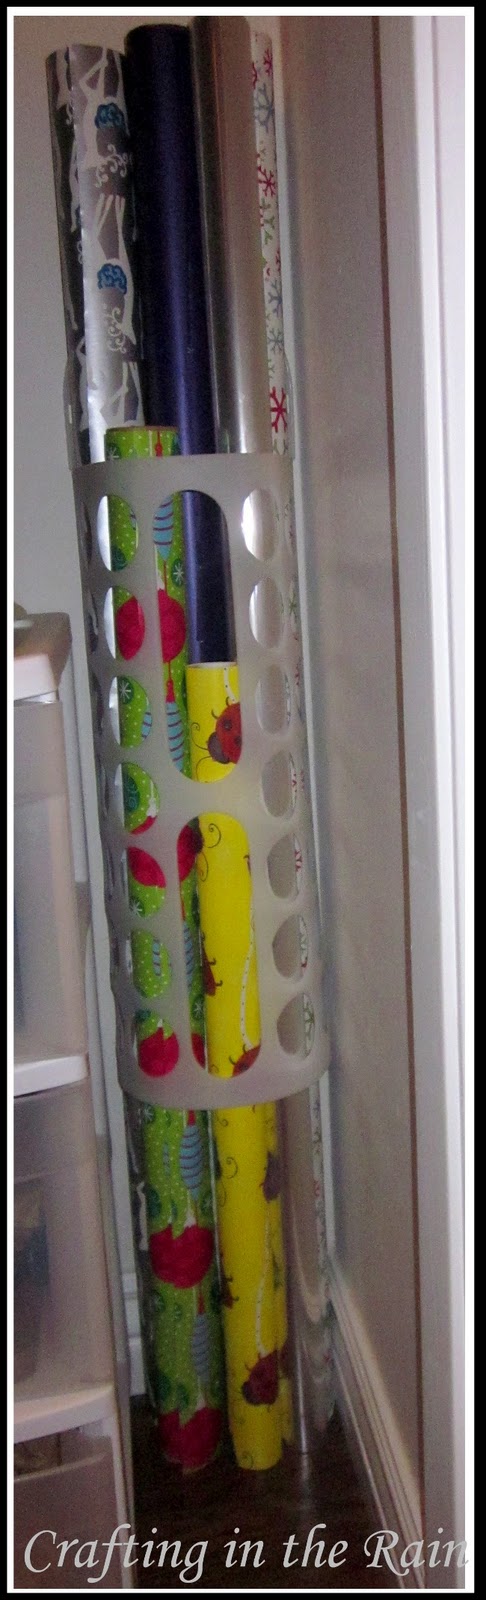
1–Wrapping Paper Storage.  While wandering IKEA the other day (who else loves that place?) I remembered a brilliant picture of a plastic bag holder used as wrapping paper storage.  So I picked one up.  

We don’t have many rolls of wrapping paper, but what we do have has been precariously leaned in a corner of our closet or stuffed under our bed. Look at it now!  

  
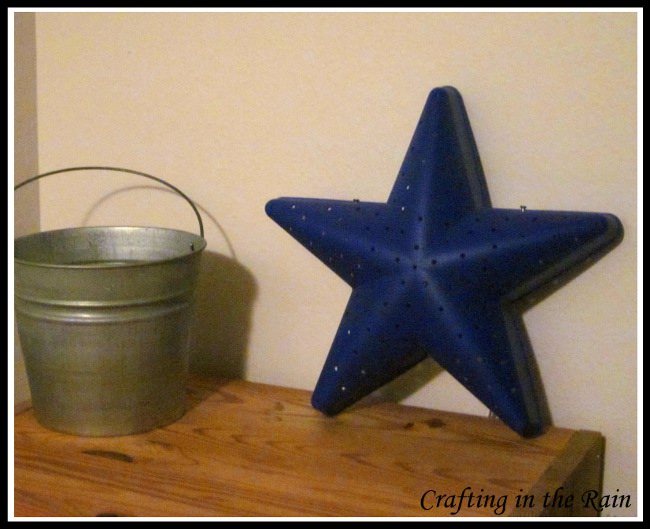
2–Little Kid Alarm Clock.  During the same trip to IKEA I also picked up a blue star light.  Our 3 year old had been starting a bad habit of getting up earlier and earlier (and remember the time he got up super early to eat brownie pops?)  We couldn’t put a clock in his room though because he’s in bed by 6:30…and we wanted his “ok wake up time” to be 7 the next morning, just like his sisters.  I’m pretty sure sometimes he’d look at the 7 PM time and be certain that he could get up!  So we bought a digital timer (like what you’d use if you were setting up your lights for going on vacation) and set this light to turn on at 7 AM.  Now he knows that he can come out of his room when his star light turns on.  So far it’s totally working!

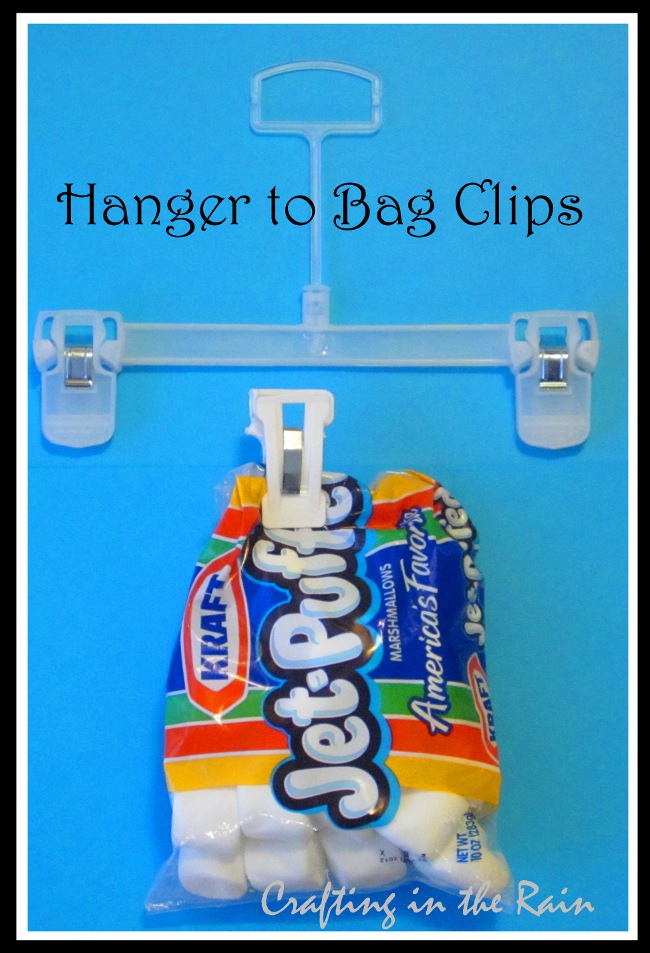
 3–Bag Clips from Hangers.  I took a couple of these pants hangers (that I never use anyway) from my kids’ closets and clipped off the ends with pruning shears.  Then I passed the cut end over a flame to melt any possibly sharp edges. 


Pin It

Do you have a useful tip for this fine Wednesday?

Leave a Comment

« Donated Hair
New Van Vinyl »

Leave a Reply Cancel reply

Your email address will not be published. Required fields are marked *

This site uses Akismet to reduce spam. Learn how your comment data is processed.

Hi, I'm Stephanie - Welcome to Crafting in the Rain where I've been blogging about the crafty life since 2011. Read More…

Archives

  • Home
  • About
  • Contact
  • Disclosure
  • Index
  • Privacy Policy

Stephanie Paxman is a participant in the Amazon Services LLC Associates Program, an affiliate advertising program designed to provide a means for sites to earn advertising fees by advertising and linking to amazon.com.

Copyright © 2011-2023 Crafting in the Rain