This cabinet hardware installation post is brought to you by D. Lawless Hardware. All thoughts and opinions are my own.
{Maple cabinets with black knobs}
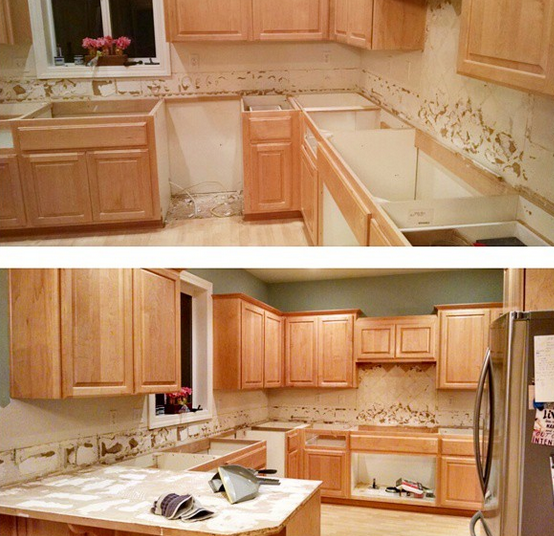
A couple of weeks ago I showed you our finished kitchen.
We didn’t replace the cabinets (but just about everything else is new.) We did do an easy update on our cabinets by adding knobs and pulls to the doors and drawers. It made such a difference in how the cabinets look!

Here’s some of the “during” of removing counter and old backsplash. The cabinets are still plain on the front, and they’re just so…boring.
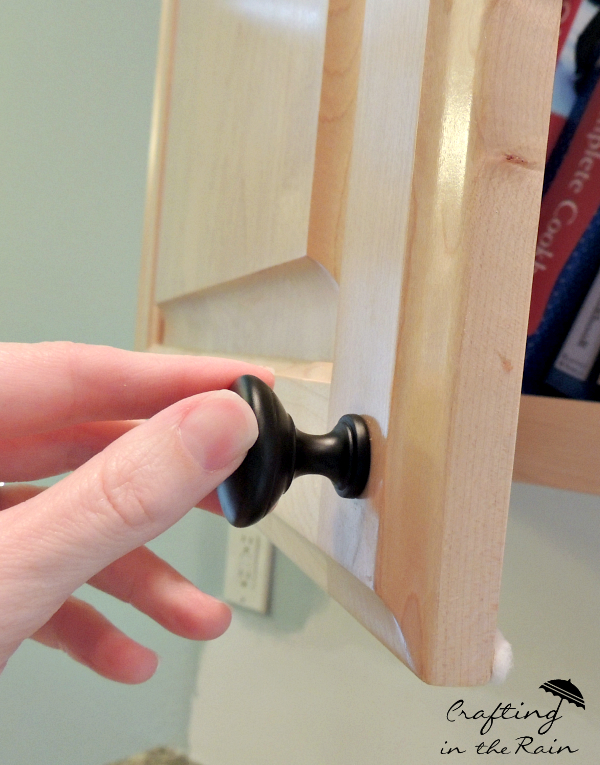
Since there are so many doors and drawers in this kitchen (yes, I’m spoiled) we knew we wanted something pretty simple for the hardware. We chose the flat black knobs and flat black bow pulls from D. Lawless Hardware.
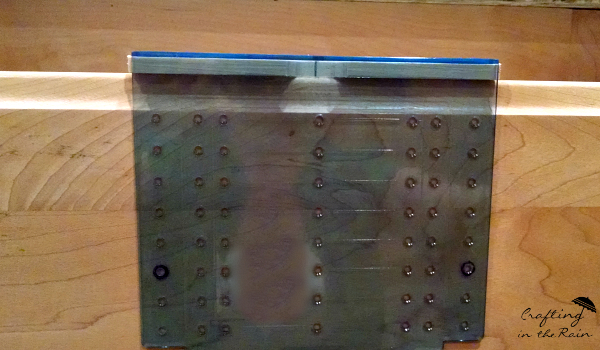
To actually install the knobs and pulls you’ll want a jig so that each one gets lined up properly.

We used this one–Cabinet Door and Drawer Template and not just a kit we could find at Home Depot because our pulls had a span of 5 inches. That was too wide for the Home Depot ones to work.
And now how to install them.
DOORS
1) Hold the template up on the inside bottom corner of the door and find the hole that lies where you want the knob to be. Some “rules” exist about where they should be placed, but we went more for just where we thought they looked good!

2) Mark the hole on the template with a Sharpie so you know for sure which one to use on each door.
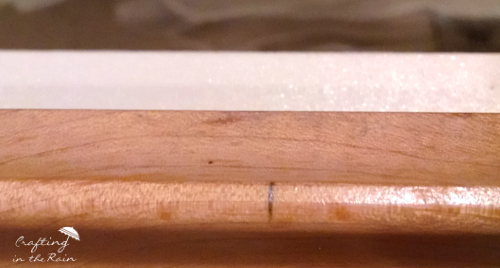
3) Use a tiny drill bit to put a tiny divot in each of the doors where the hole is. This will keep the bigger bit from slipping and making your knobs slightly out of line and driving you crazy forever.
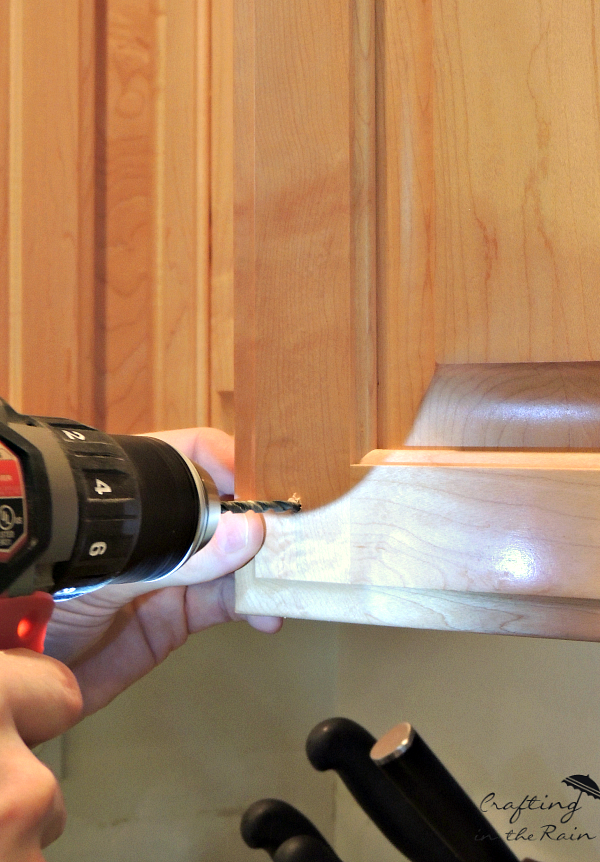
4) Use the right size drill bit for the screws that go with your hardware. We actually drilled some trial holes in a scrap piece of wood so we could find the size where the screw exactly fit but didn’t wiggle. Drill holes into each door where your divot mark is.
TWO IMPORTANT POINTS Make sure that your drill is going into the door square and level–no tilting. Also, make sure you don’t drill into any cabinet framing behind the door! You may need to drill while the door is open to avoid this.
5) Install knobs by inserting screw through the back and twisting the knob on the front. If you find that not enough screw sticks out to add the knob on the front you can buy longer screws of the same size.
DRAWERS
1) Find the center of each drawer and mark it on the top with a pencil. Put the template on and decide how far down you want the pull to be.
On a few of ours, there wasn’t a hole set exactly where we wanted, so we made a spacer out of a paint stick and put that between the template lip and the top of the drawer.
2) Drill pilots and holes just like before.
3) Most drawers have the drawer box and then the drawer front too, so it will be way too thick for the screws. We chose to drill partway through from behind with a larger drill bit to countersink the screw. Another option would be to try to find screws the right length from the hardware store (take one with you so you can match the threads). For these particular drawer pulls we chose, since the ends are tapered, the screw only goes in a little bit, which means the next bigger screw might be too long, so we had to countersink to get the right length.
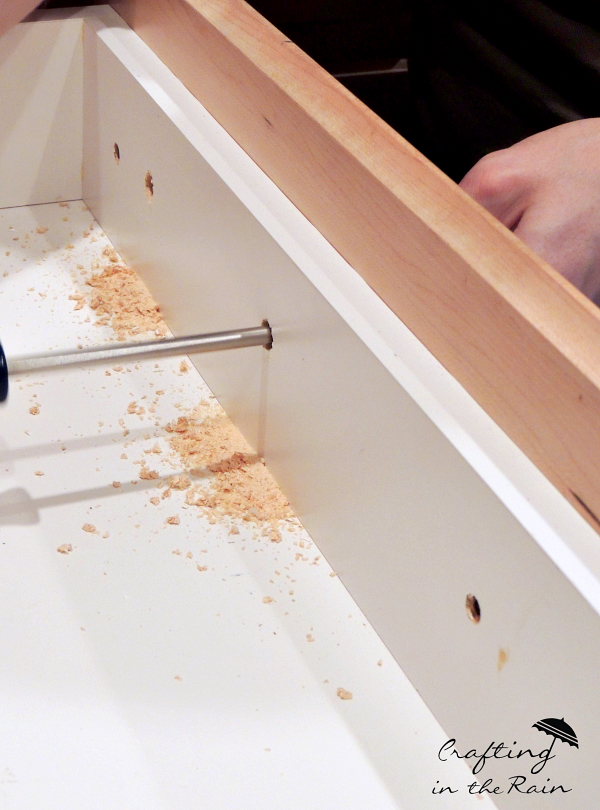
4) Secure pulls with two screws from the back. Then take a few minutes to vacuum up all the dust created from the drill.
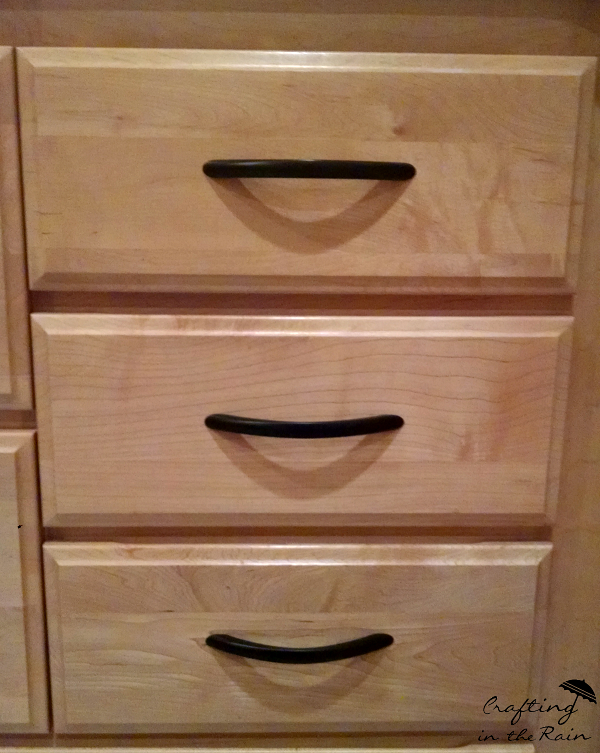
Great addition to the kitchen right? It makes us feel like we have new cabinets even though we didn’t replace them.

If you have cabinets that would love an update like this, check out D. Lawless Hardware. What do you think about ours? Have any questions about how we did them?

For some more home improvement posts, see the How to Reuse Baseboards and How to Install Baseboards guides.
Jon
Saturday 26th of September 2020
Just curious, because we are about to add knobs to our cabinet doors. When you drilled the holes, did you experience much tear out?
Kimberly Lewis
Monday 27th of July 2015
Great post! Pinned and tweeted. Please join us tonight at 7 pm, and party with us. I can't wait to see your new masterpieces or amazing classics! Lou Lou Girls
Made In a Day
Monday 20th of July 2015
Great post! What an easy to follow tutorial! Thank you so much for linking up to Merry Monday this week! I am sharing your post on my twitter! We hope to see you next week for another great party! Have a great week! Best,Kim
Derrick Lawless
Saturday 4th of July 2015
Awesome post! Thanks a ton!