New to Cricut? Let’s get into the basics of how a Cricut works. (I’ve included some affiliate links so you find the exact products I’m talking about)
Your Cricut Explore machine needs power and internet access. You need to be able to connect it to a computer by Bluetooth, or with a cord OR with your iPad wirelessly.

Then you use the design program called Design Space online to create your projects. You can choose from hundreds of Make it Now projects, over 30,000 images, and over 370 fonts.
Additionally, you can upload your own SVG files or images to cut. You can also use any font that you have installed on your computer.
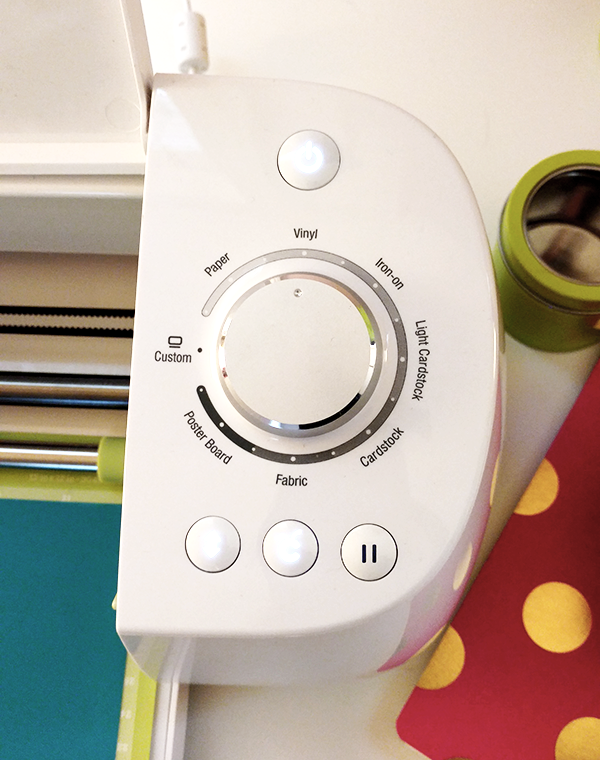
Based on the material you’re cutting, choose the right setting on the dial and send the project to the machine.
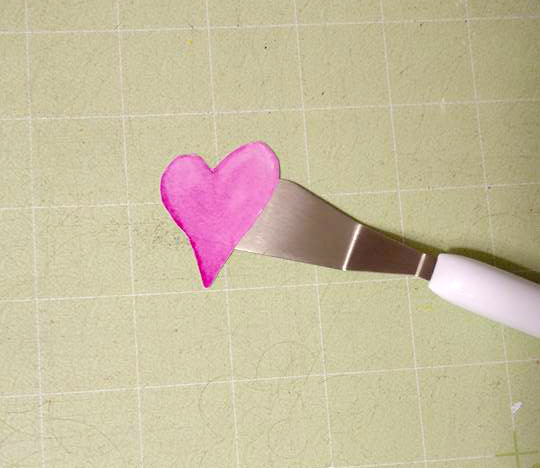
Use the arrow button to load the mat into the machine, push cut when it starts cutting, then the arrow again to unload the mat. Peel the cuts off of the mat – sometimes bending the mat away towards the back helps keep the material from curling. The spatula tool can help as well.
Then you’re ready to apply your vinyl, glue your paper, whatever!
I also want to go over a couple of the commands that you’ll probably use the most when working in Design Space.
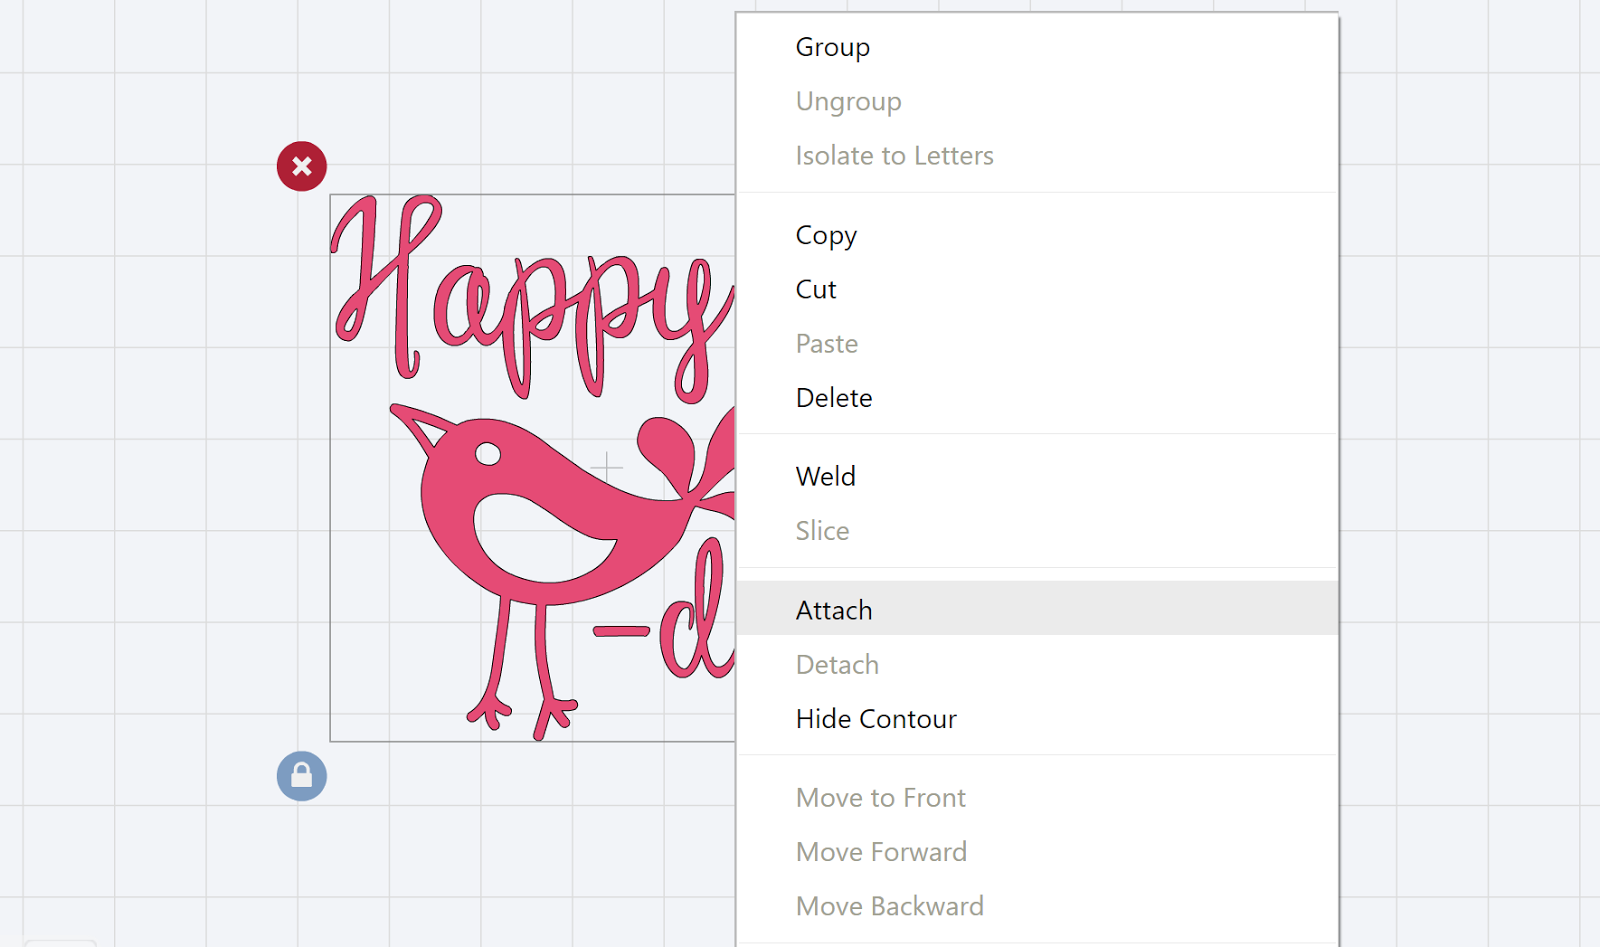
ATTACH IN DESIGN SPACE
Use this command when you want the pieces on the screen to keep their same arrangement on the mat – very useful when you’re using scrap pieces of paper or vinyl and want them spaced out in certain places on the mat. Or, when your design needs to stay in the same order that you’ve designed it – a word centered under an image, for example. Select all the pieces, right click, and hit “attach.”
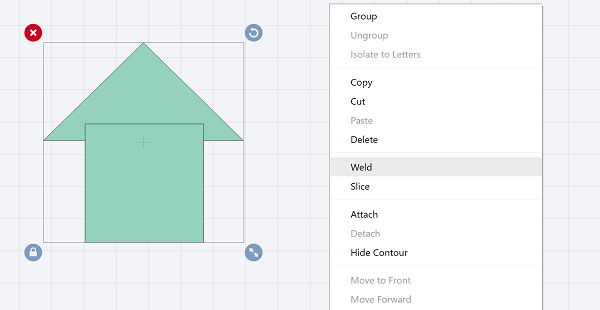
WELD IN DESIGN SPACE
Use this when you want to merge shapes together. For example, to make a simple house shape, you would put a triangle on top of a square. You want to just cut the outline of the two shapes, not the extra lines where they overlap. So you would select them both, then choose “weld.” I use this a lot when I’m working with script fonts and I want the letters to be connected to each other.
SLICE IN DESIGN SPACE
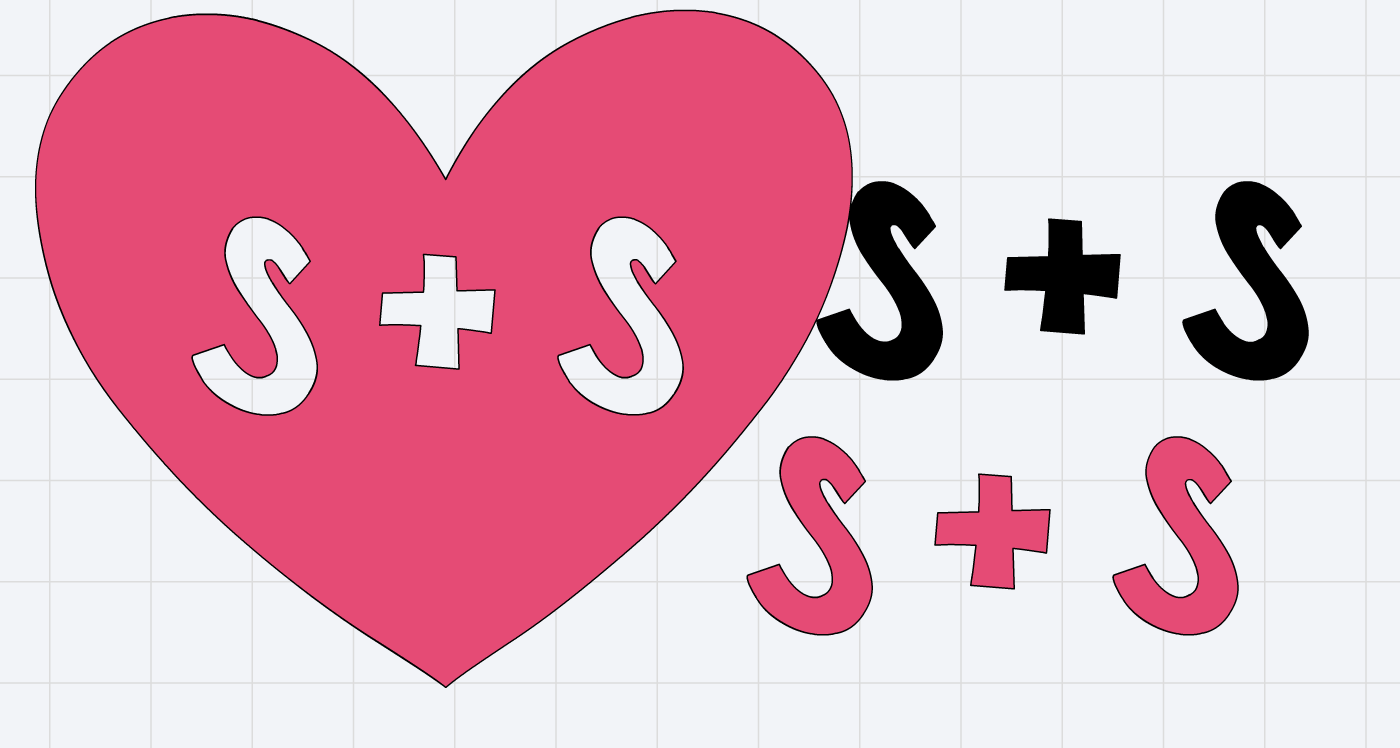
This feature lets you cut one shape out of another. You can make a name cut out of a heart by layering the name on the heart where you want it to be. Select them both and choose slice. This gives you a few different pieces now.
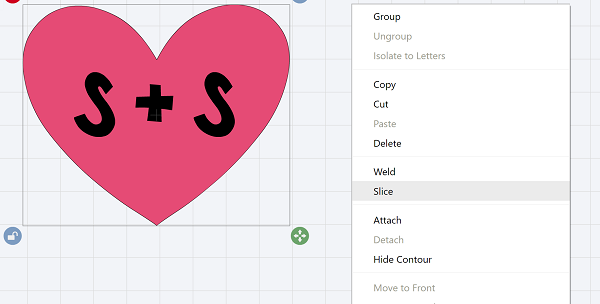
The original name, the cut out name, and the heart with the name in it. Delete anything you don’t want to actually use.
Don’t miss all these posts that answer common Cricut questions.
What is the Cricut machine and what can I do with it?
Can I upload my own images with Cricut?
How easy is it to upload my own images with the Cricut?
Will it be easy for me to learn the Cricut Design Space software to create my own custom projects?
What different kinds of DIY projects can I make with the Cricut?
What tools and accessories do I need to use a Cricut and how much do they cost?
Will I be required to use cartridges with the Cricut?