Cute DIY index dividers for your binders to keep you organized and happy.
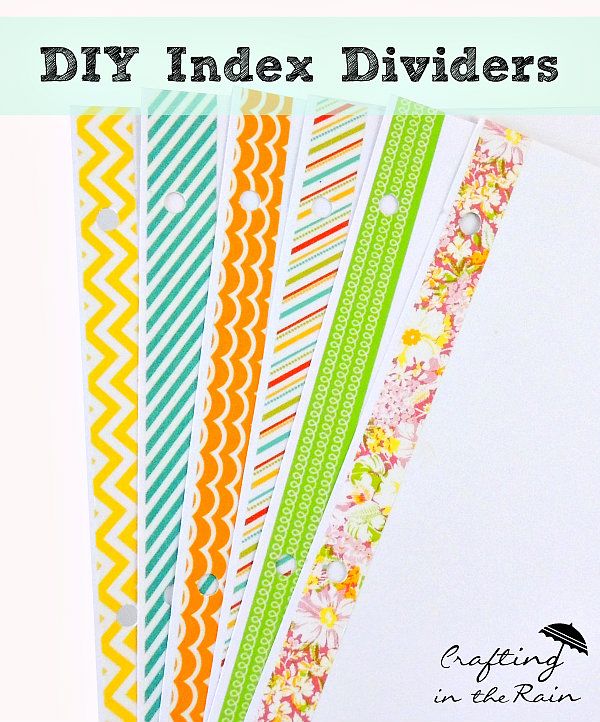

I was recently creating a binder to organize all kinds of projects, ideas, and responsibilities, but had no dividers.
Plus, I didn’t really want to spend money on them, and I’ve never really loved the plastic slide in tabs either. So I figured I’d just make some instead! A whole set comes together in just minutes.

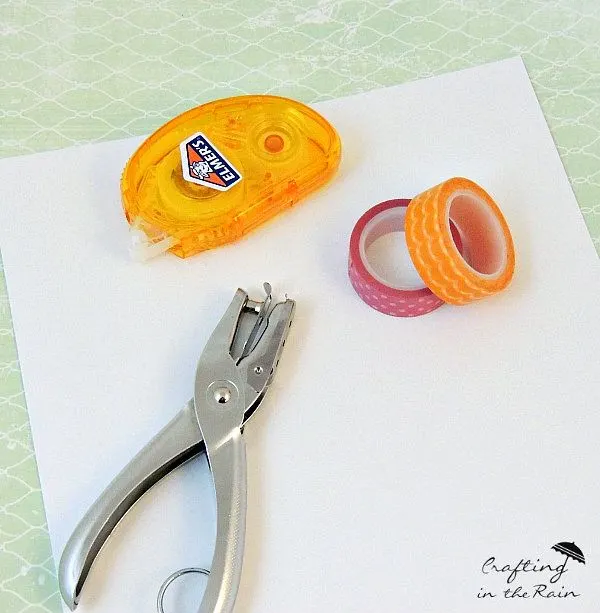
You’ll need:
White cardstock
Glue
Washi Tape
Hole punch
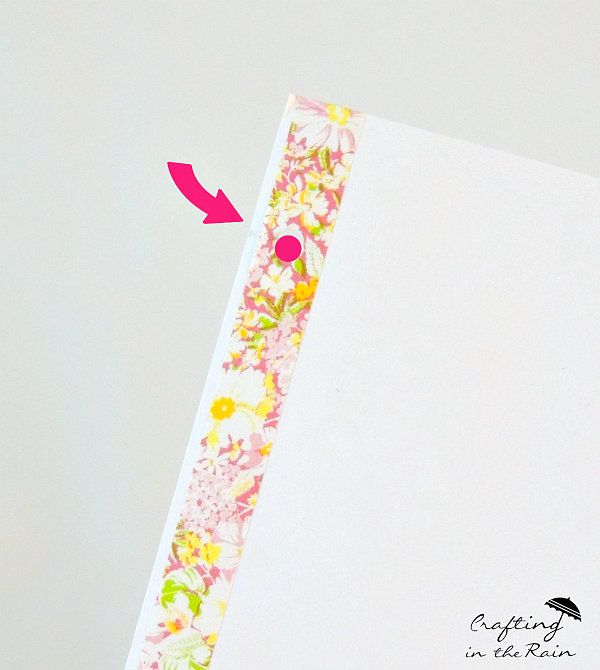
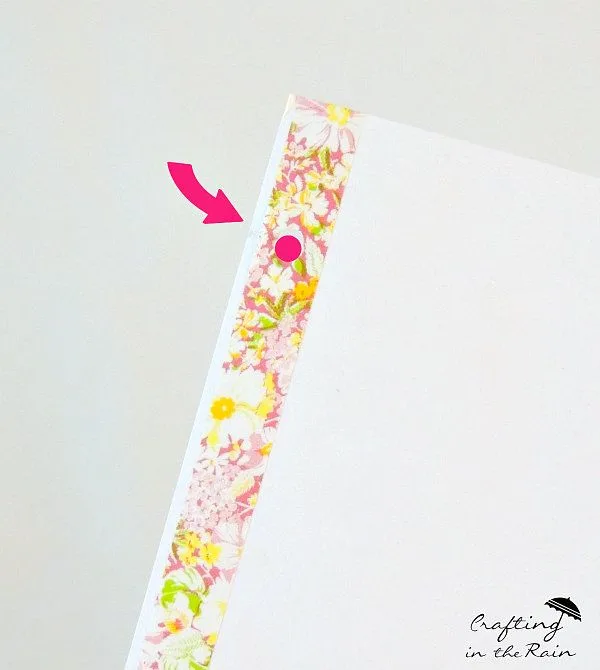
Start by running a strip of washi tape down the side of one piece of 8.5 x 11 cardstock like this.
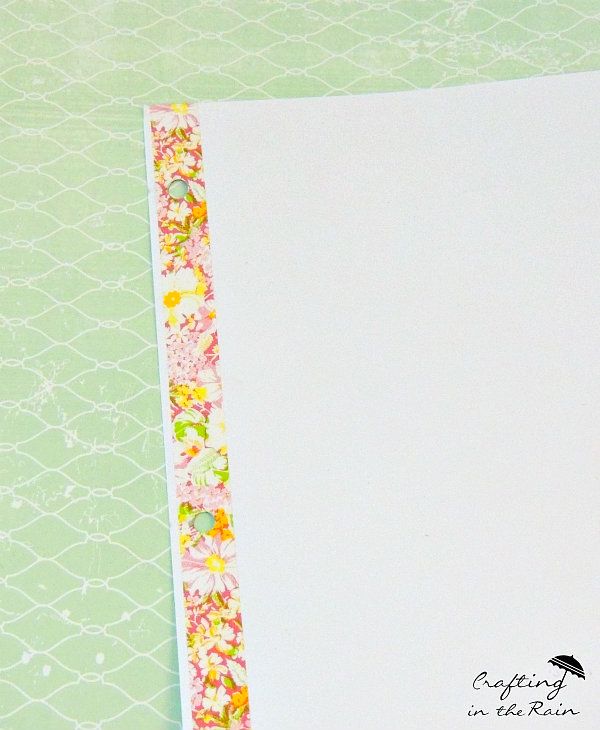
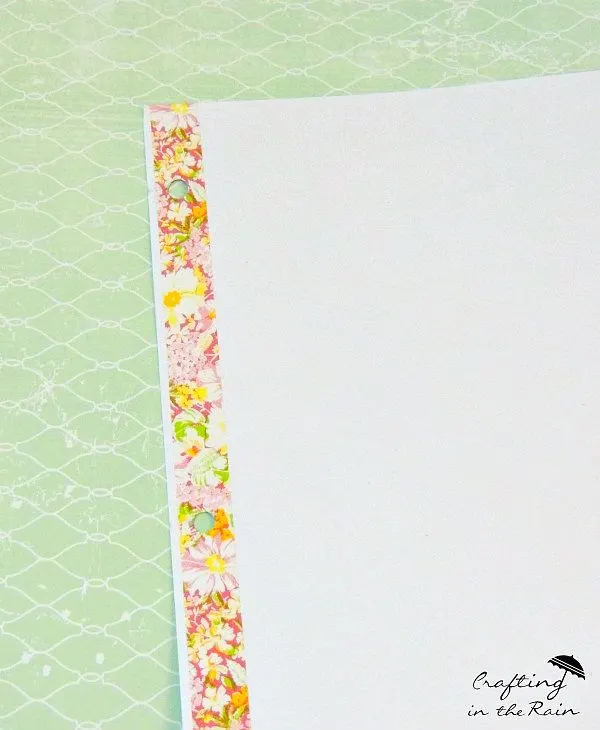
Punch holes (if you have a 3-hole punch it will be super easy. If you just have a one-hole like me, line up a piece of notebook paper so you know where each hole should go)
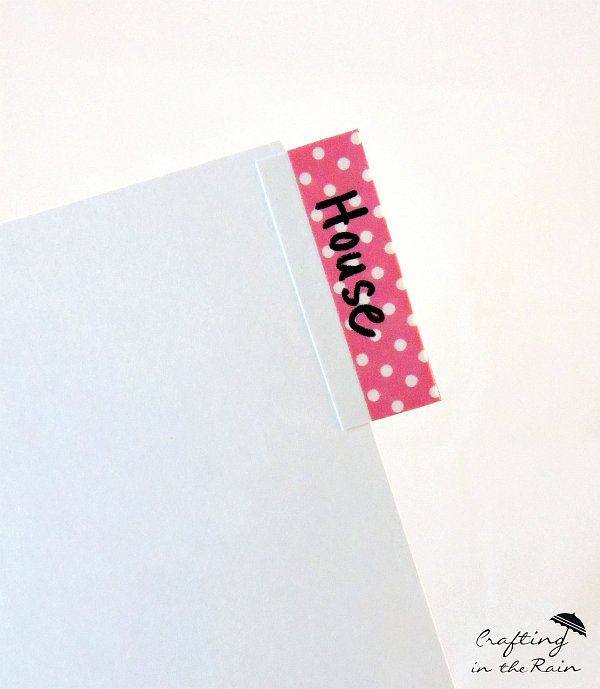
To make the tabs, cut cardstock to 1.5 by 2 inches and fold in half. Glue to the right edges of the dividers, moving each next one down a little.
**If you want to be able to change what’s written on the tab, or just to add more color, cover the tab with a piece of washi tape, then write on it with permanent marker** Then you can remove the tape and relabel later. Otherwise, just write directly on the tab.

Fill up your notebook with blank paper, and you’re all set!
Now, go make some cute dividers, organizer your binder, and conquer the world!
Want more tools to help you stay organized? Try these!
Label Maker
Day 16 – Office Organizers {31 Cheap & Easy DIY Organizers} | From Overwhelmed To Organized
Thursday 15th of January 2026
[…] Crafting in the Rain […]
The Ultimate Beginner's Guide to Using Washi Tape | ElizabethJournals
Saturday 1st of May 2021
[…] Tabs Folder Tab Magnetic Bookmark Corner Bookmark Washi […]
Do
Monday 27th of May 2019
I don’t understand is there a step missing or something how does it go from the divider to tabs? I’m not sure how you made the tabs?