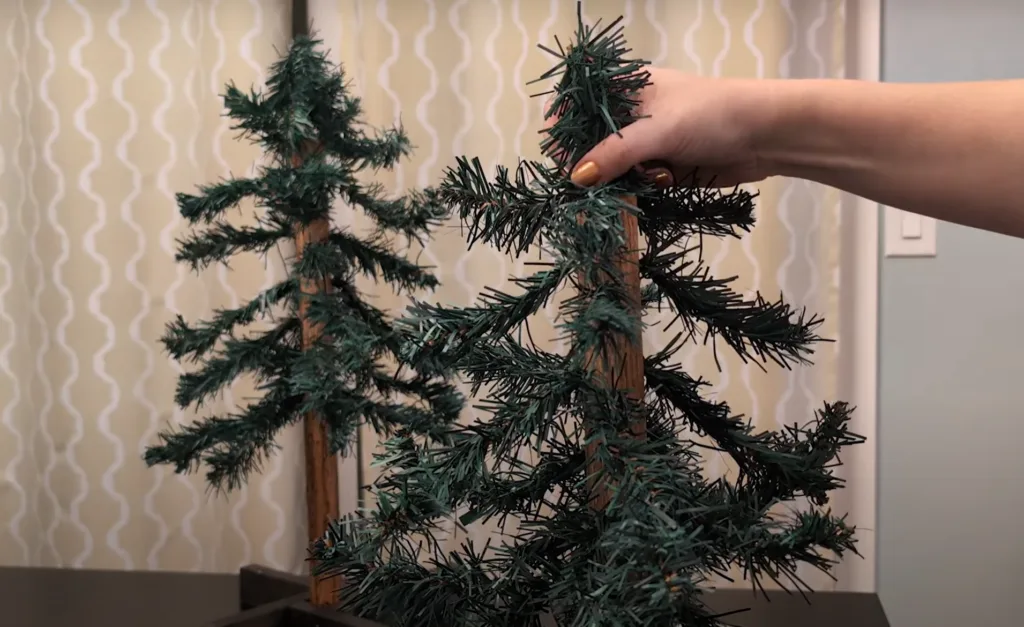
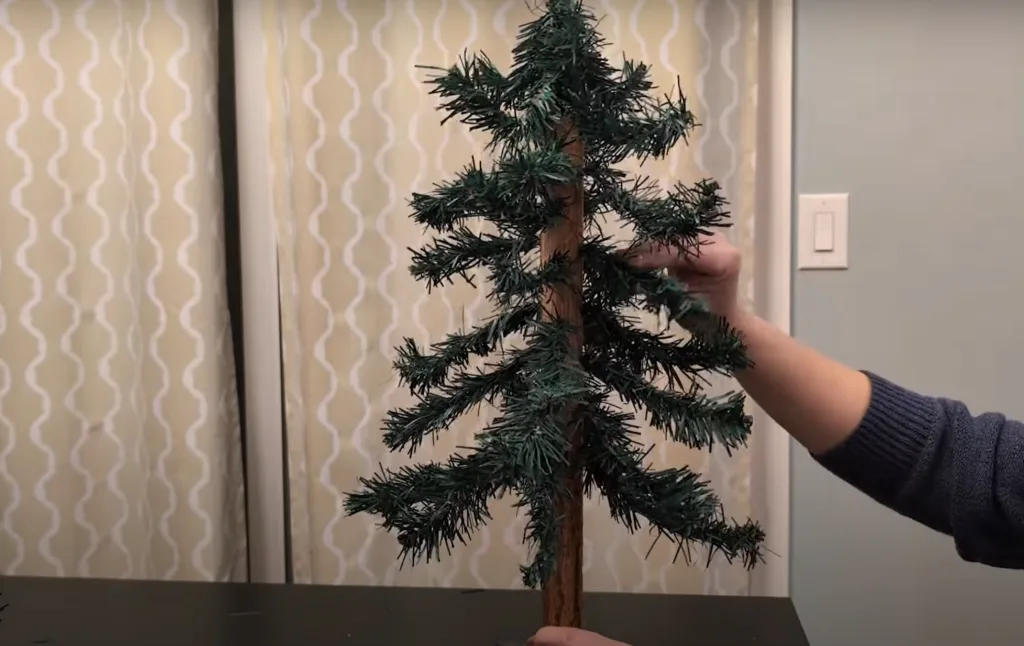
Love these cute skinny Alpine tree decorations? Make some on the cheap with faux garland pieces, or a broken fake Christmas tree and a couple items from the hardware store.
Watch a video tutorial here if you’d rather: How to Make your own Alpine Trees for Decor
Tools for DIY Alpine Trees
- Saw (can use at the hardware store)
- Drill with 3/16 drill bit
- Brad nailer with 1.25 inch nails https://amzn.to/47OrzmI
- Sandpaper
- Permanent marker
- Dremel (optional) https://amzn.to/3TiwMyH
- Eye glasses
- Wire cutters https://amzn.to/4fhMBxT
Supplies for DIY Alpine Trees
- Fake branches to cut
- 1.25 inch dowel, or thick straight branch
- 1×2 common board (Four 7-inch pieces for each stand)
- Brown paint or stain Black paint (or other color for stand)
- Hot glue
Build the Alpine tree stand
I liked building the stands first so that I could use them when adding the branches to the trunk.
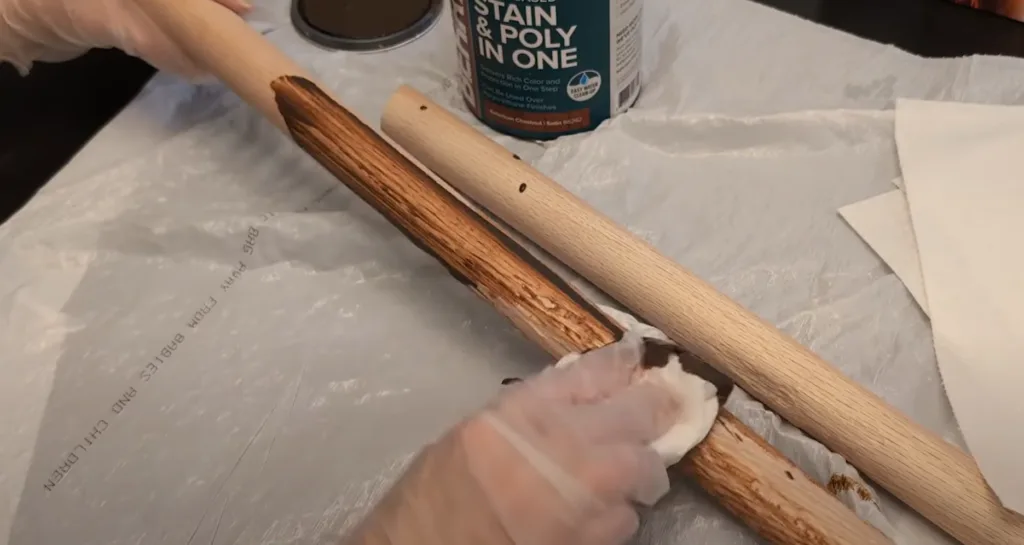
Paint or stain the 4 pieces for each stand. Lay them out on the floor like this, making sure that the dowel will fit down in the center. I marked the intersections with a pencil so I knew where to line up for the nail gun.
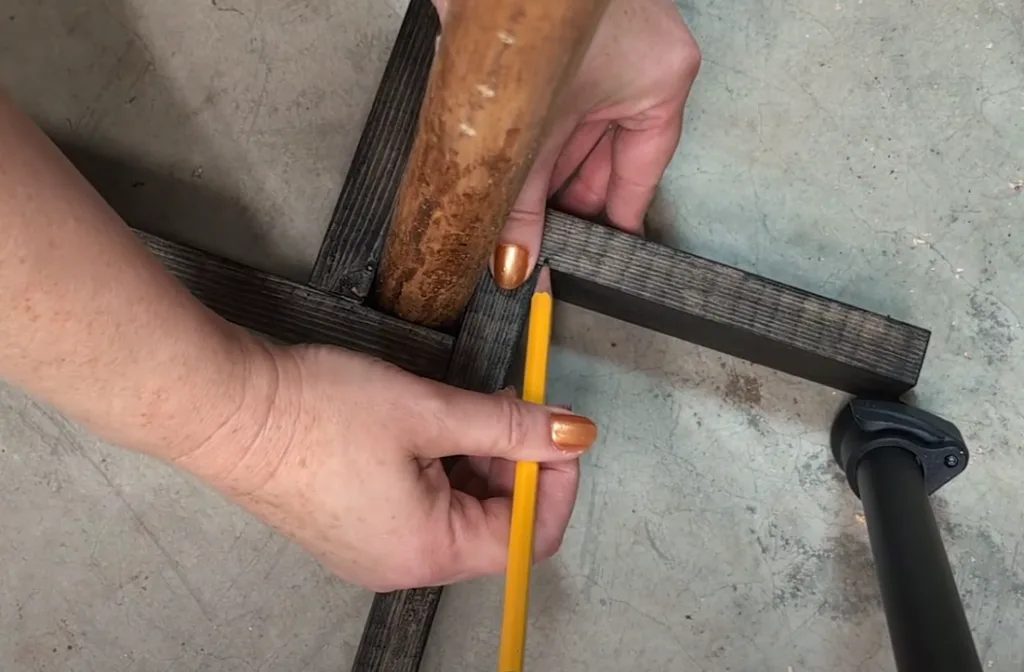
Use a couple of brad nails at each intersection to attach the base pieces. For easy storage, just set the tree in the stand. But if you want to make the whole thing more sturdy, drive a couple of brad nails through the stand and into the tree trunk.
Prep Alpine Tree Trunk
Cut the dowel into two un-equal pieces (so you have two heights of trees.)
Sand rough cut edges with sandpaper, or a palm sander if you have one.
Use a Dremel to carve some texture into the bottom part of each dowel. * This step is optional, and a similar tree trunk look could be created with streaks of brown and black paint.
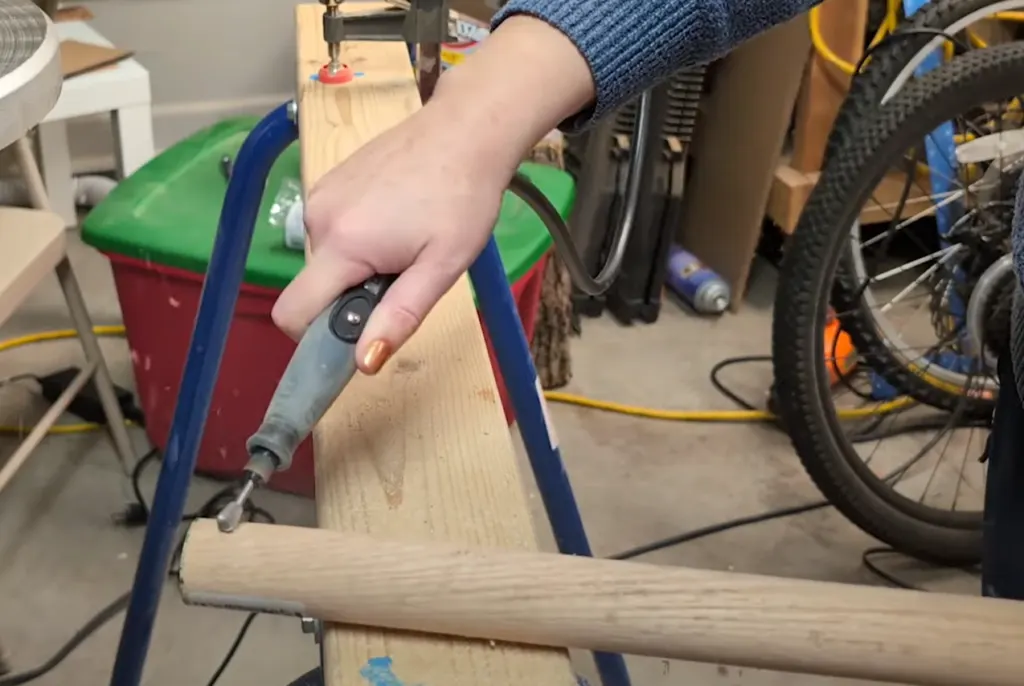
Mark dots around the dowel where the branches will go. I put 4 around in a ring, alternating them some so it wasn’t too evenly space.
Leave about 5 inches to the bottom of the trunk.
Drill about 1/4 inch into the dowel at each mark.
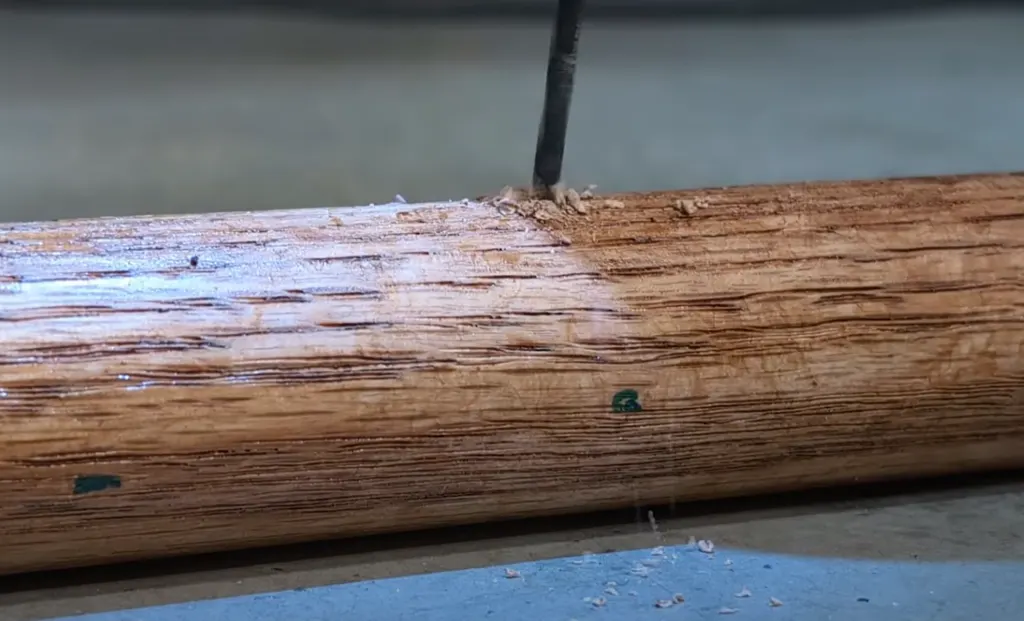
I stained the dowel before drilling, but it would probably be best to drill and sand, then add the color.
Add branches to DIY tree decoration
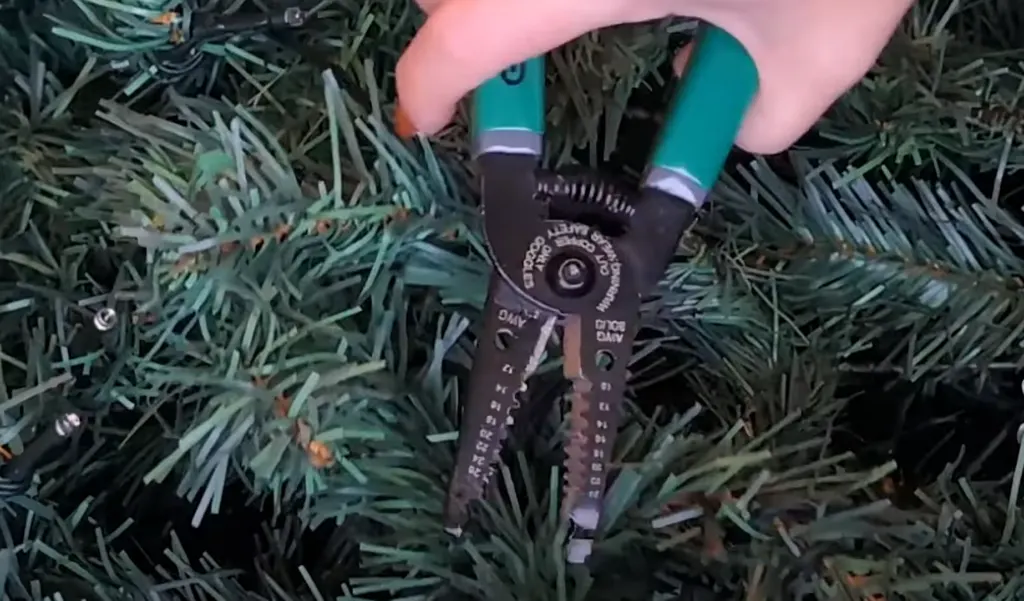
Use wire cutters to clip branches away from the garland or tree. You’ll want pieces about 7 or 8 inches long, down to about 5 inches.
Start with the longer pieces at the bottom and use hot glue to secure the cut end of the branches into the drilled holes.
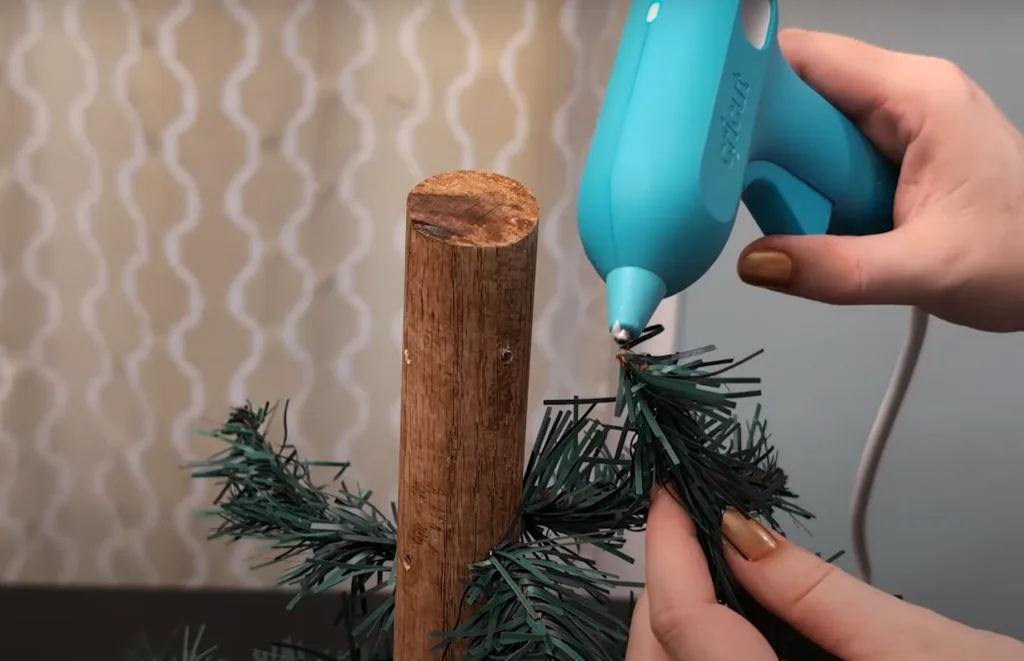
To build the tree tops, bend and glue together 3 branch pieces and glue to the top of the dowel.
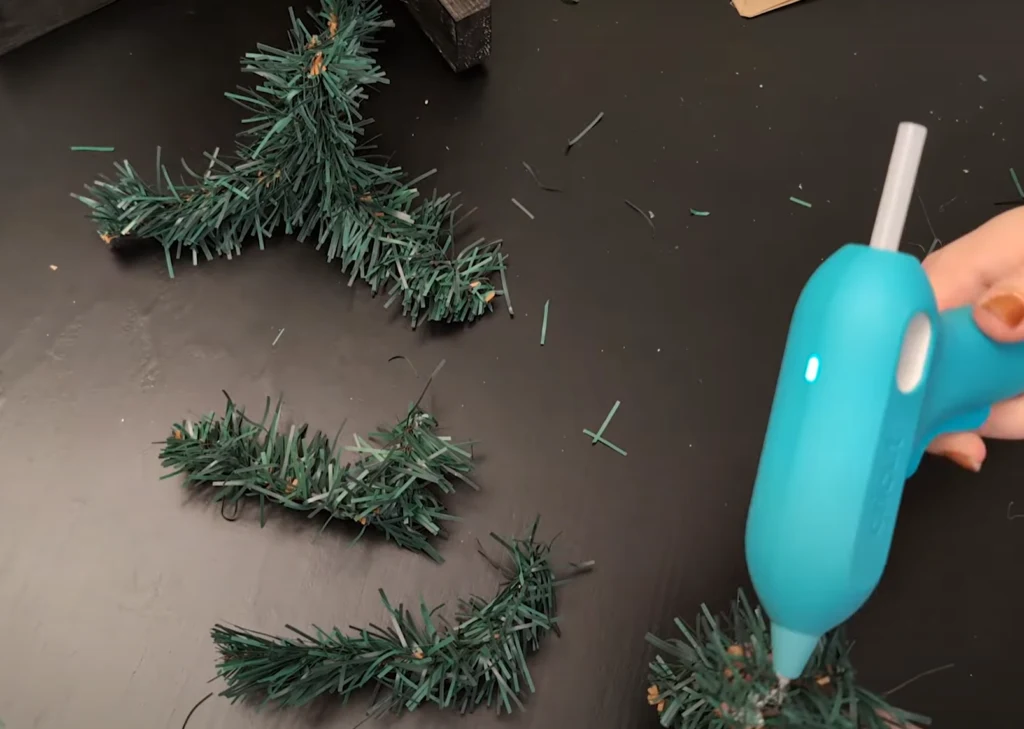
Layer two or three times to give the tree top a nice point.
To finish the full look, spend some time bending the branches. I like them to angle down from the dowel, then bend out a little. You can move them to the sides to fill in a large bare spot. Keep it looking a little random as you bend the branches!
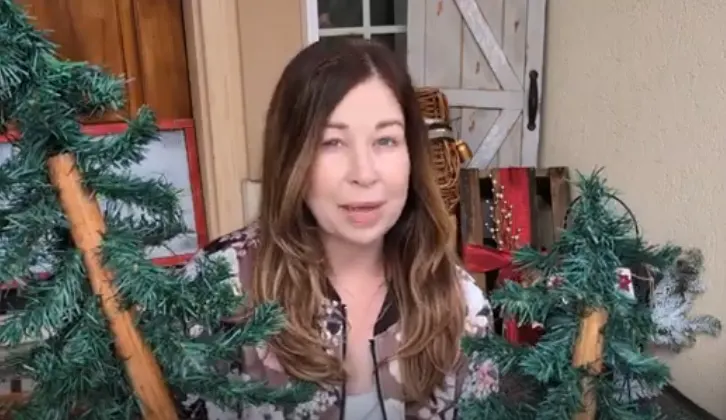
And because apparently I didn’t take a full porch picture last year with the trees out, here’s a bad screen shot from the video of how they both look with me holding them HA!
But I’d love to hear if you give these alpine trees a try! Have a question? Let me know!
