CAN YOU EMBED PAPER IN RESIN?
There are lots of types of projects that involve covering paper with resin: coasters, jewelry, or decor. Photos, cardstock, book pages, stickers, and even maps are all very common resin additions.
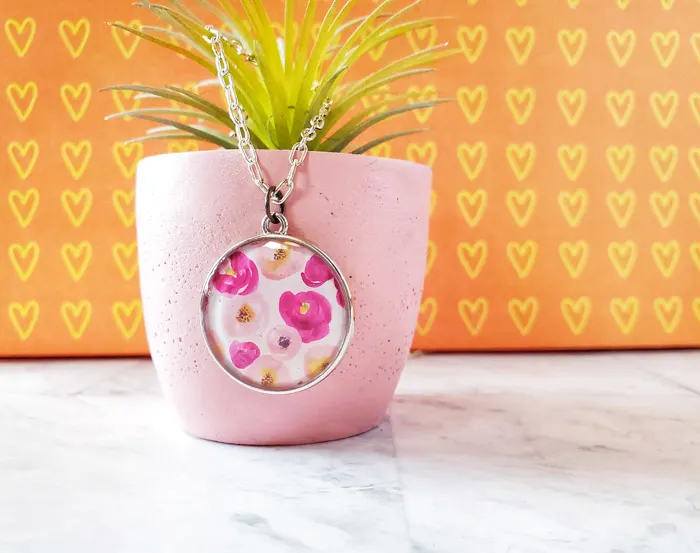
Sealing paper before resin first appeared on the Resin Crafts Blog
These are all great options, but they need a bit of love first.
(NOTE: White or very light-colored paper can discolor over time in resin.)
WHY IS SEALING THE PAPER NECESSARY?
Paper is a porous material, so the fibers can absorb the resin. This can create staining, darkening, or uneven patches. To prevent the paper from soaking up any resin, it first needs to be sealed so the resin remains on the outside.
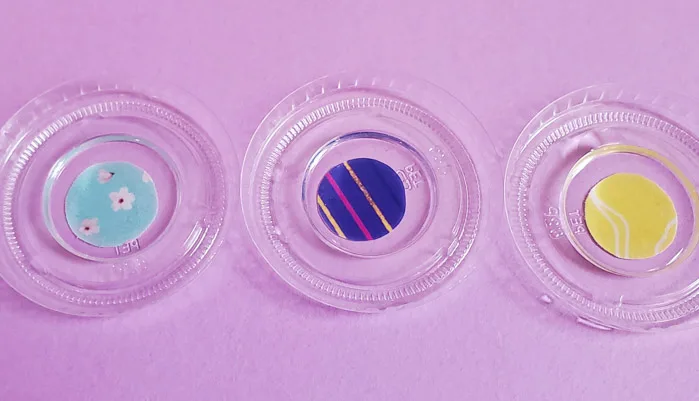
For today’s experiment, I used sticker paper (blue floral), photo paper (purple pattern) and cardstock (yellow). I did resin pours on each type of paper after doing no treatment, a spray sealer, and decoupage glue.
I used EnviroTex Lite to pour over the paper samples in little plastic lids so I could see what worked best. Follow all instructions printed in the box, including safety guidelines, when mixing resin.
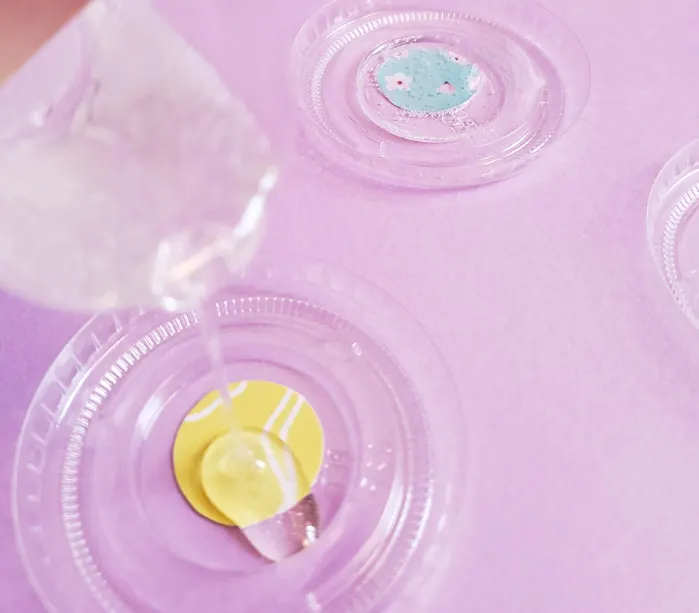
UNTREATED PAPER IN RESIN
Looking at each of these samples, they have darkened more than the treated versions. The sticker paper and photo paper, in particular, have several tiny bubbles that seeped out of the edges.
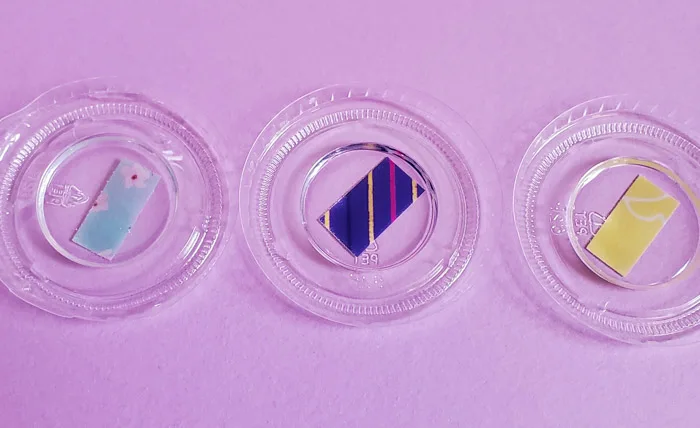
OPTION ONE: SPRAY SEALER
I treated each sample of paper with a few light coats of Envirotex Spray Clear Sealer. I did a few coats on the front. Then when the paper pieces were dry I flipped them to repeat on the back.
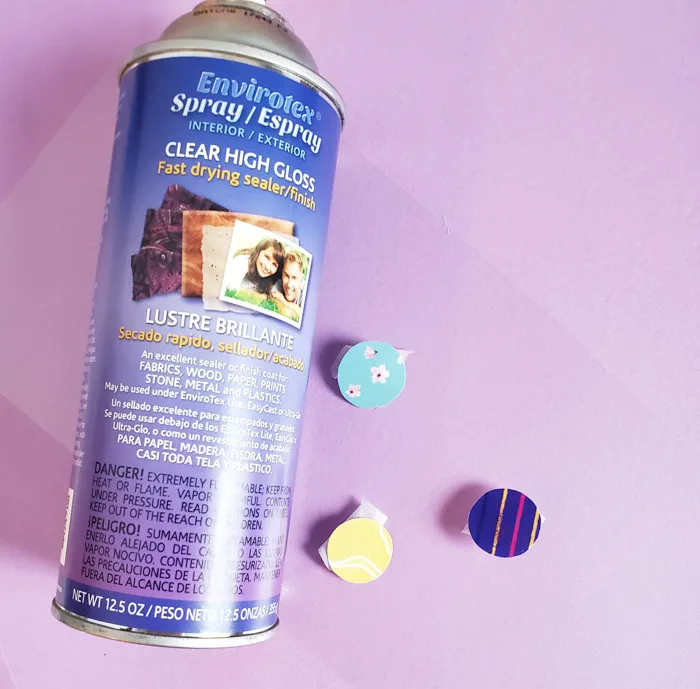
I really liked how this worked on the photo paper. The color on the photo stayed true and didn’t bleed.
On both the sticker paper and the cardstock, the resin still seemed to seep in and darken the paper a bit. If using a spray sealer on these types of paper, do many coats, not just a few, to be sure that the paper is completely sealed before casting in resin.
OPTION TWO: DECOUPAGE OR OTHER CLEAR GLUE
I placed each paper sample on a plastic sheet to protect my table, and to make sure I could easily spread glue to the edges. I brushed one coat on the top and then a coat on the back after it was dry.
Any dried glue that sticks out from the edges can be trimmed away with scissors.
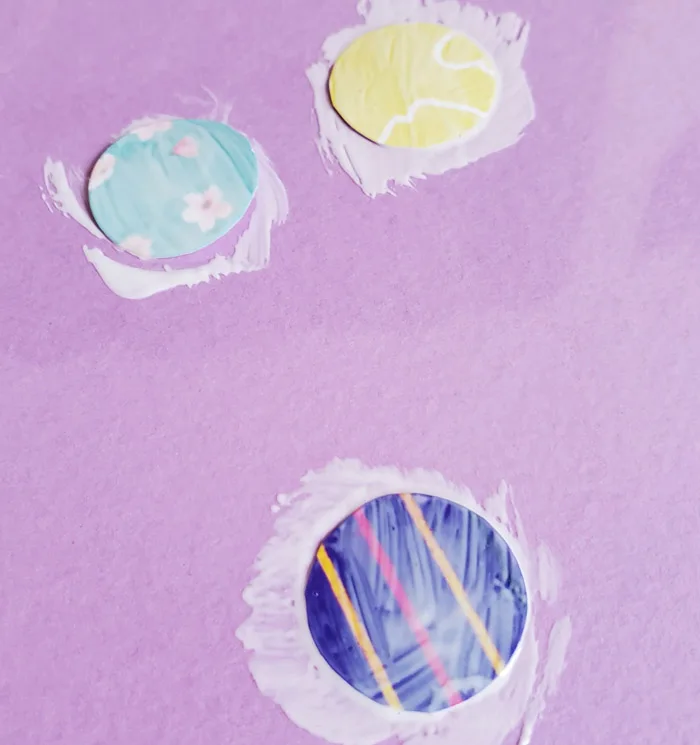
The glue smeared the photo paper just a little, but it worked great on the sticker paper and the cardstock.
You can see that the blue and yellow still seem bright and not dull – the resin couldn’t get to the paper fibers.
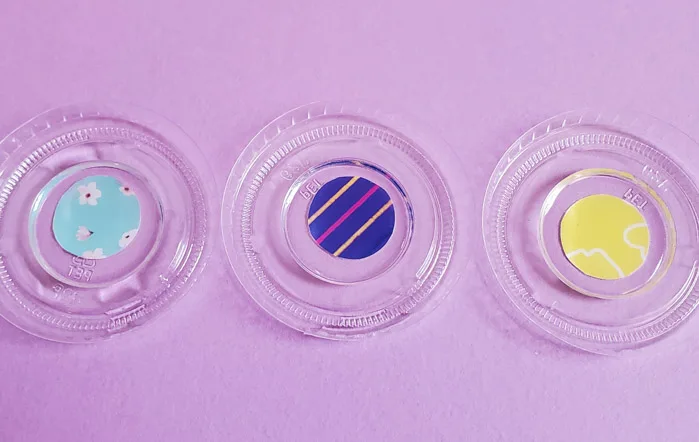
Out of this experiment, my favorite ways to prep paper for resin are as follows: Spray sealer for photos, and decoupage for sticker paper and cardstock.
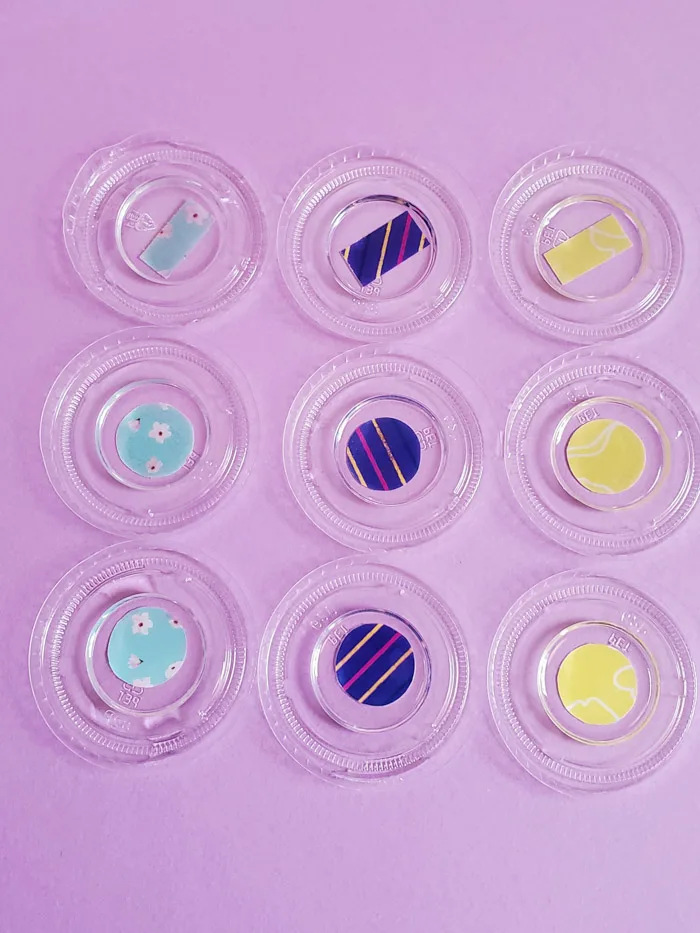
I would also recommend sealing book pages, magazine pages and stamps with spray sealer. They would be more likely to smear ink, and also wrinkle with brushed glue. Thicker papers hold up to the glue well.
If your sealed paper item does wrinkle at all, you can press it overnight with heavy books after the sealer has dried.
After you have sealed the paper you can add them to your resin projects, like these pendants!
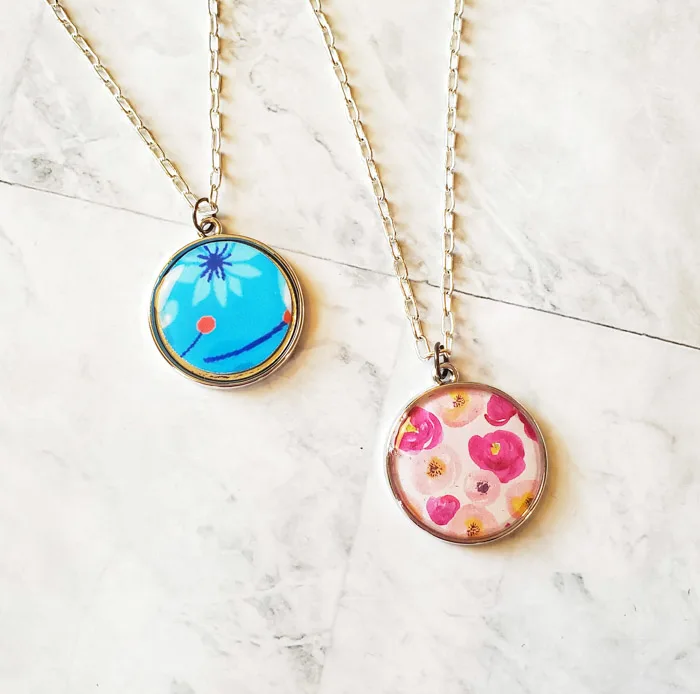
Have you worked with paper much in your resin casting? What other advice would you like to give?
Supplies for resin jewelry
- casting resin
- cups and stir sticks
- bezel pendants
- gloves and glasses
