Before we leave the Print then Cut topic for a bit, let me remind you about Calibration!
The Cricut Minute #8

Maybe this should have been the first tip, I don’t know 🙂 But it’s still useful now!
If you’re having trouble with your Cricut cutting unevenly around your printed items, you should run a calibration!
The location in Design Space for running a calibration has changed, so if you haven’t done it in a while, follow the instructions below.

Today’s Tip: Calibrate Print then Cut
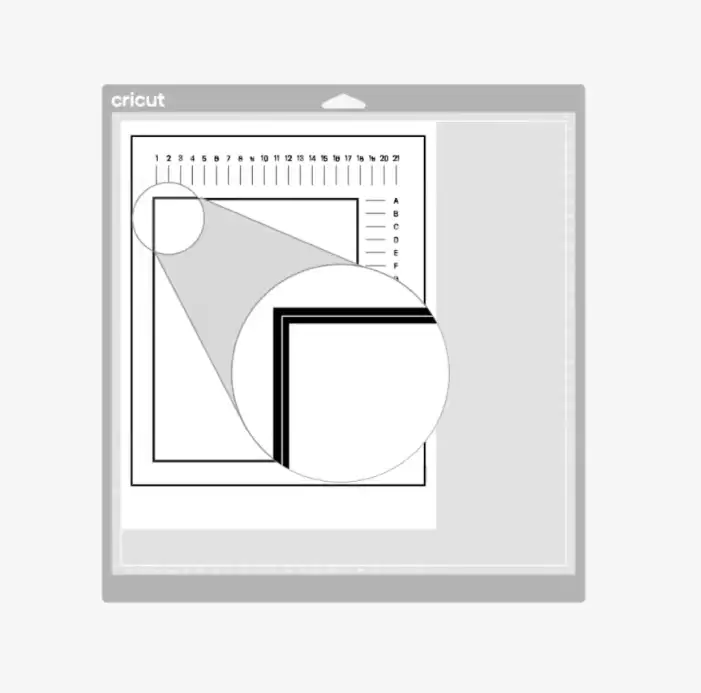
This exercise helps to fine-tune your Cricut Print then Cut sensors to the actual cutting path of the blade.
Doing a calibration will give you the most accurate cuts around your printed images, eliminating a lot of frustration.
How to Calibrate print then cut 2024
- You will need a few pieces of plain copy paper
- Open Design Space and turn on your machine
- Click on the arrow by your profile picture, click the Settings icon, then click the Machine tab, and choose your machine from the dropdown menu by “Calibrate your Machine.”
- Then click the Print then Cut button and follow the on screen tutorial.
- You’ll print a template, have the machine do some cuts, compare alignment and answer questions on the screen.
- Make sure that at the end of the tutorial, you click the button that approves and saves the calibration or you’ll have to start the process over. (ask me how I know 🙂
I recommend doing this calibration before you use Print then Cut for the first time, and then later if you find your cuts aren’t as accurate anymore.
This will sometimes happen after a Design Space update.
Hopefully you’ll love your cuts after this!
If you want to do a deeper dive into making all kinds of stickers, check out my Cricut Stickers Course!
And you can use this coupon to save 30%
STICKER30
