Planning any baby showers soon, or just need a cute baby gift? Download this free baby shower pillow box SVG!
I’ll explain how to make the baby pillow box, then you can scroll to the bottom of the post and get all the other baby shower themed SVGs too.


Supplies for Pillow Box
- Scrapbook paper or medium weight cardstock
- Cricut and scoring stylus
- Acetate sheet or transparency (to cover the cut-out window)
- Tape runner
- Favor box filling
- Washi tape or stickers (optional)
First, download the pillow box SVG.
Upload to Design Space and make the width 5 inches. (This also means you can fit two boxes on 1 12×12 piece of paper!
Ungroup the SVG so that you can click on the lines layer and change to SCORE in the operations menu.
Then select both layers and attach.
Now the lines will score so you can easily fold up the box.
Send to cut, using the appropriate material setting. Scrapbook paper or medium cardstock will work best for these boxes.

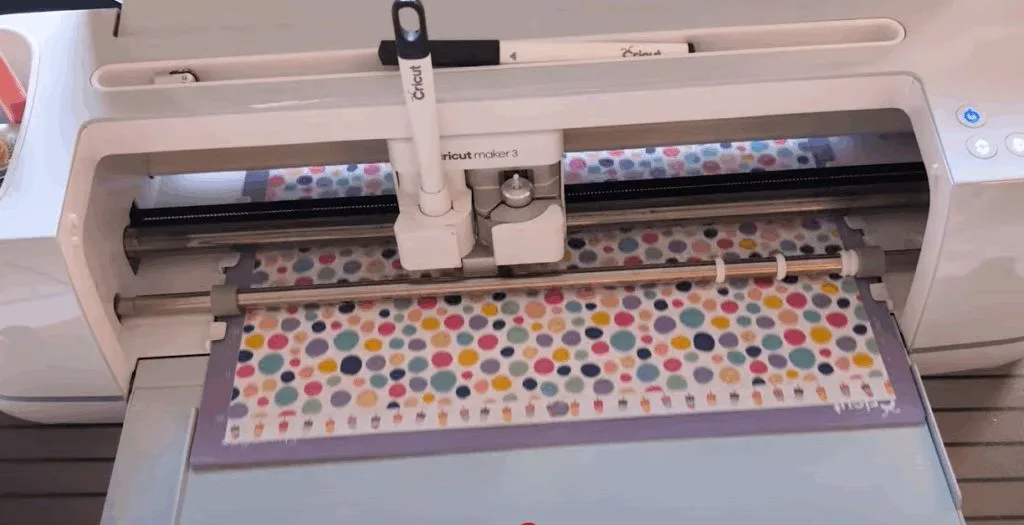
Copy paper is too flimsy, and heavy cardstock gets hard to fold, even with the score lines.
Remove cut boxes from the mat and fold the straight line first.
Then fold all the rounded lines. Pinching around the curve works pretty well.


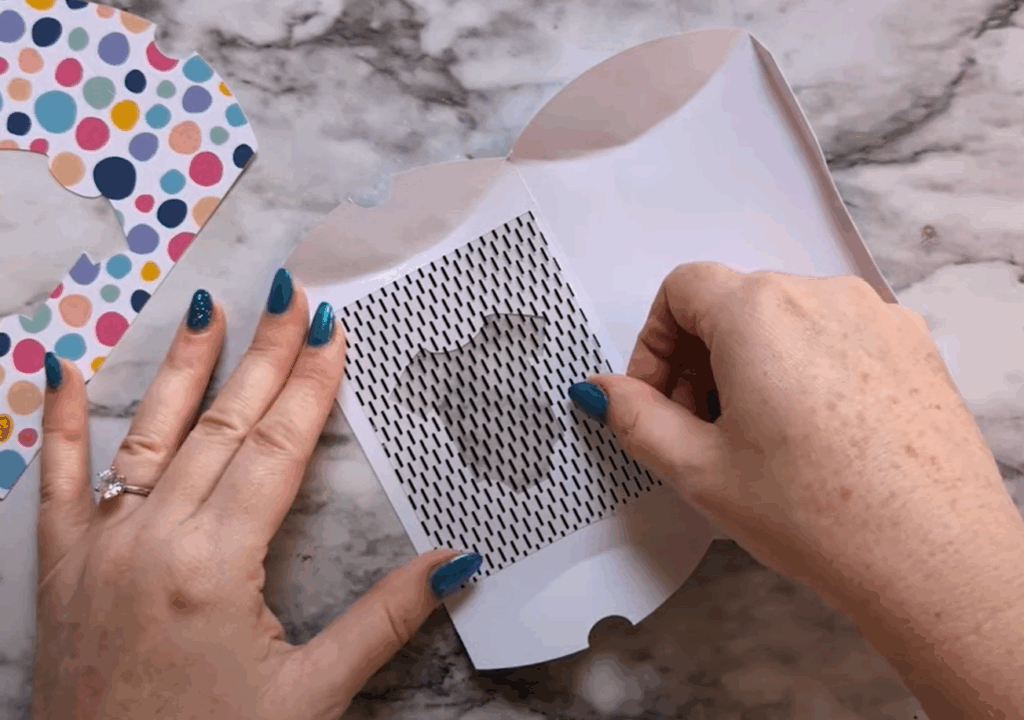
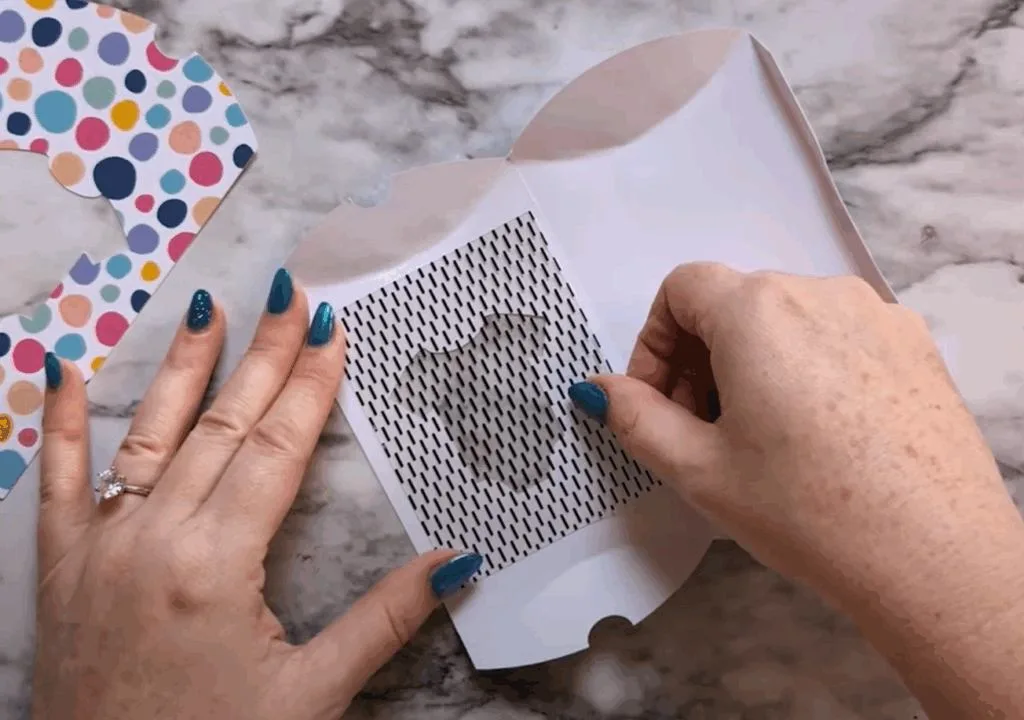
Cut a piece of acetate to cover the baby onesie cut out. It will be around 2.75 x 3.5 inches. Use a tape runner to attach the acetate on the inside of the box.
Glue the long side fold then fold up the bottom of the pillow box. Push in the tab with the notch cut out first, then the solid one.
Fill the pillow box and close up the top, again with the notched side first, then the solid side. The notches make it easier to open later!
The boxes are quite sturdy and I’ve found they stay closed on their own. But if you want to add something extra, or you really want to make sure they stay closed in transit, you could seal them with a piece of washi tape or a sticker.