A smooth surface is ideal for adding vinyl. But it is still possible to apply vinyl to a textured wall. I’ll show you the tricks I used for decorating my daughter’s entire wall with a vinyl pattern.

Best transfer tape for textured walls
Use a transfer tape that’s not too sticky. The wall texture makes it just a little harder for the vinyl to stick, so if the transfer tape is too sticky, it will win and you’ll have a really hard time getting the transfer tape to release.
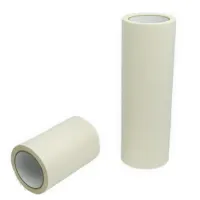
I like this “paper” transfer tape. It worked so much better for me than the plastic or clear transfer tapes.
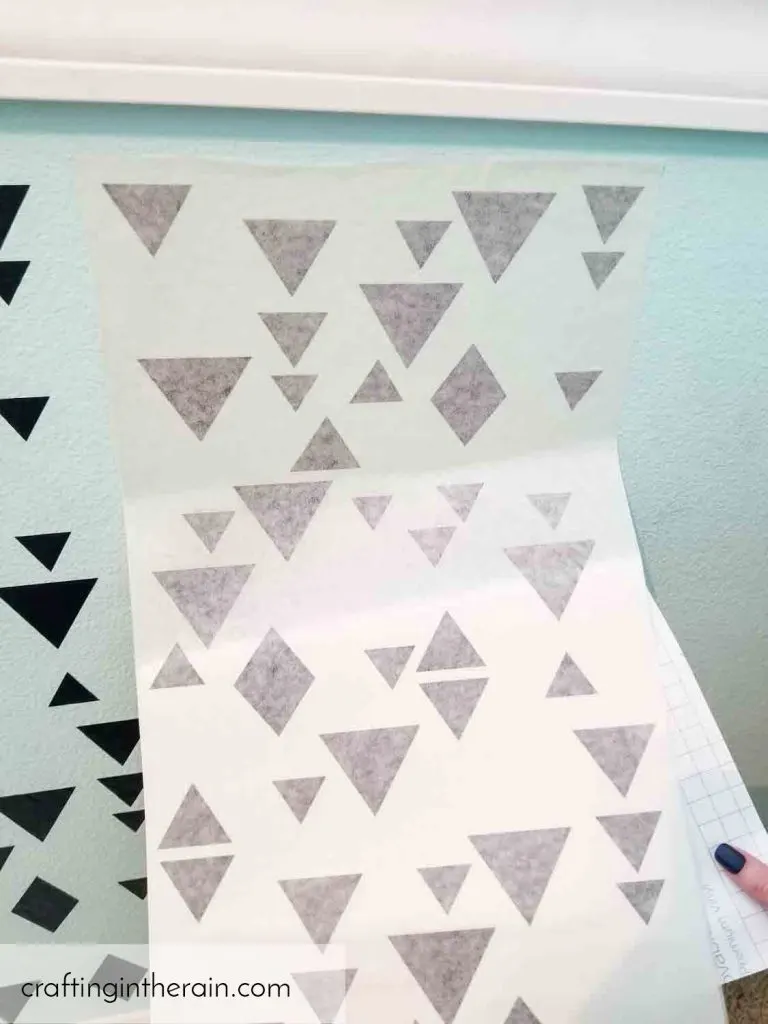
Then, use the transfer tape a few times. It will get a little less sticky each time. So you’ll have to work a little harder to get the vinyl to come off of the backing, but once on the wall, the transfer tape comes off easier.
Making vinyl stick to textured walls
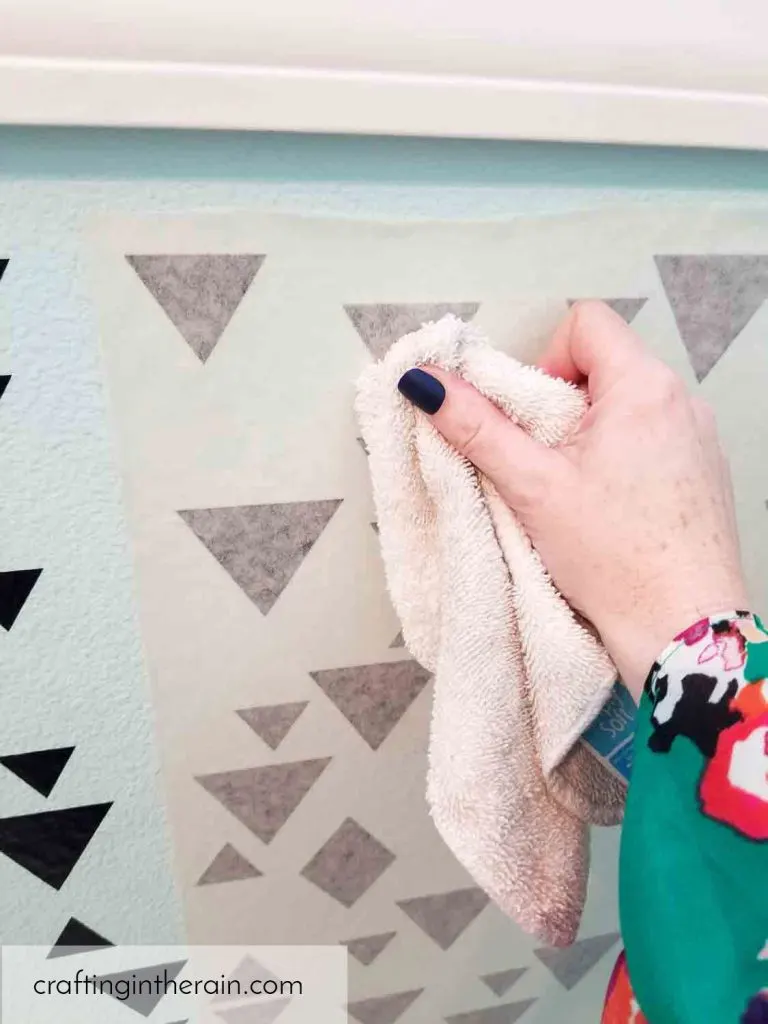
Rub transfer tape and vinyl with a dry washcloth or sponge. On a smooth surface, a flat scraper or credit card works great to push the vinyl down.
On a textured surface though, you need to be able to push the vinyl down into the uneven surface so that it really sticks.
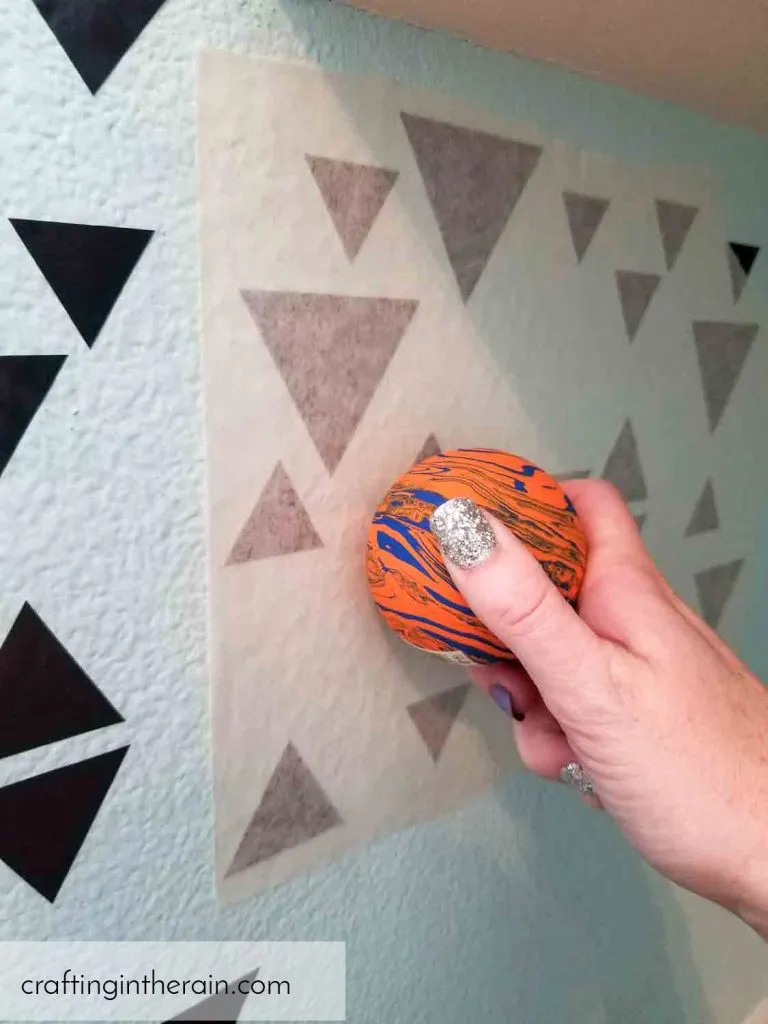
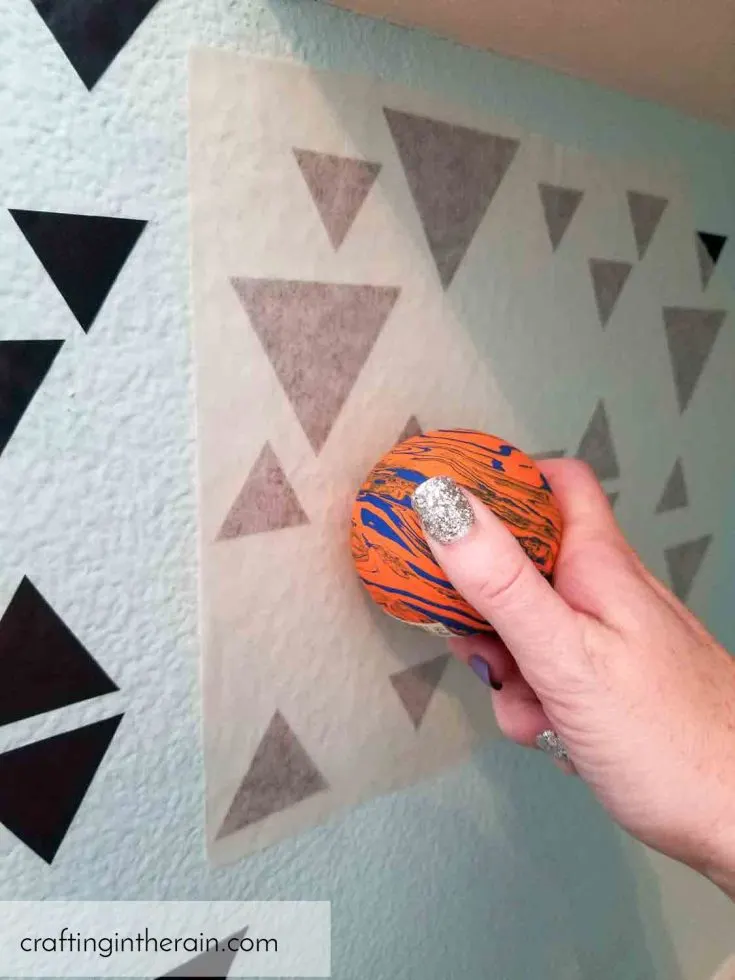
You can also try rolling a tennis ball or rubber ball over the vinyl decal to really push it into the wall.
Another way thing to try is heating it up first with a hair dryer. When the vinyl is warm, use a washcloth or ball to press the vinyl against the wall.
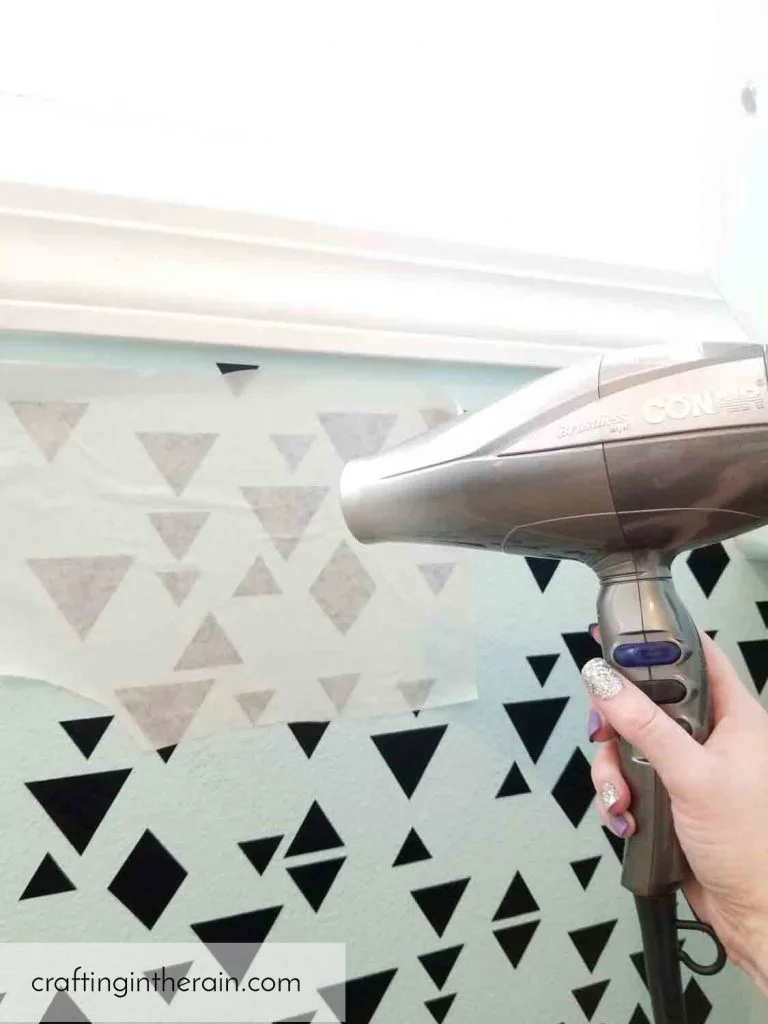
Then blast it with cold air before removing the transfer tape.
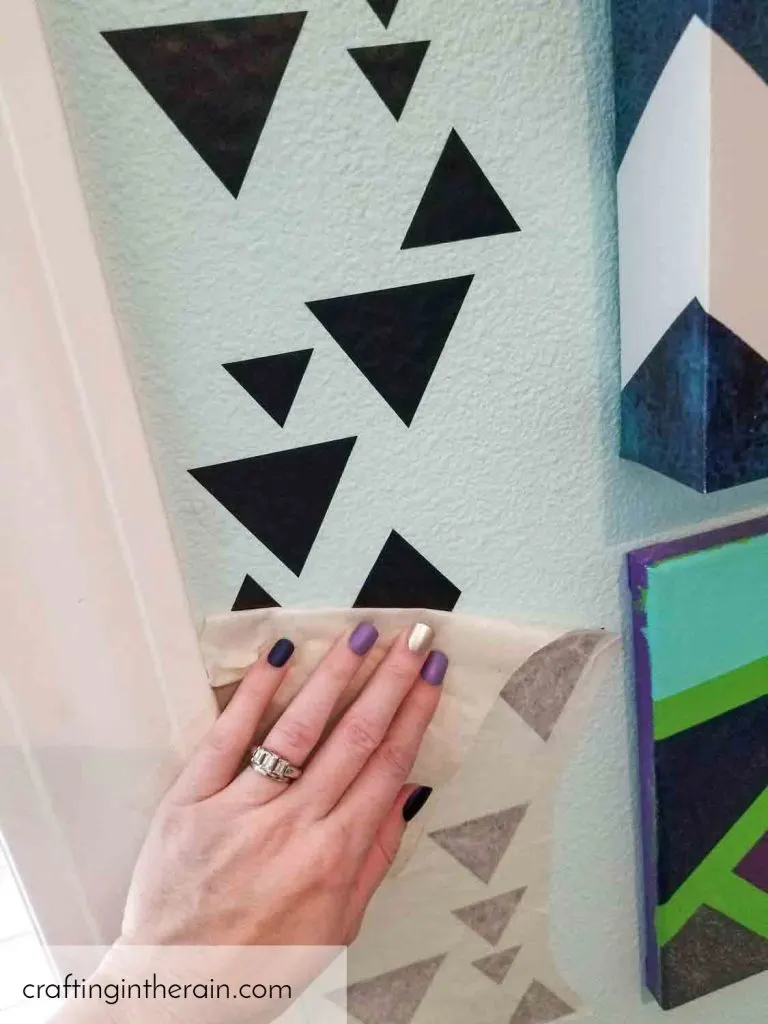
Go slow when removing the transfer tape. Peel the tape away with a rolling motion, and be ready to press the edges of the vinyl back to the wall if they start to come up.
Gently rub over the vinyl again once it’s on the wall.
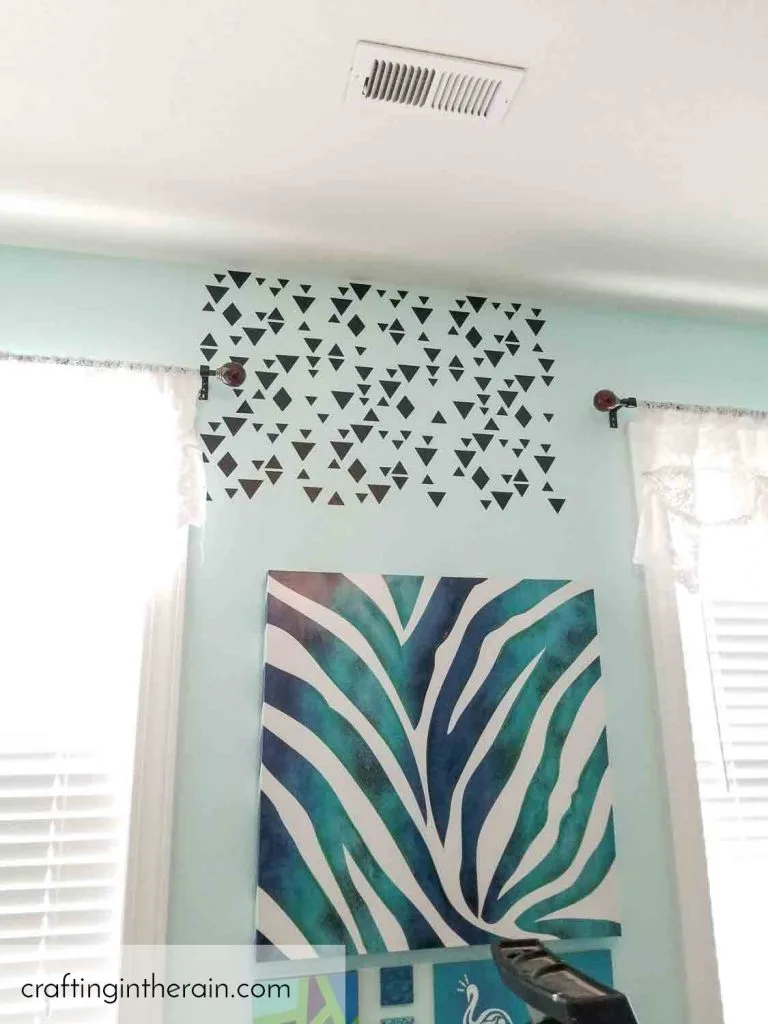
You should know going into this project that it will take some time – I worked on this wall over the space of 3 days and didn’t try to get it done all at once.
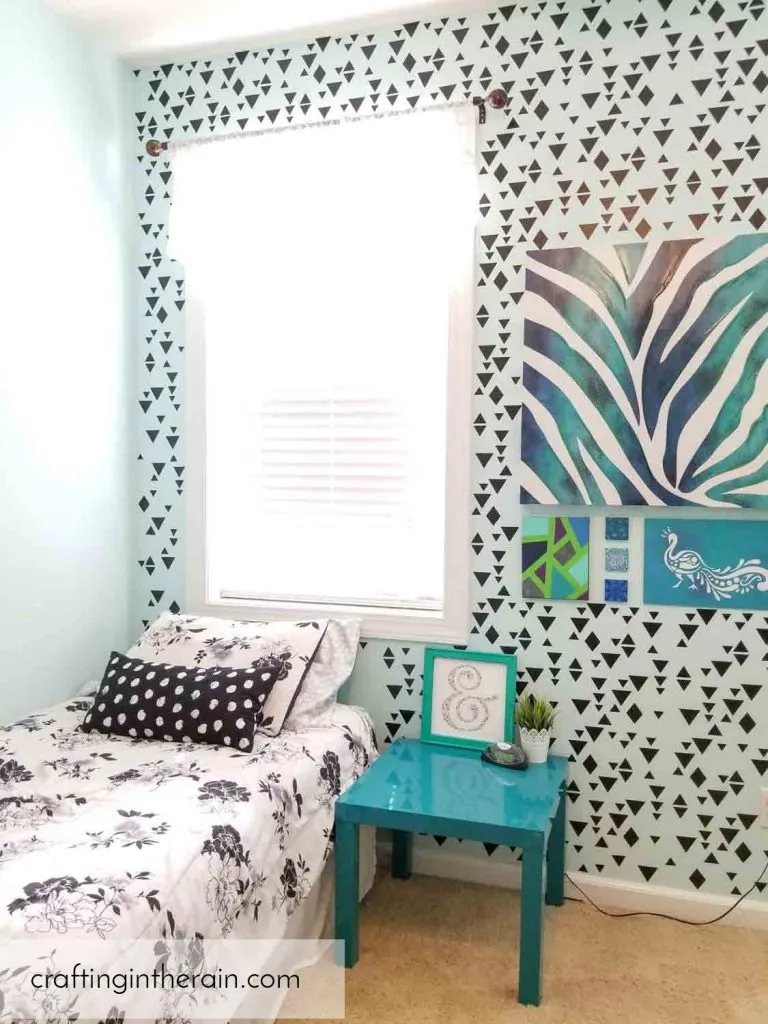
To complete this large pattern, I used this Design Space project
I used removable black vinyl and the long 24 inch mats.
I bought two of the bulk rolls of vinyl and it was enough to cover this wall because of the large windows.
When I originally painted this room I made an electrical tape pattern on the wall, but it didn’t last very long. The tape wasn’t sticky enough and it all fell down in just a few days. A fun idea, but just didn’t work.
Have you discovered any other good tips for putting vinyl on a textured wall? Share your success stories in the comments!
Make Vinyl Stick to a Textured Wall
If you have ever tried to apply vinyl to a textured wall, it may have been an unpleasant experience. Try this steps to make the vinyl stick.
Materials
- Adhesive vinyl
- "Paper" style transfer tape
Tools
- Cricut or Silhouette machine
- Rubber ball
- Hair dryer
- Towel
Instructions
- Cut the vinyl for the wall - be careful of small and skinny pieces as they are harder to stick
- Cover design with transfer tape and position on the wall with painters tape
- Remove part of the backing, stick the vinyl to the wall, and remove the rest of the backing
- Vinyl needs to be pressed into the divots of the wall, so try using a towel or rubber ball to for the vinyl to shape to the wall
- If that isn't working well, warm the vinyl with a hair dryer before pressing. Blow cold air to set the adhesive before removing the transfer tape
- Peel transfer tape away slowly, rolling it away from the wall at an angle
- Press any corners or edges of the vinyl as needed
Recommended Products
As an Amazon Associate and member of other affiliate programs, I earn from qualifying purchases.
See how Kingston Crafts put vinyl on her craft room wall

Alexis
Saturday 3rd of October 2020
Has this held up since installation??