Do you use Text much in Design Space? It’s a super useful tool, but can be a little bit finicky as well.
The Cricut Minute #9


So let me give you a couple tips for starting out, then in later weeks we’ll dive into more exciting things you can do with fonts and stuff.
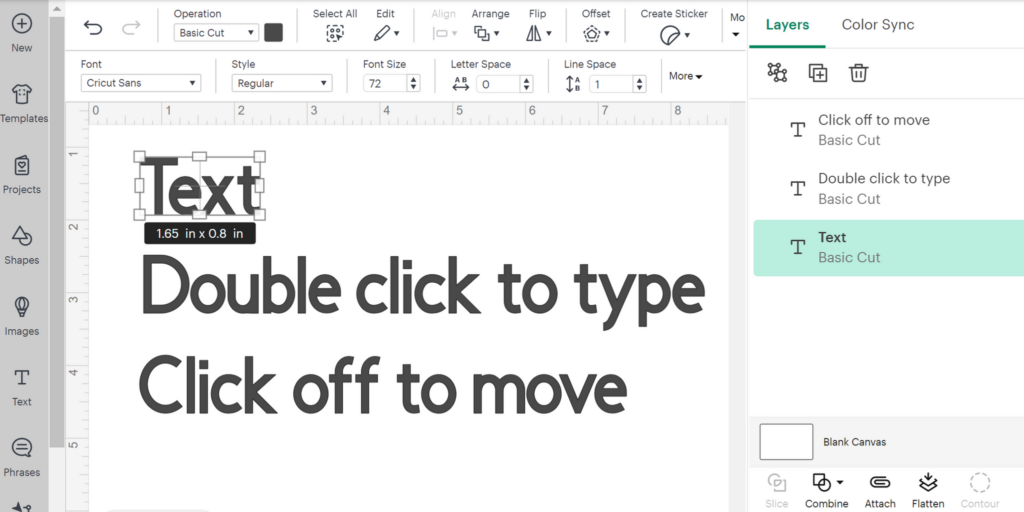
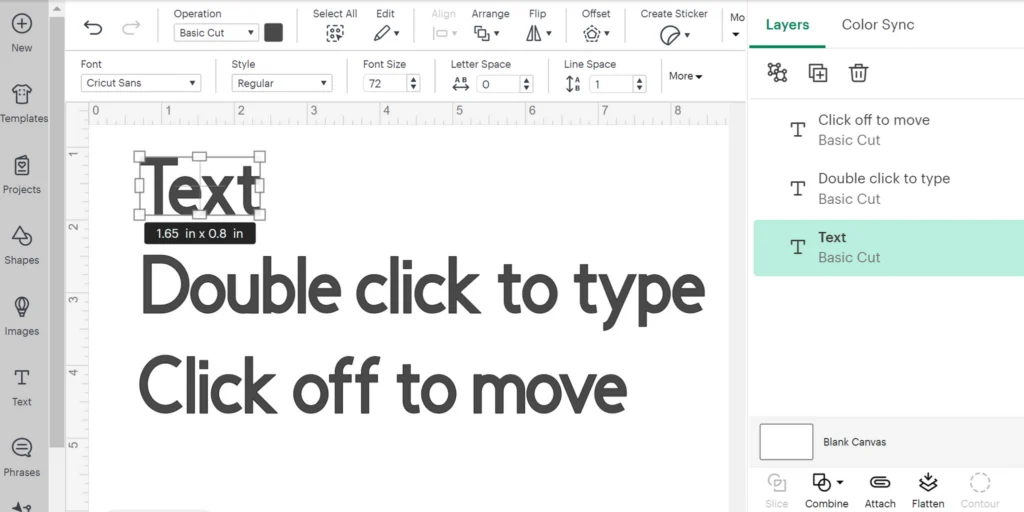
To add a text box to the canvas, click on the Text icon on the left tool bar. A box shows up with the word “Text” in it, and the default font is Cricut Sans.
To type your words in the box, double-click inside of it, and begin typing.
To move the text box to another spot on the canvas, click off of the text box, then you can click and drag the box where you want it to be.
Today’s Tip: Adding Text to the Canvas
My extra tip for this process is to tell you (and maybe you have already noticed / experienced this) is that the Text box doesn’t always appear in your visible work space!
I’m not sure why that is, but it’s really frustrating to click that Text icon and then have the box somewhere you can’t see or click on it.
One work around is to use the layers panel on the right.
When you click the Text icon, there will be a new Text layer at the top of the layers panel. Click on that to select the box, then hold shift and the arrow keys to quickly move it up until you can see it.
You can also usually find the new text box by zooming out. So try both ways to see what method you like best for locating that Text box that wants to play hide and seek!
Shannon B
Monday 17th of March 2025
I was trying to change the font on my text, the top of the canvas was covering that area up. I left the existing text box I wanted to fix, but opened another text box and the canvas dropped down to show me where I could choose the font. I can't figure out why it wouldn't let me change the font one the first box. Very frustrating. I ended up just typing it all over again.