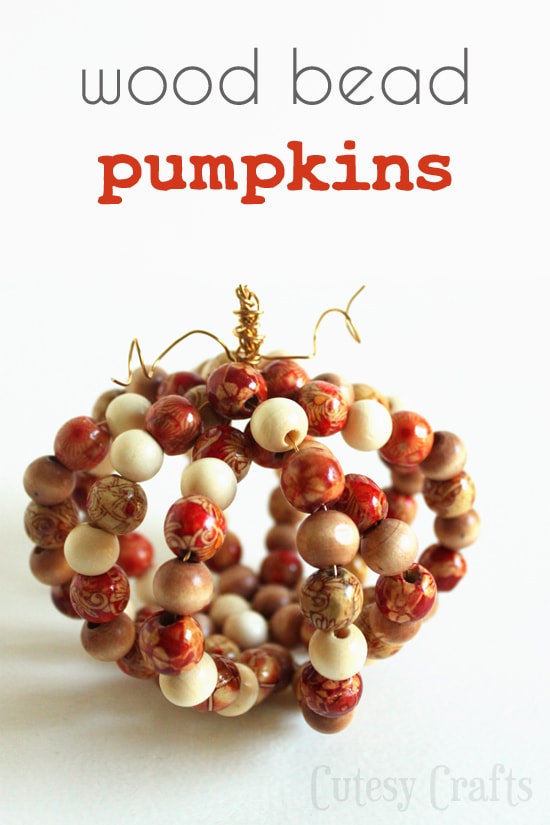
Are you guys having any fall weather yet? We had a pretty hot weekend, but the rain is coming back, and some leaves are already turning. It’s the perfect time to start on those fall crafts. I have Jessica posting today, and I just love the pumpkins she came up with!
Hi everyone! My name is Jessica, and I blog over at Cutesy Crafts. I’m so excited to be guest posting for Steph today! Last year, the kids and I made these cute pony bead pumpkins for fall. I thought it would be fun to make a more “grown-up” version using some jewelry wire and wooden beads. The steps are pretty much exactly the same, but I think these ones look a little more sophisticated. They would look great on a fall mantle or table!
- jewelry wire
- wood beads
- jewelry-making tools (just wire cutters and needle nose pliers will probably work too)
Cut five strands of wire 13 inches long each. If you want a bigger pumpkin, make them longer, and if you want a smaller one, make them shorter.
Cross two wires over each other in the middle to make an “X”. Wrap them around each other.
Wrap the remaining wires around the center as shown.
String beads on each of the ends until you are about and inch or so from the end. I put ten beads on each strand.
Bring all of the strands together and twist the extra wire at the end. This will be the stem.
Pull the strands out to form a pumpkin shape.
Cut a smaller piece of wire and wrap it around the stem to secure it.
Cut a final piece of wire and wrap the middle of it around the base of the stem.
Curl the ends around a pen or pencil to make curly vines.
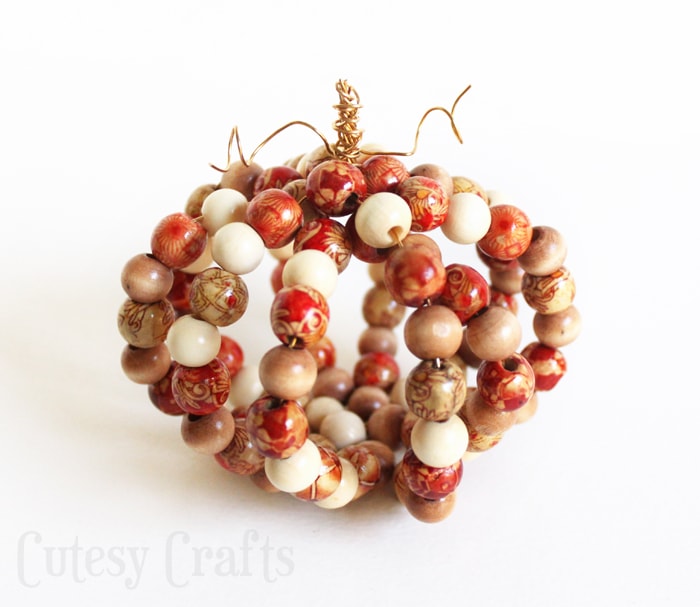
And you’re done!
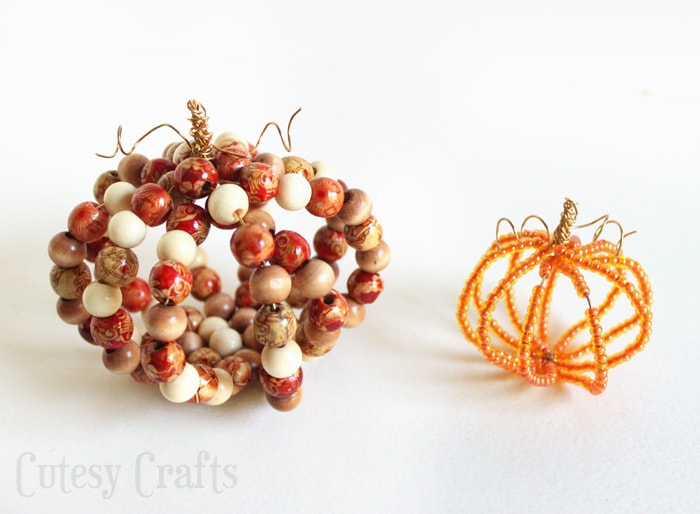
And look! I even made a tiny little jewelry bead pumpkin. Isn’t it cute?!
Thanks Jessica! I’m so glad you stopped by and showed off today 🙂

affiliate links


