
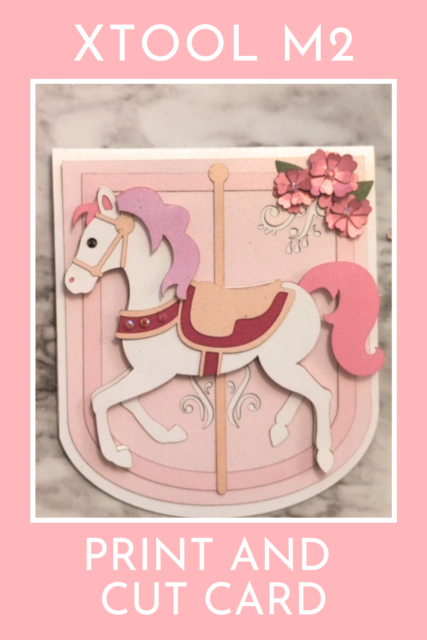
Let’s all take a minute a be amazed at the tiny intricate cuts I could get in this cardstock using my xtool M2. And not only that, I printed the color with it too! The whole card is done Print AND cut with the xTool M2.
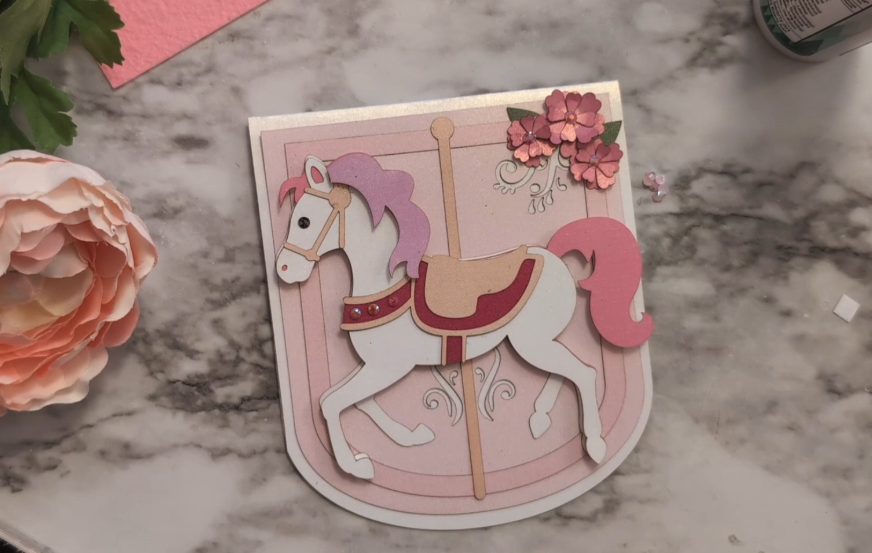
Are you considering a home craft laser for your business or just for fun? I’ll be making a card using the M2.
Imagine how fun it would be to apply these steps to make your own custom earring cards, or fancy cut business cards!
Set up for printing with xtool M2
In xTool Studio, I imported the card SVG with each already given the color it will print.
When the SVG first comes in, all the shapes will be black, and that’s ok. Here are your next steps in Studio.
Select all the SVG images. Click “Convert to Print then Cut.” (Make sure you have the M2 selected as your device for this option to be available!)
Change the offset slider to zero – we want the laser to cut exactly around each printed image – and check the box to include inside cuts.
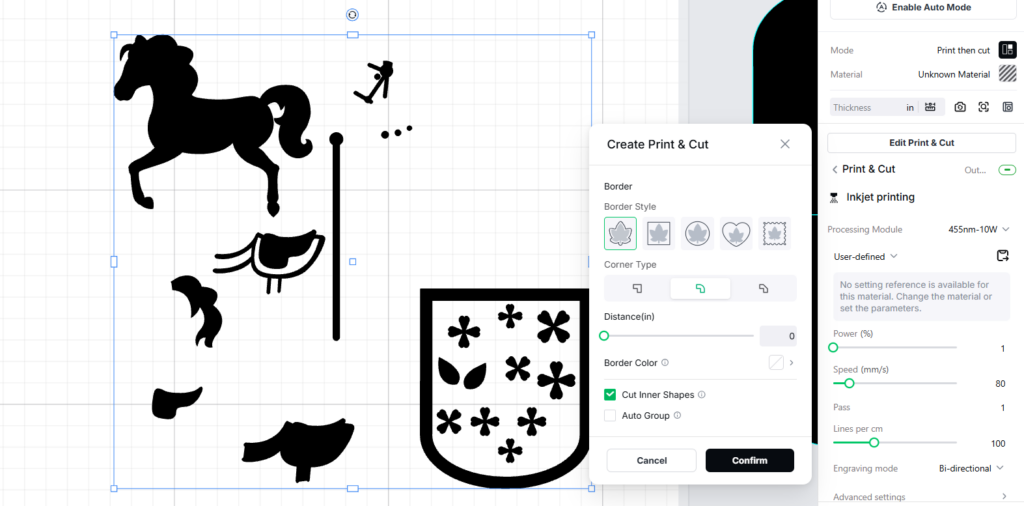
Click confirm, and the shapes will change back to their colors, ready for printing.
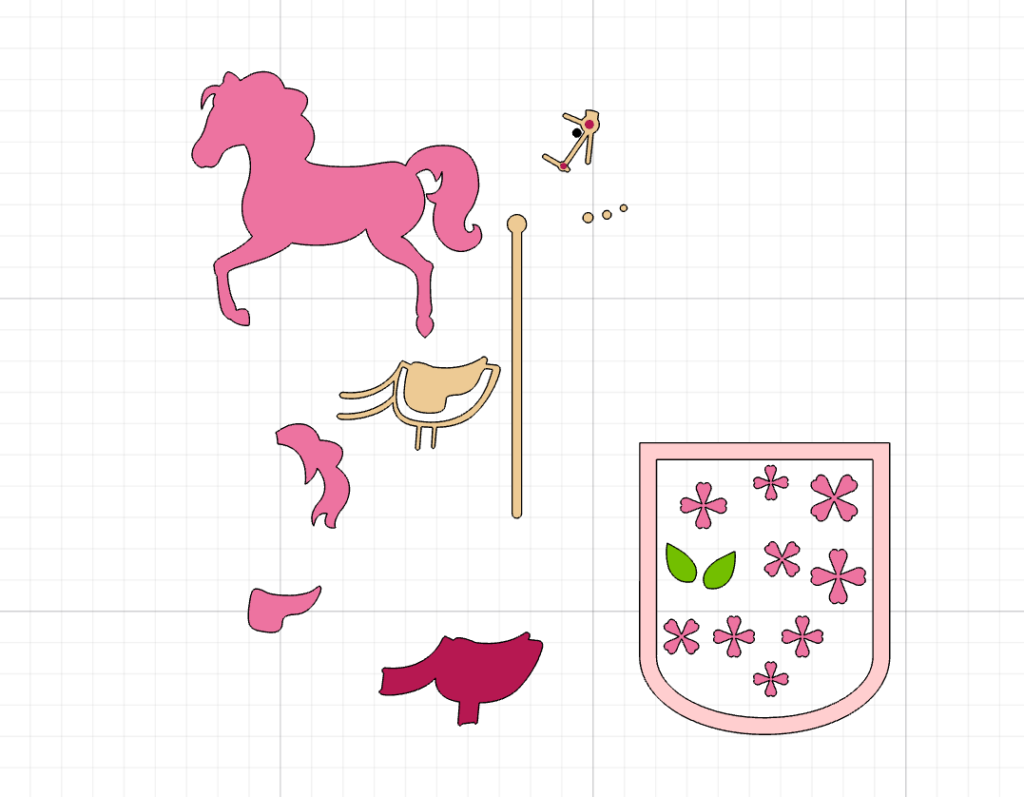
You can go in and change any of those settings by clicking “Edit Print then Cut” in the right side panel.
xTool M2 is easy to use, and the xTool website has detailed photos and videos for machine set up, ink cartridge calibration, and more.
Printing with xTool M2
Install the ink module into the machine and tape down white cardstock so it doesn’t move while printing or cutting.
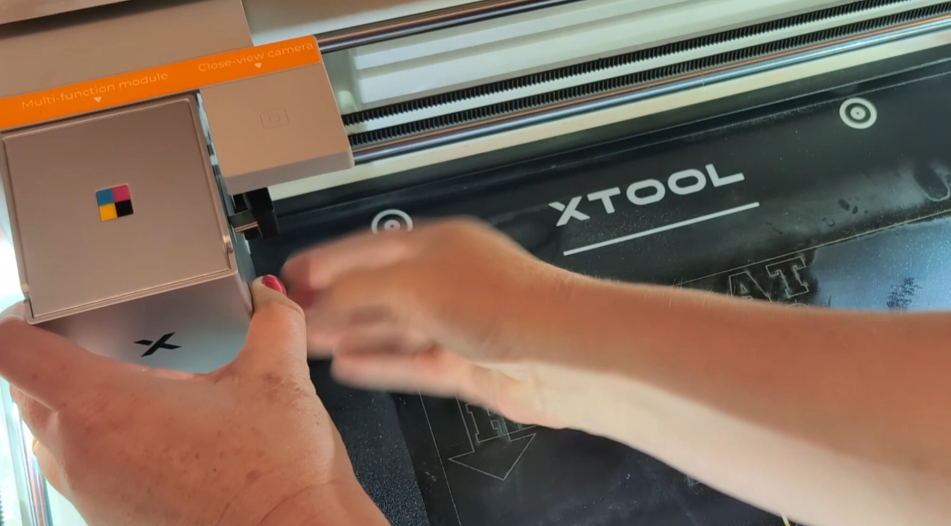
I used the xTool branded Shimmer Paper that came in my materials sample box. It’s so pretty in this card design!
Tape down the corners so the paper doesn’t shift between the print and cut steps, or get blown around by the laser.
Close the lid, click Process and Start in xTool Studio, and press the button on the machine to begin the printing.
Watch as the ink module passes back and forth over the paper and adds the color.
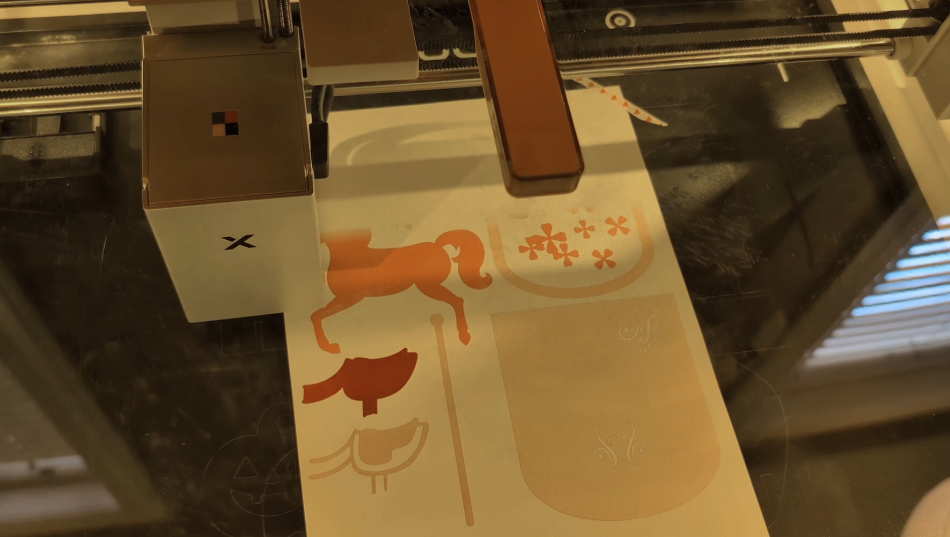
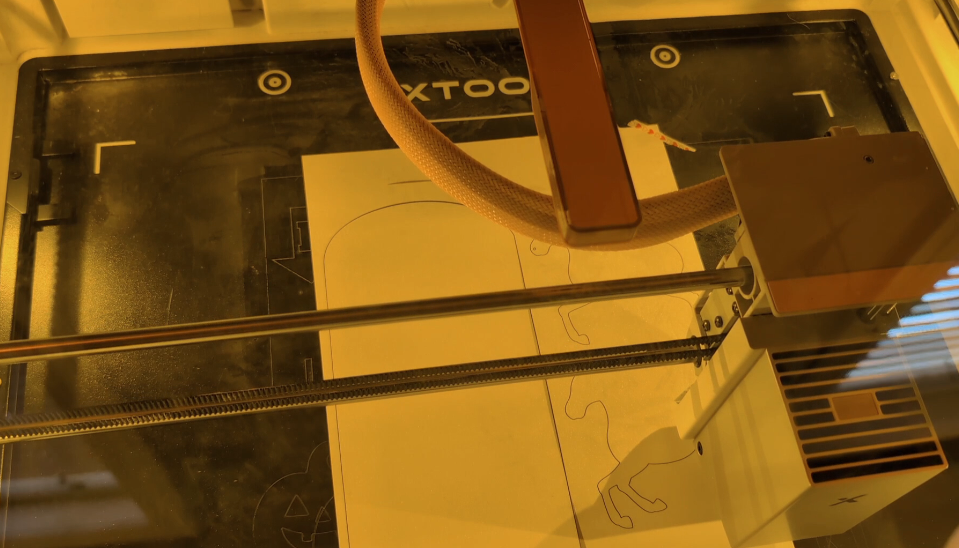
Swap the ink module for the laser, making sure that the paper is not moved at all in the process.
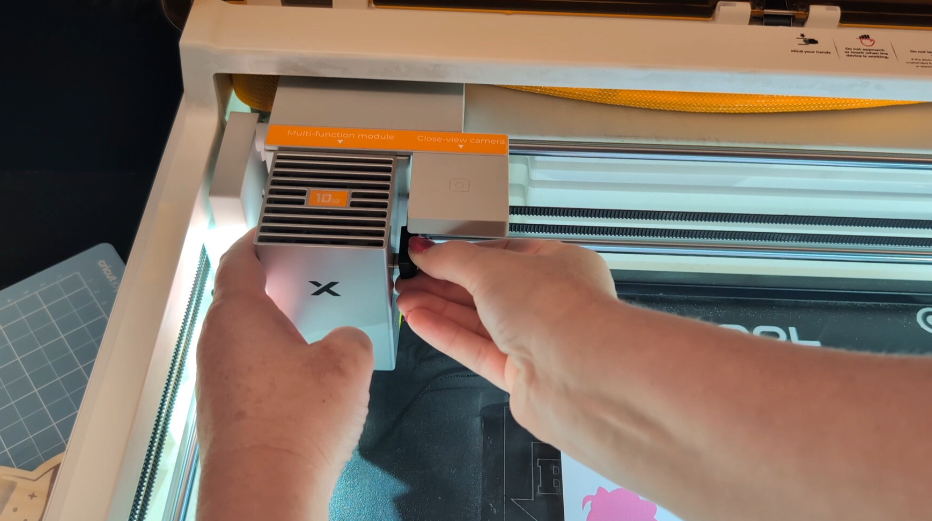
Then the laser will cut all the cut lines in the design, and it lines up perfectly with the printed pieces.
Some of the cut pieces travel a bit, after they’re cut, so I was worried the laser might damage them as it cut other pieces – but the fan that’s running actully moves any pieces out of the way of the next laser cut, so all of my pieces came out just fine!
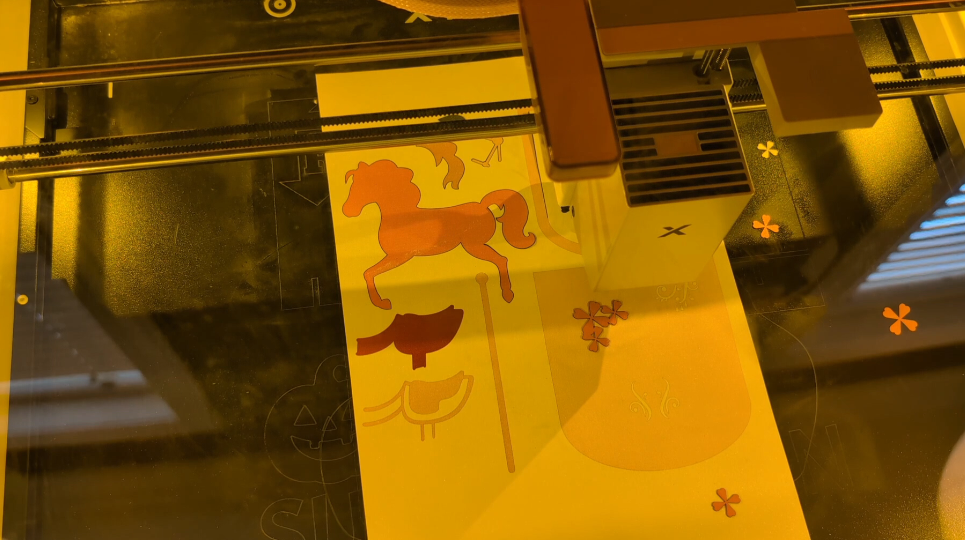
The colors will look a little off as you view them through the tinted lid, but in real light, look at all these great pinks!
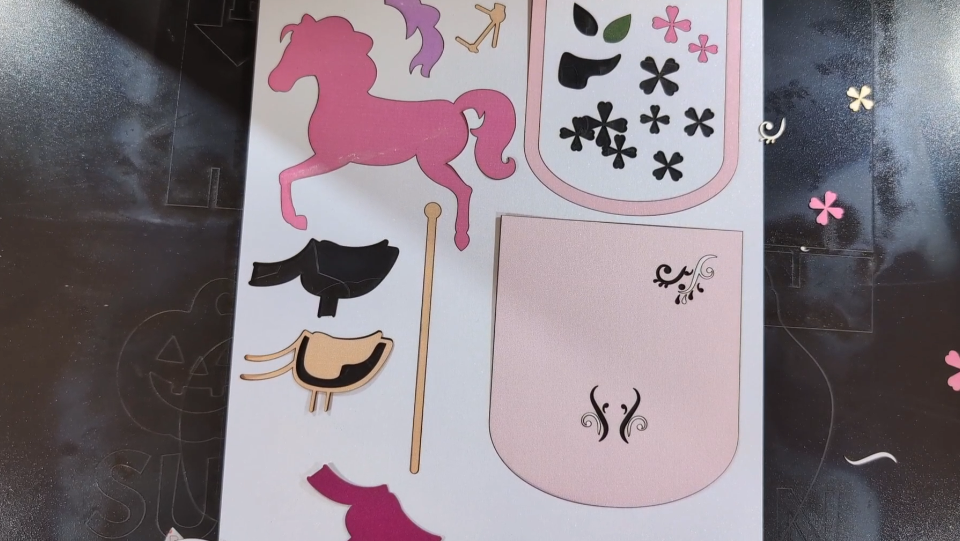
For any white pieces of the design, you’ll only need to cut – no printing. Make sure that in the xTool software, these shapes are only set to cut.
Gather all of the pieces and assemble the card.
I used a combination of tape runner, precision glue, and foam squares to add dimention between a couple of the layers
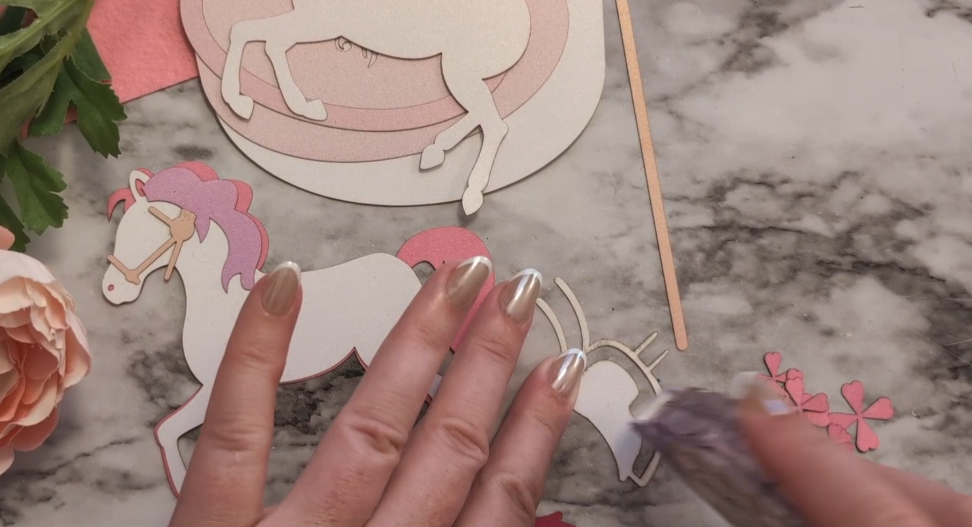
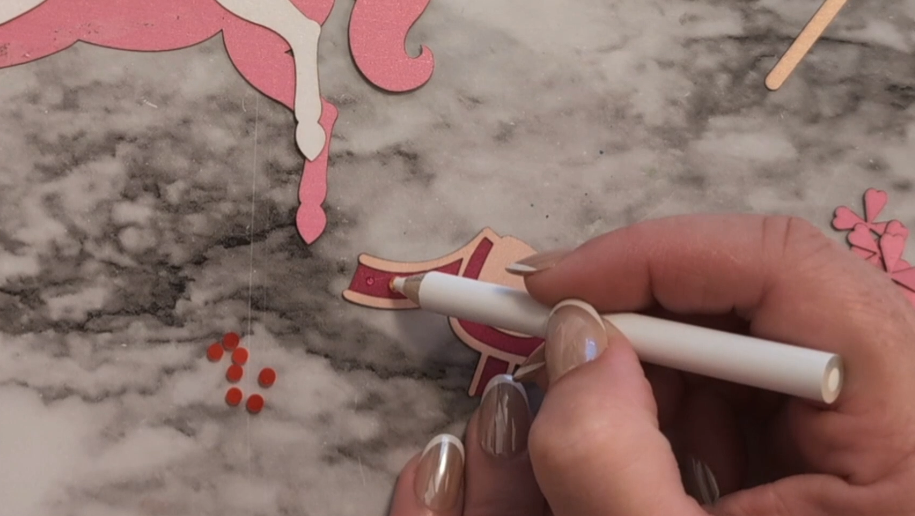
And never underestimate the addition of a few little gems for extra sparkle on a card.
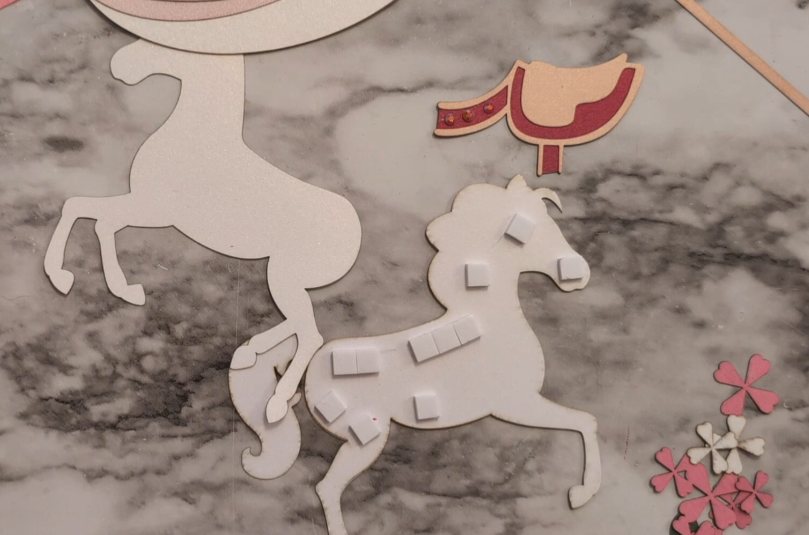
Here’s where I used some foam squares so it would create a bit of a shadow between the front side of the horse and the legs “in the back.”
The little flower petal layers were so small that tweezers were really useful for placing them in the correct layers.
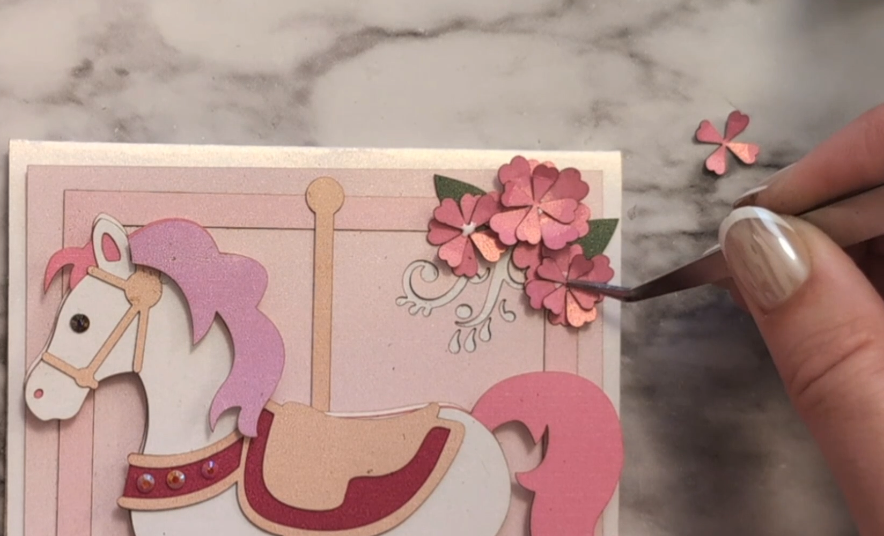
Think of all the tiny cuts you’d never be able to get with other cutting machines on a sticky mat. There’s a point when they just get too torn up.
xTool machines are available on the xTool website and on Amazon.