Learn how to use waterslide paper and get new ideas on how to use it in your crafts.
What is Waterslide Paper?
Waterslide paper is an ultrathin paper that has a water-activated self-adhesive on the back. It creates detailed colorful decals using your home printer.
Waterslide paper is available for inkjet or laser printers (make sure you get the right kind) and as a clear decal or white background.
I used to think it was only for decorating tumblers, but now that I’ve had a chance to play with it, I can see it’s useful for so much more.
Supplies for using waterslide
- Hiipoo Waterslide Paper Clear use the code CRAFTINGRAIN to save 10%
- Images from Creative Fabrica
- Cricut
- Clear Acrylic Spray
- Vase and Candle
How to make waterslide decals
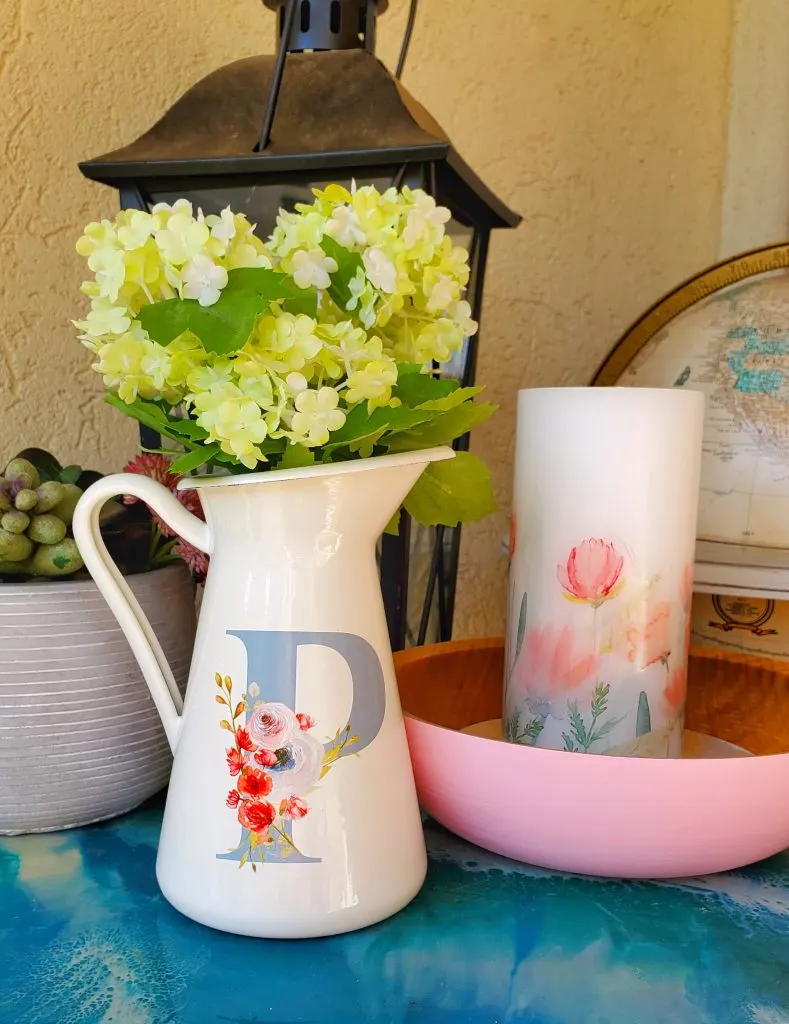
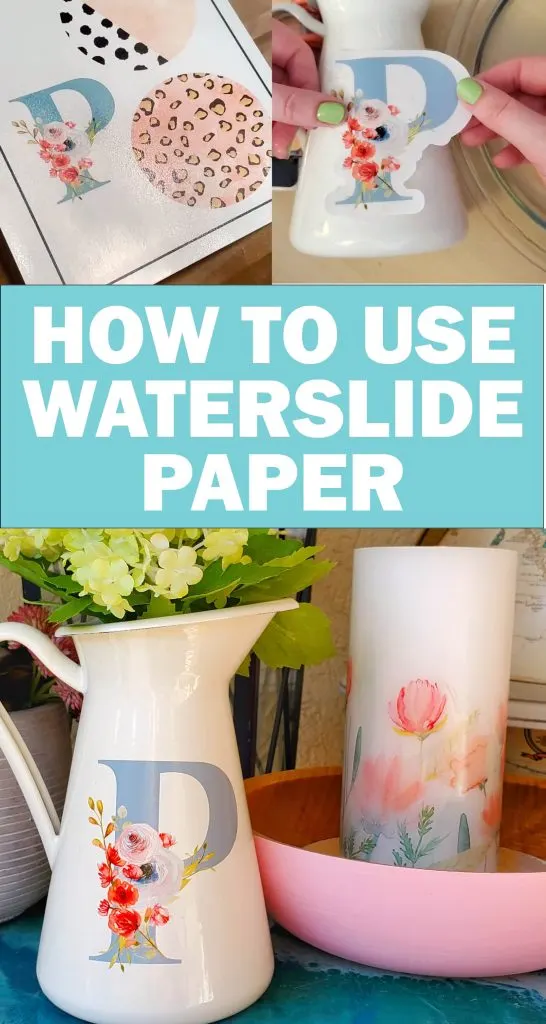
I’m going to show you how to decorate a vase and a candle with clear waterslide decals.
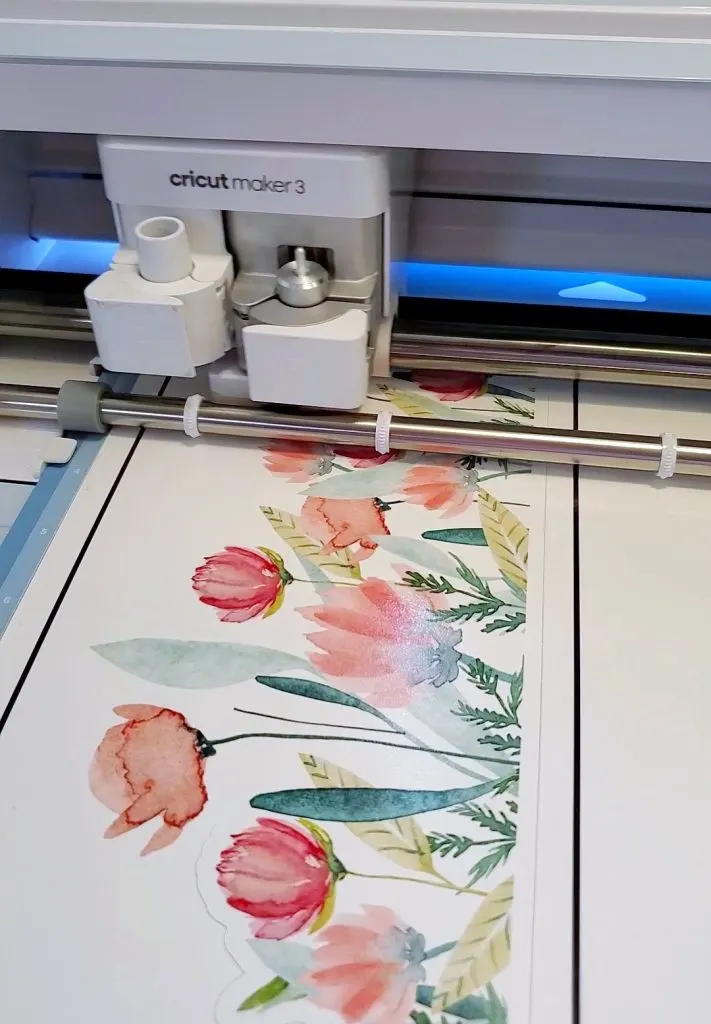
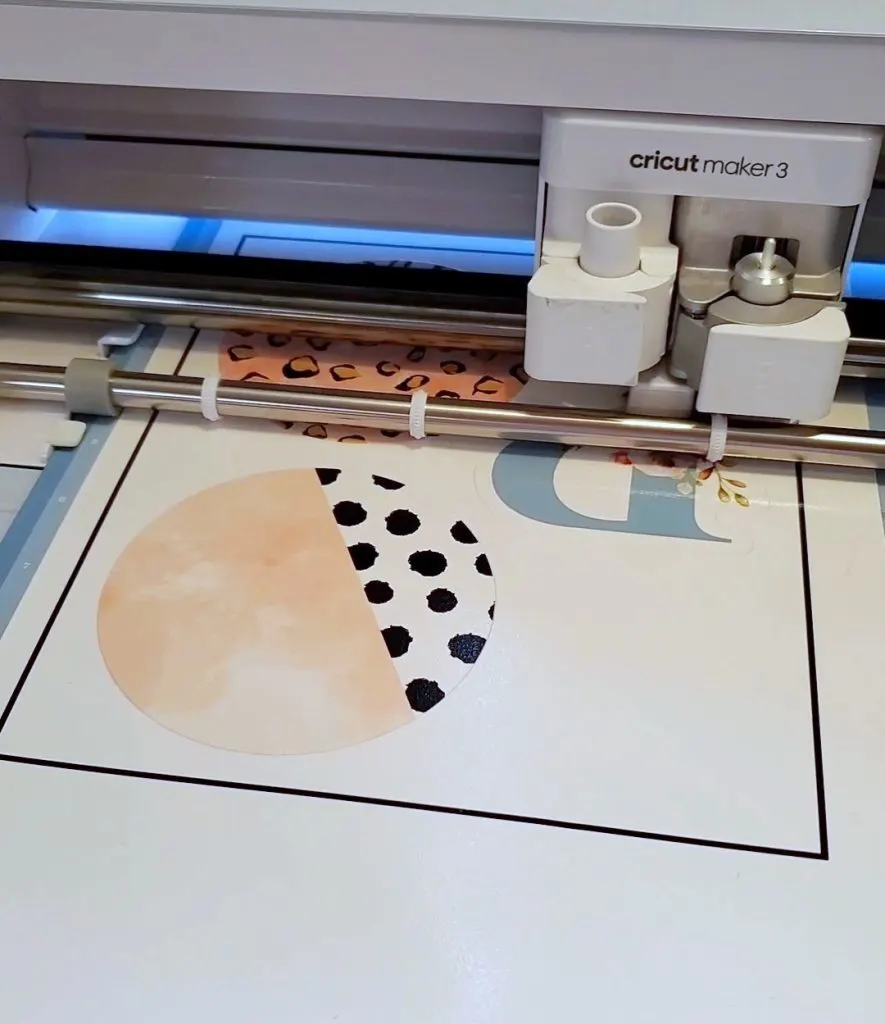
I used Print then Cut with my Cricut, but you can also print and hand-cut around the design.
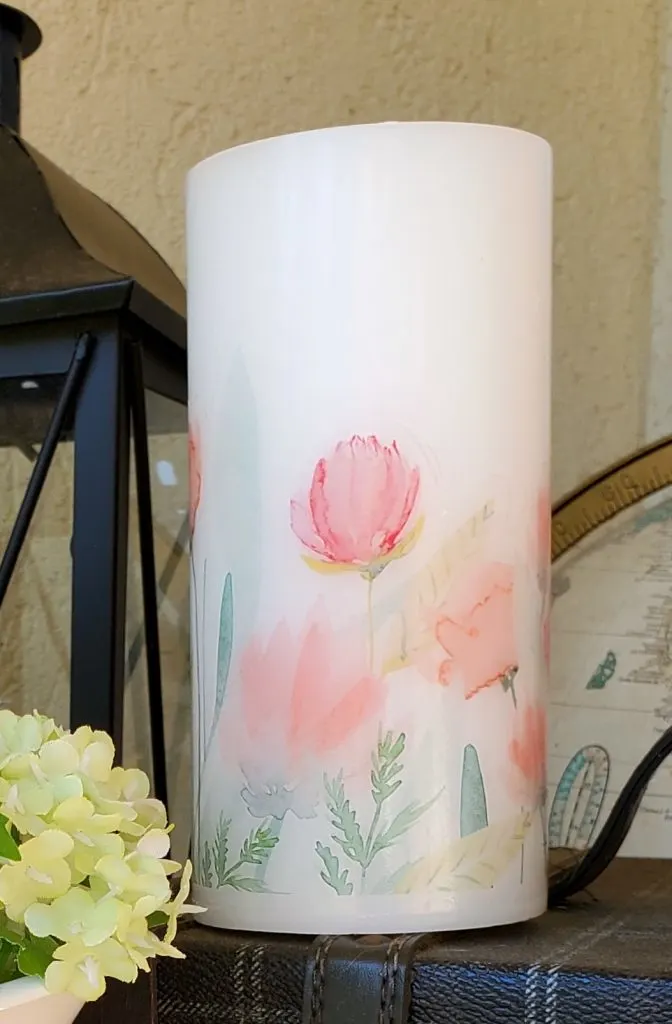
I used these watercolor flowers from Creative Fabrica to design a P monogram and also a wrap-around for the candle.
Print the designs onto the shiny side of the Hiipoo Waterslide Paper using a gloss paper setting and high print quality.
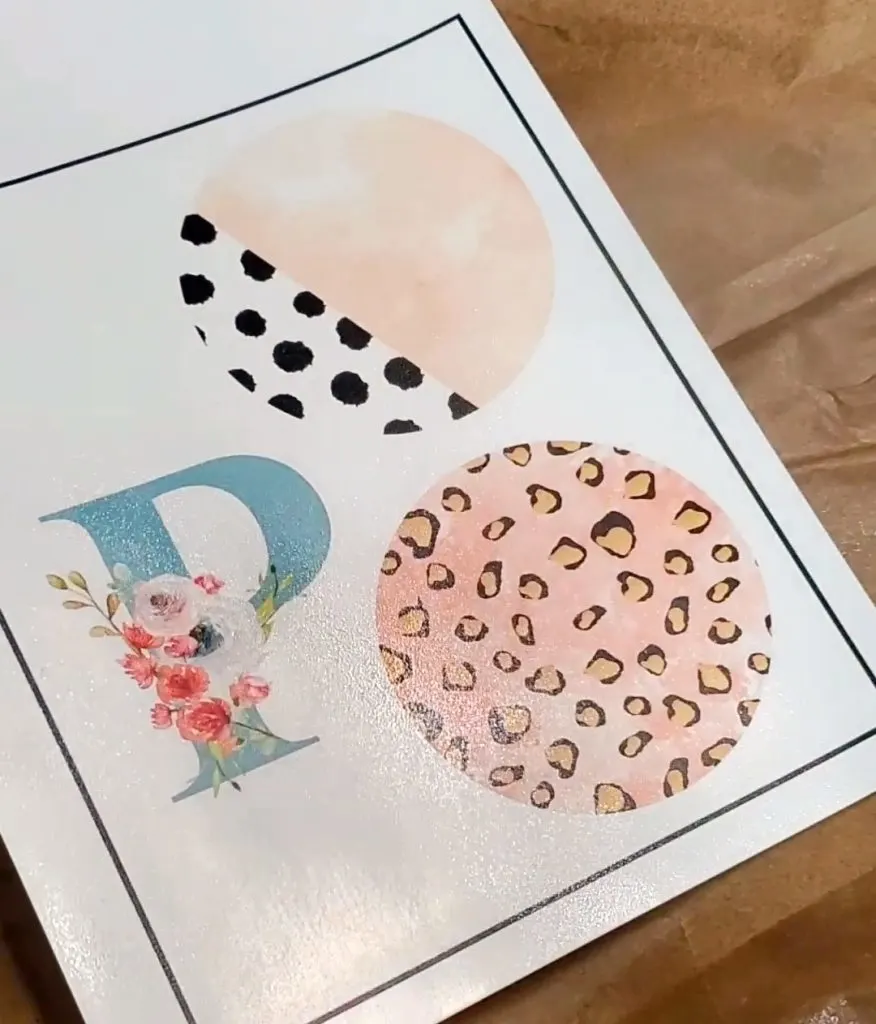
Let the paper sit for a few minutes to allow the printer ink to dry completely. Then spray with 3 coats of clear spray acrylic. Let each coat dry for at least 10 minutes. This is what will protect the printer ink when you submerge the decal in water later, so it needs to be totally sealed.
The sealed waterslide can now be cut. If you set it up to do Cricut Print then Cut, place the paper on a blue mat and choose Poster Board in the materials setting. This will cut through all the layers.
How to transfer waterslide decals
Roll the mat away from the cutouts and prep the surface for the decal by wiping away any dust.
Place decal in water. It will probably curl up, so just push the edge back down to keep the decal submerged for about 45 seconds.
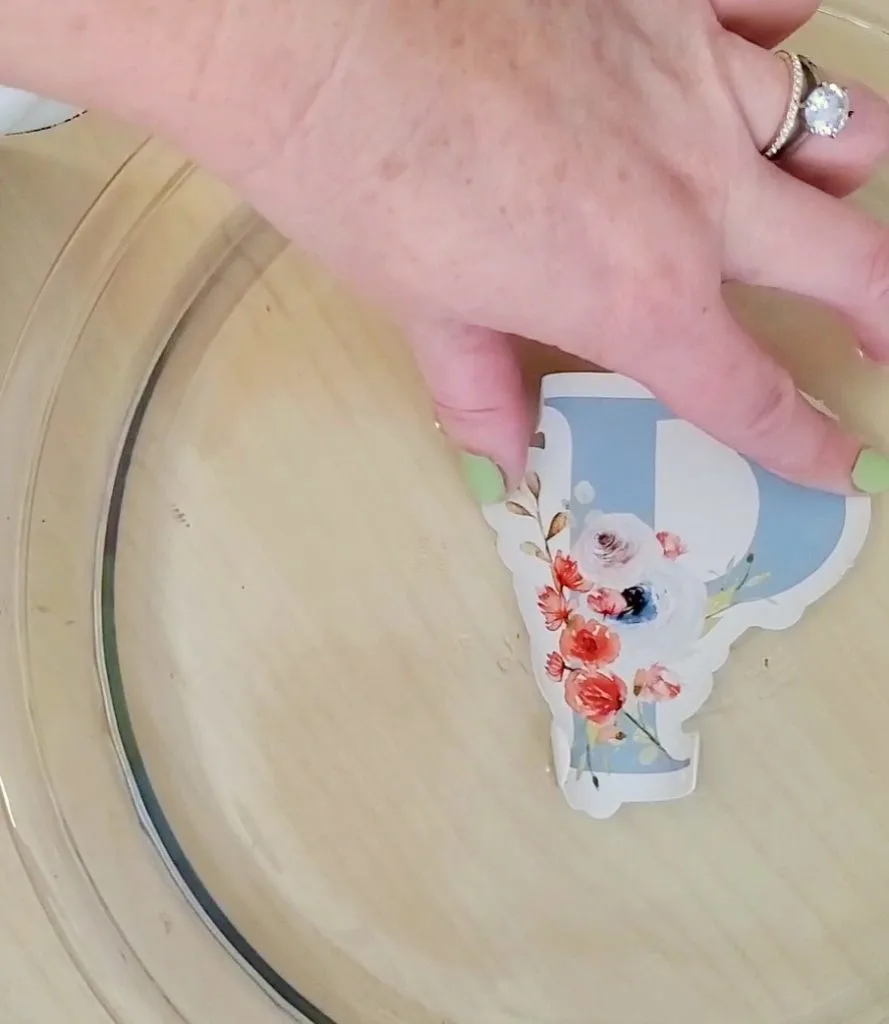
Take it out of the water and lay it on the object. Keep your thumb pressed on the left side of the image, and use the thumb and first finger of your right hand to start sliding the paper backing out from under the design.
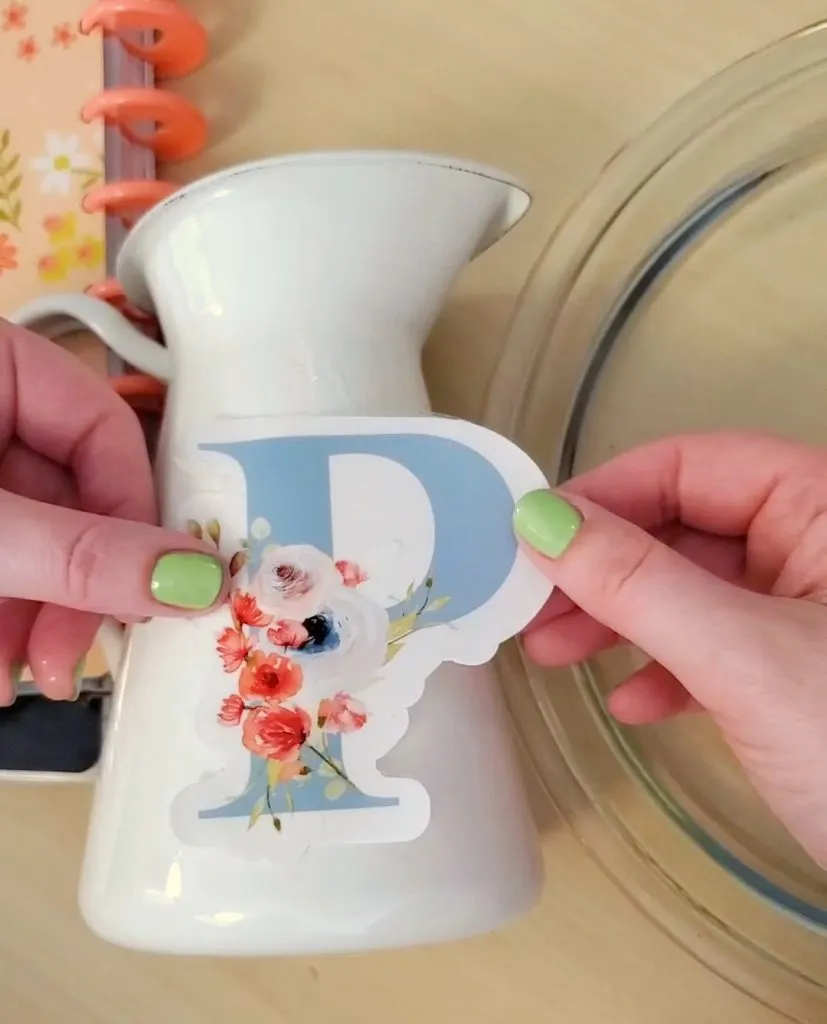
Carefully smooth out wrinkles and push extra water out to the edges. Pat dry with a paper towel.
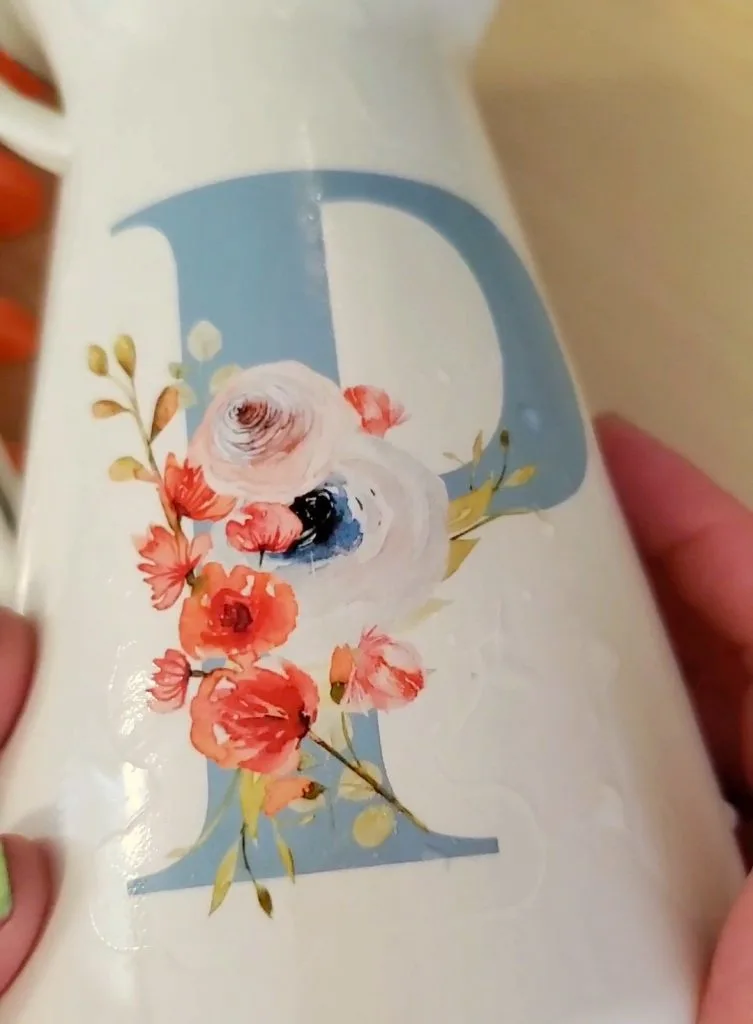
Depending on the item, let it air dry for a few days (like the candle.) Or for the vase, or something else heat-safe like a mug, it can be dried in the oven.
Set the item in a cold oven and heat to 300 degrees. Set a timer for 20 minutes, then turn the oven off and let the mug cool.
Anything with a waterslide decal like this should be hand washed only.
I haven’t used a white waterslide paper yet, but you would want to use that for any design going on a dark surface. You would also want to use Print then Cut so the cut lines around the design are even and precise.
If you have any questions, or suggestions for what other people can make with waterslide paper, let me know!

Sue
Monday 14th of March 2022
Does the waterslide need to be sealed? If so, with what?
Stephanie
Monday 14th of March 2022
If the decal is going on to a tumber/waterbottle that will be washed often, then yes, you should do an epoxy resin treatment (lots of YouTube videos on this.) If it's just going onto a candle, or mug or cup that can be handwashed, it doesn't need to be.