We were sent an X-Carve machine from Inventables to review. All thoughts and opinions are ours alone.
Did you catch my first X-Carve post yesterday? My husband (with his YouTube channel) and me with my blog have teamed up to showcase the machine and give some project ideas to get you started if you find yourself wanting this machine too.
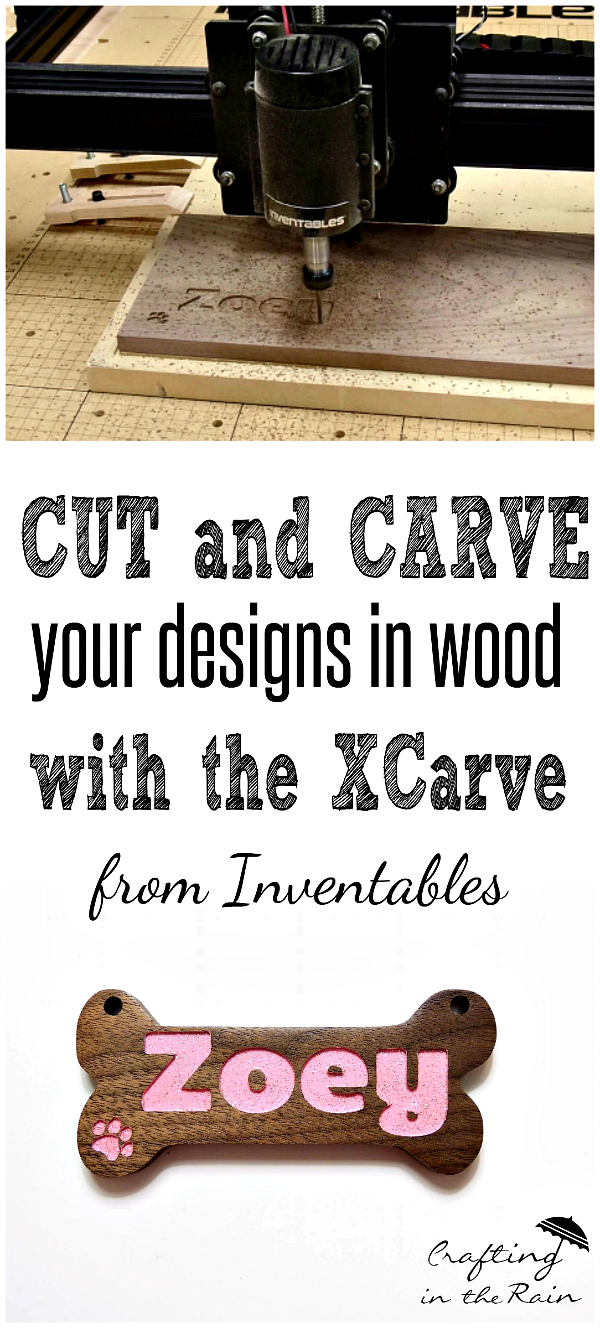
Today we are making a wooden sign for our little doggie.
First, Steve designed the file in Easel, the web-based design software that communicates with the X-Carve. In the program he is able to manipulate images, select material type and bit sizes, assign carving depths and more.
Once the wood is secured, the bit is set to the correct starting point and cutting can begin.
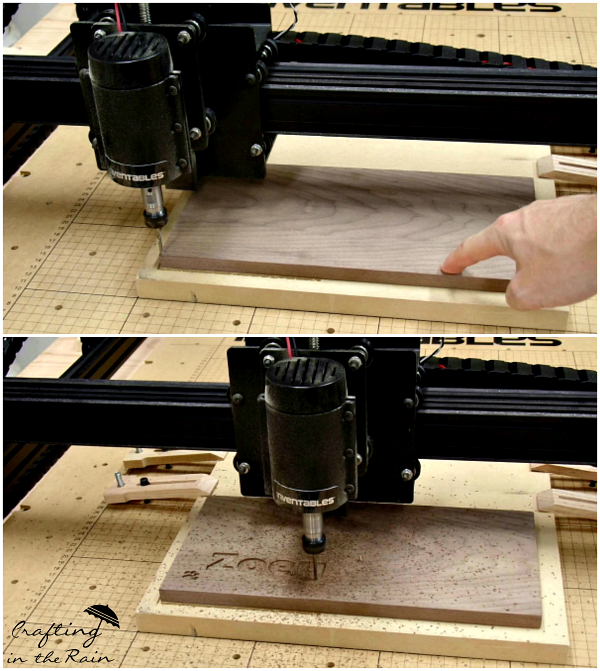
Shavings and dust get vacuumed up periodically. This piece was cut and carved in about 8 minutes. The time obviously depends on the size of the project, the intricacy of the design, and how deep the cuts are.
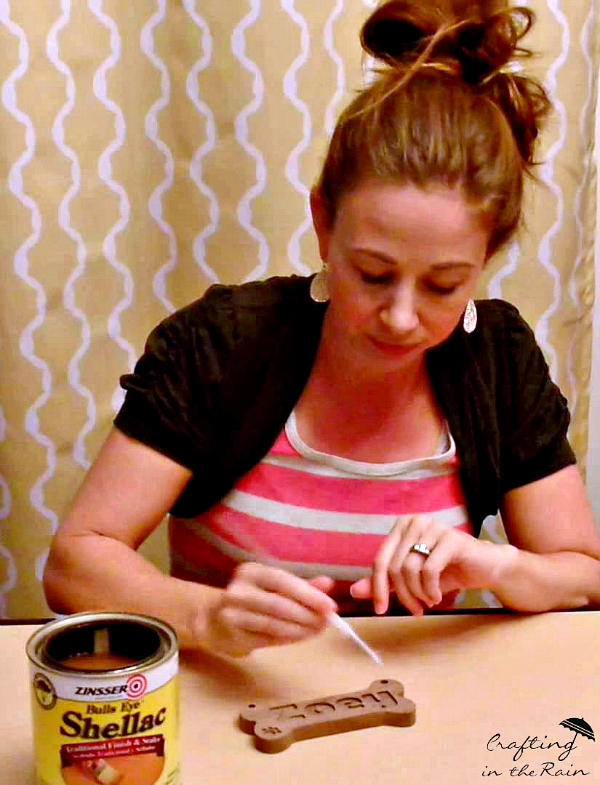
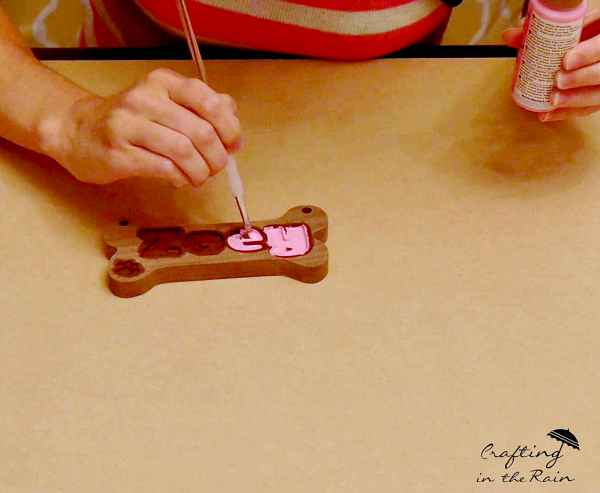
Once the sign was cut out, I brushed on two coats of shellac to seal the grain in the letters so the paint wouldn’t bleed through into the wood later.
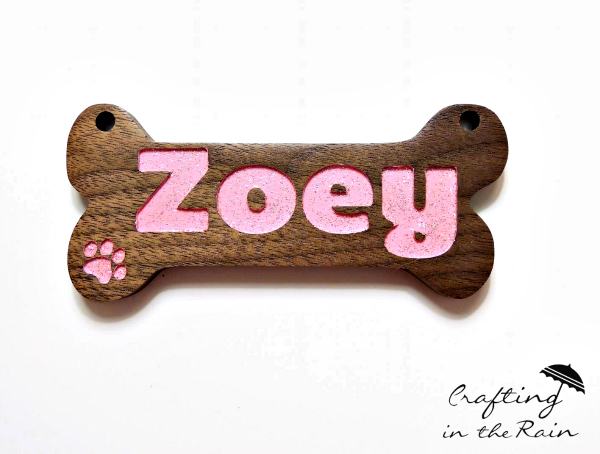
I painted two coats of pink paint and one coat of glitter paint, letting each one dry.

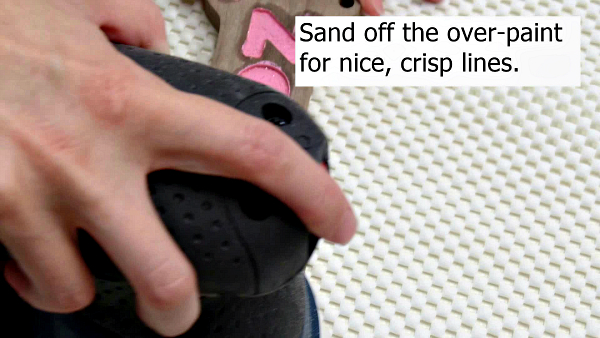
To clean off the paint that went up over the edges I used an orbital sander with 320 grit sandpaper. It left the letters nice and crisp.
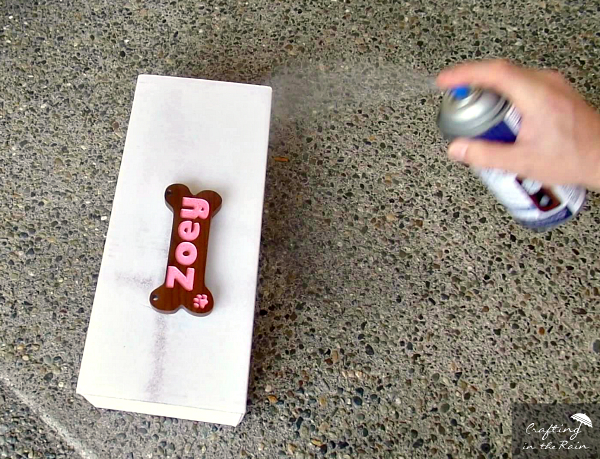
The final step was to spray on a couple coats of lacquer. This gives the walnut a great color and shine.
We used zip ties to attach the sign right to Zoey’s crate. She loves it. I can tell 🙂
Do you like how it turned out? What would you want to make?
Be sure to check out the whole video here. It’s really fun to watch the machine carving! (and I even make a couple of appearances in it!) Here’s the project writeup on the Inventables site.